

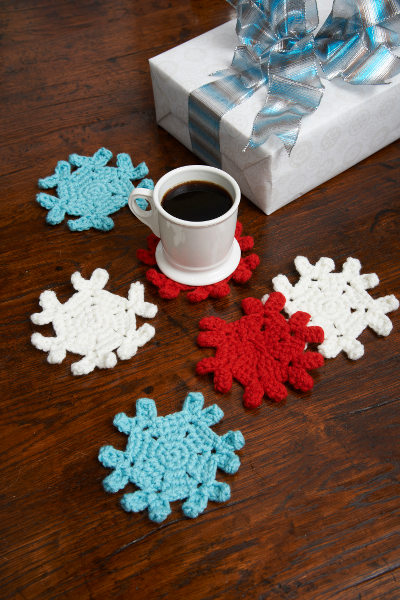
Modern colors update the usual snowflake motif for a new take on an old favorite. Crochet a set to give as a hostess gift, to brighten up a dinner table or, of course, to use as protection for your furniture during the holidays. Designed by Nancy Anderson.
Skill Level: Easy
Size: Snowflake Motif = 3½” (9 cm) in diameter
Gauge: Gauge not important
Materials
Yarn:
![]() Red Heart Super Saver (100% acrylic; 364 yards [333 meters]/198 grams): #505 Aruba Sea (A, 1 skein), #316 Soft White (B, 1 skein), #319 Cherry Red (C, 1 skein)
Red Heart Super Saver (100% acrylic; 364 yards [333 meters]/198 grams): #505 Aruba Sea (A, 1 skein), #316 Soft White (B, 1 skein), #319 Cherry Red (C, 1 skein)
Hook: US size G/6 (4.0 mm) hook
Notions: Tapestry needle, spray starch (optional)
Pattern
Snowflake Motif
With desired color, make an adjustable ring.
Rnd 1: Ch 1, 6 sc in ring; join with a slip st in first sc. (6 sc)
Rnd 2: Ch 1, 2 sc in each st around; join with a slip st in first sc. (12 sc)
Rnd 3: Ch 1, sc in first st, 2 sc in next st, ch 3, *sc in next st, 2 sc in next st, ch 3; repeat from * around; join with a slip st in first sc. (6 ch-3 spaces)
Rnd 4: Ch 1, sc in first st, sc in next st, skip next st, (sc, ch 3, sc) in next ch-3 space, *skip st, sc in each of next 2 sts, (sc, ch 3, sc) in next ch-3 space; repeat from * around; join with a slip st in first sc. (6 ch-3 spaces)
Rnd 5: Ch 1, sc in first st, sc in each of next 2 sts, (slip st, [ch 4, hdc in 2nd ch from hook, hdc in each of next 2 ch, slip st in ch-3 space] twice in next ch-3 space, *skip next st, sc in each of next next 3 sts, (slip st, [ch 4, hdc in 2nd ch from hook, hdc in each of next 2 ch, slip st in ch-3 space] twice in next ch-3 space; repeat from * around; join with a slip st in first sc. Fasten off. Weave in ends.
Repeat using colors A, B and C for desired number of Snowflake Motifs.
Snowflake Motif Finishing
Wet finished motif, flatten & straighten snowflake spokes, allow to dry.
For extra flattening, cover damp motif with waxed paper and place heavy book on top until motif is dry.
Optional: Spray with laundry starch to stiffen as desired. 
What is an adjustable ring?
An Adjustable Ring is another name for a Slip Stitch.
magic circle/magic ring, on you tube
easy to do to have a closed circle
adjustable ring???? what is that?
If you search for “magic ring ” you will find videos and written directions.
I believe it’s also called a Magic Ring. It allows you to pull on the tail to tighten the yarn in the middle so you don’t have a gaping hole. You can search for it on Youtube and they’ll show you how to make it.
Same as the magic circle/ring. Chain 4. Join with slip stitch to first chain. Then, as you create your first round, stitch over the yarn tail. When you finish your first round, pull on the remaining tail and it will cinch up the hole in the ring. You’ll want to weave in more of the tail to secure it.
I know your question was a year ago, hope you found an answer, but it is also called a magic ring. It’s an easy way to start a project. If you google it you will find lots of tutorials for making them.
it can be a magic loop or just a chain slipstitched together