

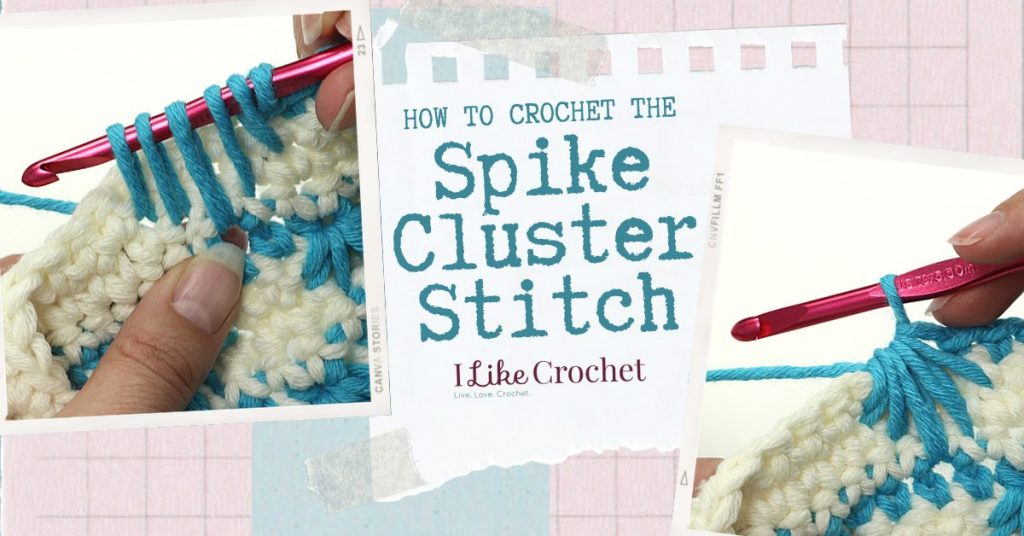
Normally when we crochet, we insert the hook under the top two loops of a stitch. When making spikes, though, we insert the hook at the bottom of the stitch – it actually goes into the top two loops of the row below. And that’s essentially how you create this unique looking stitch: the spike cluster stitch. Ready to give it a go? Keep reading!
How to Crochet a Spike Cluster Stitch
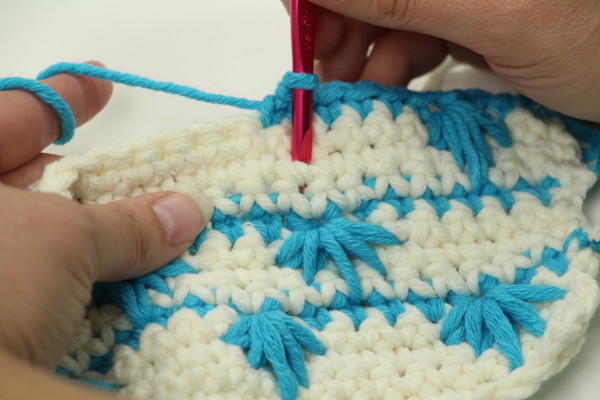
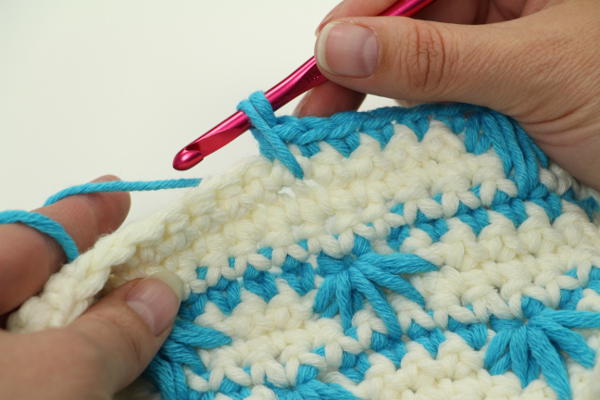
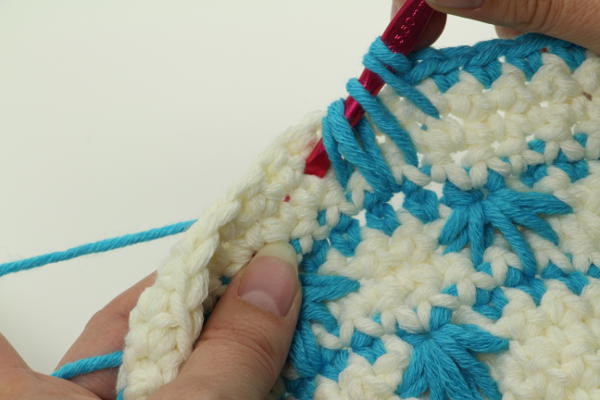
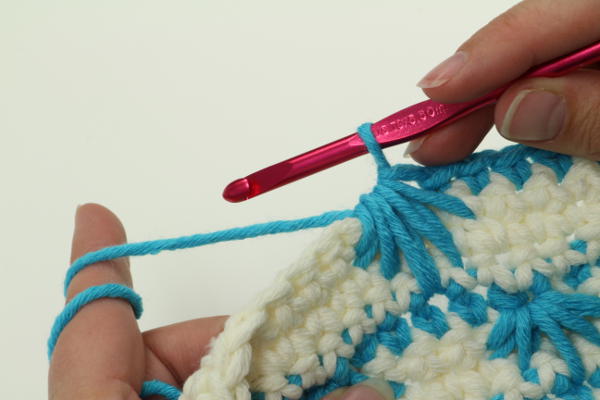
When you’re ready to start your spike cluster row, pull color B through one last loop of the previous row. Before you turn, and before you make the next chain-1 that begins the row, bring color A over the strand of color B. This will allow you to carry A along as you work the spike row.
What is Working Row?
Let’s be clear about what is meant by one row below working row. The working row is the one you are in the process of making. The row below is the one you generally work into. When making spike stitches, when it says work into the row below, you are inserting the hook at the bottom of that stitch rather than under the top two loops as usual. If it says to make the spike two rows below, again, insert the hook in the bottom of the stitch.
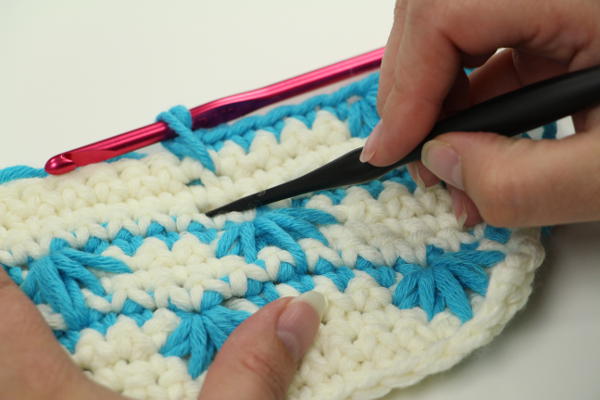
Placement of each strand of the cluster can be a challenge, but if you get the first spike right, the rest are easy. When you are at the point of starting a spike cluster, take a look at your work. The last single crochet you made is one stitch to the right, and the one before that is 2 stitches to the right.

Get this special collection of 3 FREE baby blanket patterns from I Like Crochet right now!
Tutorial + Pictures
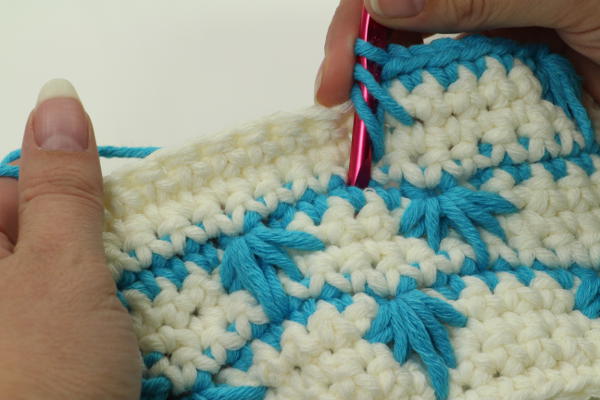
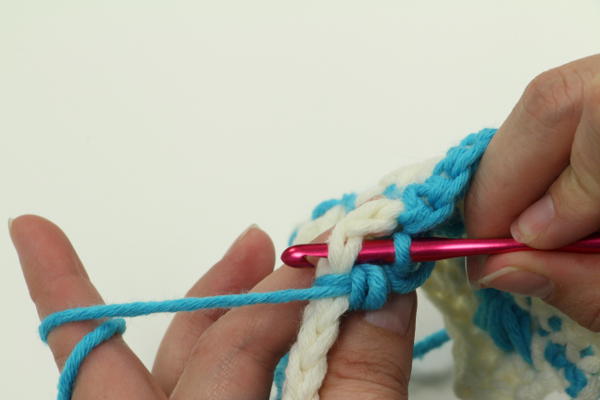
For the first spike stitch in this pattern, this is the 2nd stitch of the row. Now bring your eye down to the row below, in color A (blue, if you’re using the same colors as the pattern). Insert your hook at the bottom of that stitch. Draw up a loop loosely, so that it will extend up to the working row without pulling at the work.
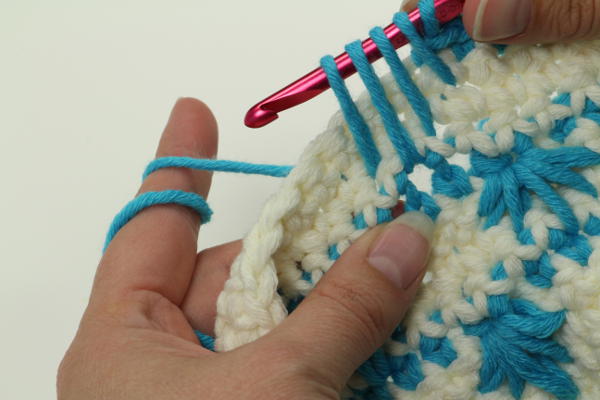
Now move your eye down one row and to the left one stitch and insert the hook under the bottom of the stitch. Draw up a loop, even more loosely than the first.
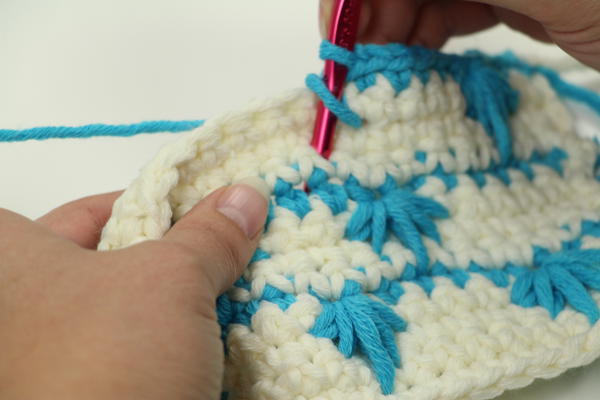
Move your eye down another row and one stitch to the left and insert your hook under this stitch — there will be only one row of crochet below this point. Draw up an even taller loop. You now have 4 loops on the hook.
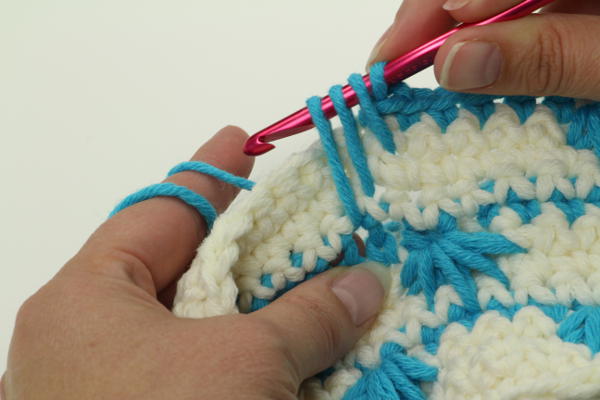
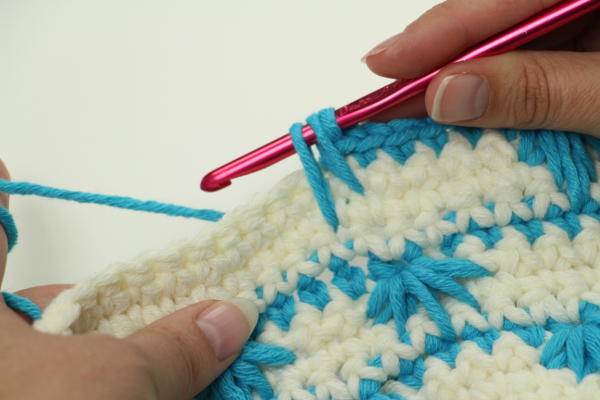
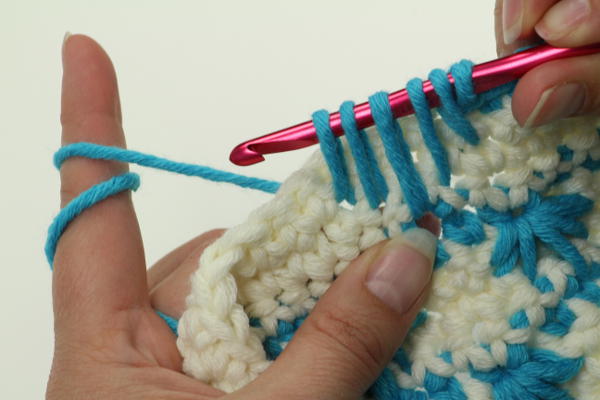
Now the eye travels up one row and one stitch to the left for the next insertion of the hook, drawing up the loop to the appropriate size.
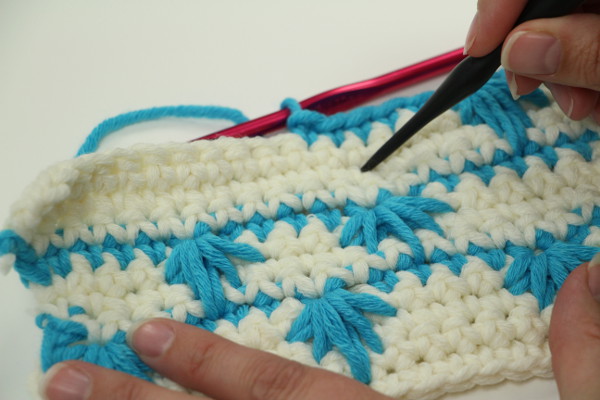
For the last loop of the spike, move one row up and one stitch to the left. Insert your hook under this stitch and draw up a loop. Yarn over and draw through all 6 loops on the hook.
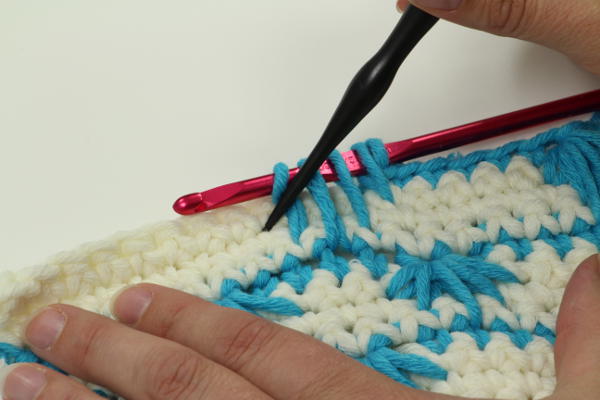
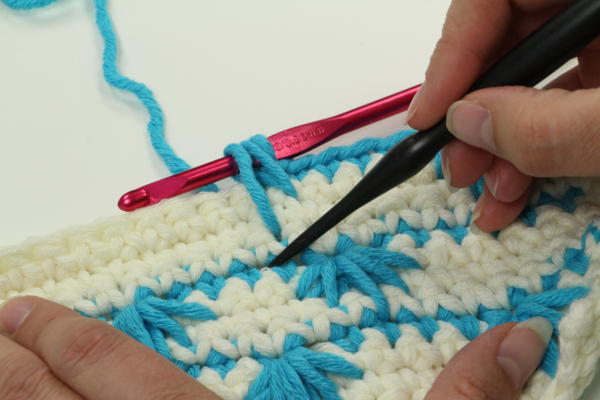
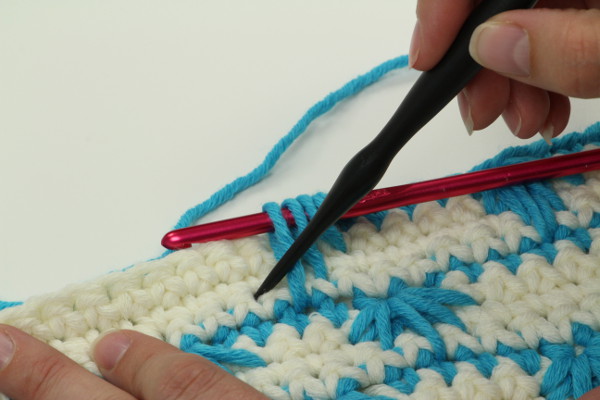
Before you close the spike stitch with that last yarnover, take a good look at the next 2 stitches in the working row. You will skip one because the spike counts as a stitch, and work into the next one for the next single crochet. Once you close the spike, however, it will be hard to see that stitch, so give it a good look now. After closing the spike, in order to make the next single crochet, you may have to wiggle your hook into that stitch, which often gets wrapped within the last loop of the spike.
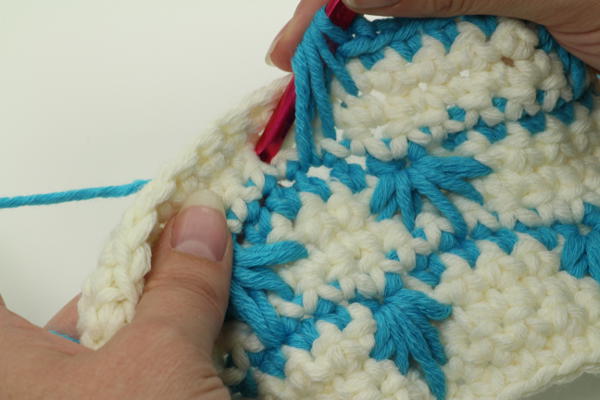
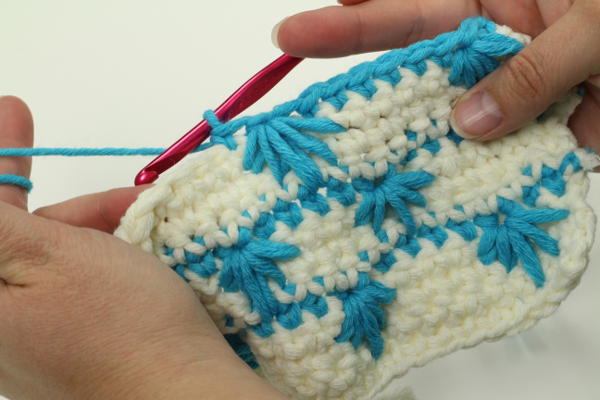
Once you’ve closed the spike and made the next single crochet, you should have a spike cluster stitch that looks like the photo below.
Now that you’ve finished reading this quick how-to, you’re ready to work on a cute and practical small clutch, perfect for holding your essentials, or a beautiful Japanese Maple Pillow.
Hi!! I would like to know what the chain count is for this blanket.
Hi! It doesn’t look like we have a spike cluster stitch afghan at this time, but perhaps you can use this pillow pattern as a starting point: https://www.ilikecrochet.com/magazine/crochet-home-decor/crochet-pillow-patterns/japanese-maple-pillow/
-Nicola, Editor
i would like to see more videos showing the stitches. is this possible or where on your site is it. Thanks
Hello! You can browse our videos here: https://www.ilikecrochet.com/tag/video/
– Nicola, Editor
Is there a tutorial video for this stitch?
Hi there! We don’t have a video for this stitch at the moment, but we will keep it in mind for future video creation! – Nicola, Editor