

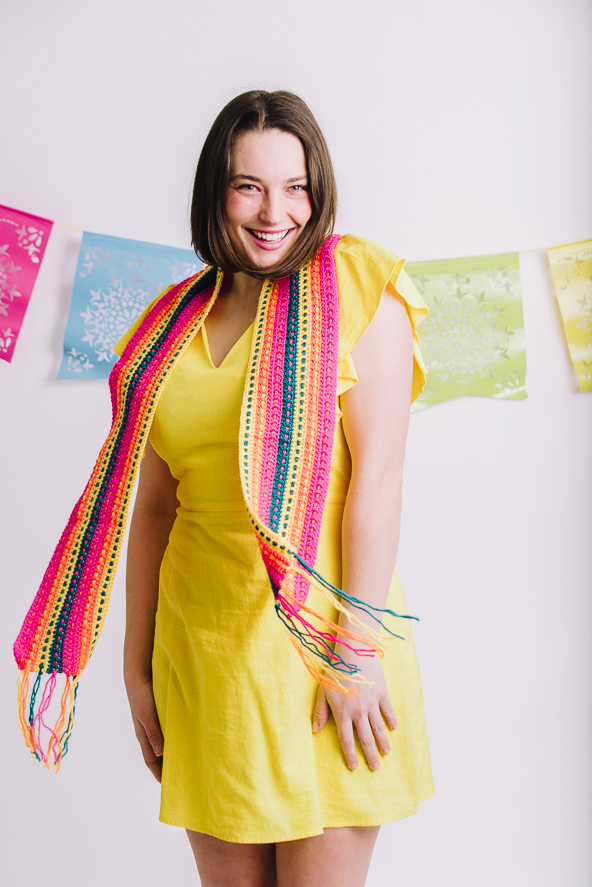
Based on the style of Sarape blankets and ponchos, this vibrant scarf is a festive way to liven up your favorite party dress. Complete with fringe, this scarf is an easy piece to crochet in a weekend. Plus, look at those colors!
Skill Level: Beginner
Size: 60” long (without fringe) x 5” wide
Gauge: 9 rows and 9 sts = 4” (10 cm) in pattern
Materials
 Yarn: King Cole Pricewise DK (100% acrylic; 308 yards [282 meters]/100 grams): #77 Lipstick (C1, 1 ball), #144 Orange (C2, 1 ball), #55 Gold (C3, 1 ball), #341 Topaz (C4, 1 ball)
Hook: US size G/6 (4.0 mm)
Notions: Large tapestry needle
Pattern Notes
Ch-3 at beginning of row counts as dc unless otherwise specified.
Pattern
Scarf
With C1, ch 257.
Row 1: Sc in second ch from hook, sc in each st across. Turn. (256)
Row 2: Ch 3, dc in each st across. Turn. (256)
Row 3: Ch 1, sc in each st across. Turn. Change to C2.
Row 4: Ch 1, sc in each st across. Turn.
Row 5: Ch 3, dc in each st across. Turn.
Row 6: Ch 1, sc in each st across. Turn.
Rows 7-9: Change to C3. Rep Rows 4-6.
Rows 10-12: Change to C4. Rep Rows 4-6.
Rows 13-15: Change to C1. Rep Rows 4-6.
Rows 16-18: Change to C2. Rep Rows 4-6.
Rows 19-21: Change to C3. Rep Rows 4-6.
Fasten off. Weave in ends.
Stripes
Cut 3 strands of C1 approximately 80”long.
Cut 6 strands of C2, C3, and C4 approximately 80” long.
Thread 3 strands of C2 in yarn needle. Sew through Row 2, (over first dc and under the next dc) to the end of the row. Leave both ends about 10” long. Do not tie off.
Rep with rem colors with 3 strands at a time as follows:
C3 sewn through Row 5.
C4 sewn through Row 8.
C1 sewn through Row 11.
C2 sewn through Row 14.
C3 sewn through Row 17.
C4 sewn through Row 20.
Finishing
Lay Scarf out flat and gently pull lengthwise to ensure stripes do not scrunch or stiffen the flexibility of the scarf.
Knot the Stripes around the stitch at either end of the row.
Cut fringe to desired length.