Crossed cables appear very frequently in knitting, but luckily there is a way to replicate the stitches and have them appear in your crochet work. All you’ll need for this technique is a very flexible yarn, since you’ll be moving it to get under and around stitches, knowledge of the front post and back post stitches, and your regular crochet hook.
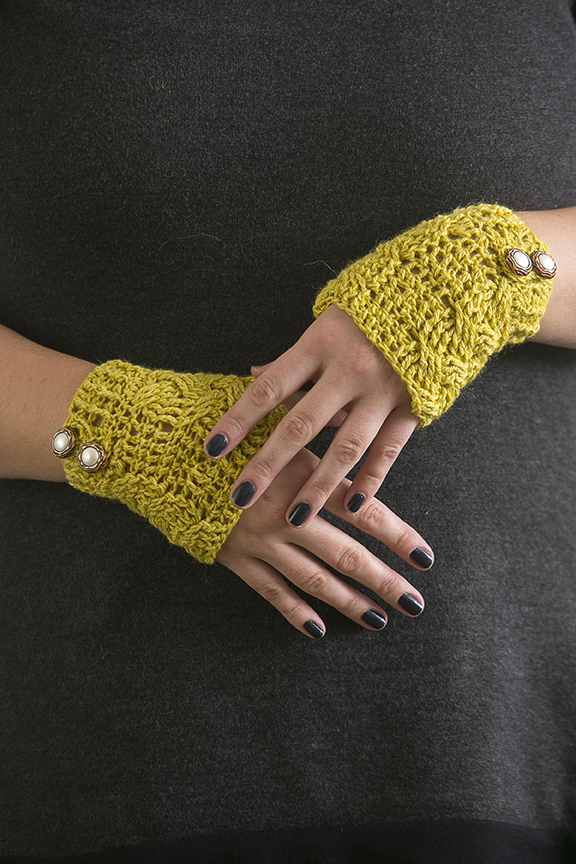
The method for making stitches cross each other for the Mustard Seed Fingerless Gloves, shown below, is to skip three stitches, work into the following three stitches, then go back and work into the stitches that were skipped. It’s important to work crossed stitches loosely, allowing them to stretch along the diagonal without pulling at the work.
You’ll definitely encounter some challenges as you work, but they can be conquered if you’re prepared. In the first round of crossed cables, you will be working the crossed stitches in front of the previously worked stitches. Crossing in front is easier than crossing behind, which generally comes a bit later in the pattern. The main issue you’ll come across is that once you yarn over twice and insert your hook to draw up the first loop, all the loops will be bunched up on your hook making them more difficult to work off. To get through this hurdle, just slow down and take care as you work loops off the hook. To make sure that these stitches are as tall as necessary, I pull down on the stitch with my left hand as I work it to make it lengthen out.

Get this special collection of 3 FREE baby blanket patterns from I Like Crochet right now!
On even numbered rows where you are working a front post double crochet around each stitch, you might be thrown off when considering what constitutes the next stitch. Don’t let the crossing of stitches confuse you! The next stitch is always considered from the top of the stitch, the next one that appears along the round as you work. Insert your hook around the post associated with that stitch. You will also find that some of the stitches worked behind other stitches can be easy to miss, so when working the even-numbered rows, be attentive and count 6 stitches over every crossed group. When you get to a crossed cable row, if you don’t have the correct number of stitches needed, the mistake is likely to be in the even numbered row, so be sure to count each even-numbered row carefully to avoid this mistake.
The trickiest part of these crossed cables is working three front post triple crochet stitches behind other stitches and into skipped stitches. Your hook has to be inserted from front to back around the post, then come back up the front while still remaining behind the three stitches you are crossing under. Here’s a strategy that may help you: when you get to those stitches, turn your work a little so that you can push the 3 stitches just worked off to the right with your right thumb (lefties, do the opposite of course). Then, use your other hand to maneuver the work so you have the right side of the first skipped stitch facing. From this angle, you should be able to yarn over twice, insert the hook around the post, and complete the first crossed front post triple crochet. Keeping those same three stitches off to the right, yarn over twice and insert the hook around the post of the next skipped stitch and complete the stitch. The third skipped stitch may be hard to find, but so long as you keep pushing those pesky front stitches off to the right, you should be able to use your fingers to locate it and work it the same way.
One last point to make about crossed stitches is that the top loop of the stitch is likely to enlarge. I don’t like the way this looks and you might not either, but fortunately, because we work around the posts, the enlarged loops do not show at all! If you try to tighten up to compensate, you may end up with crossed stitches that are not loose enough, and for this pattern, long-legged crossed stitches are a priority.
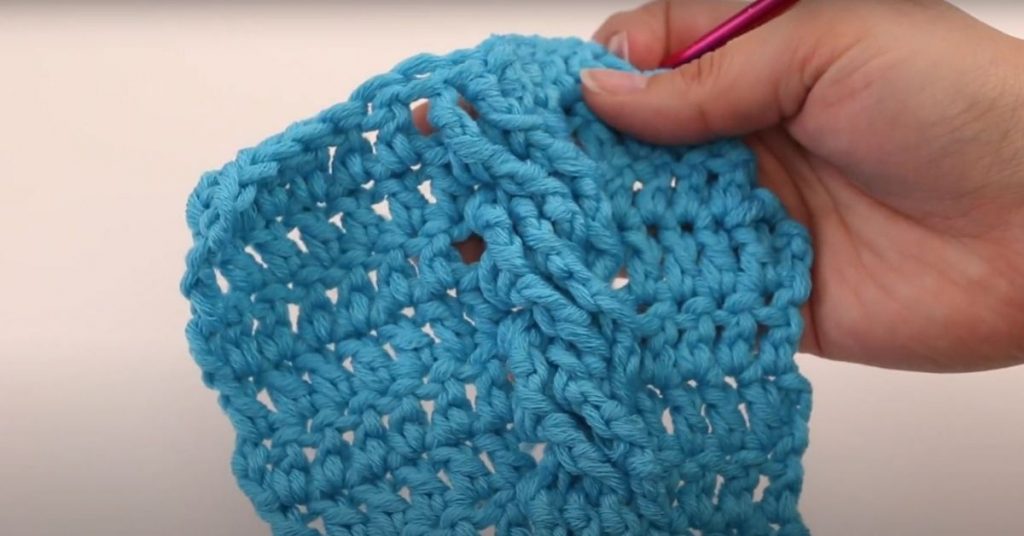
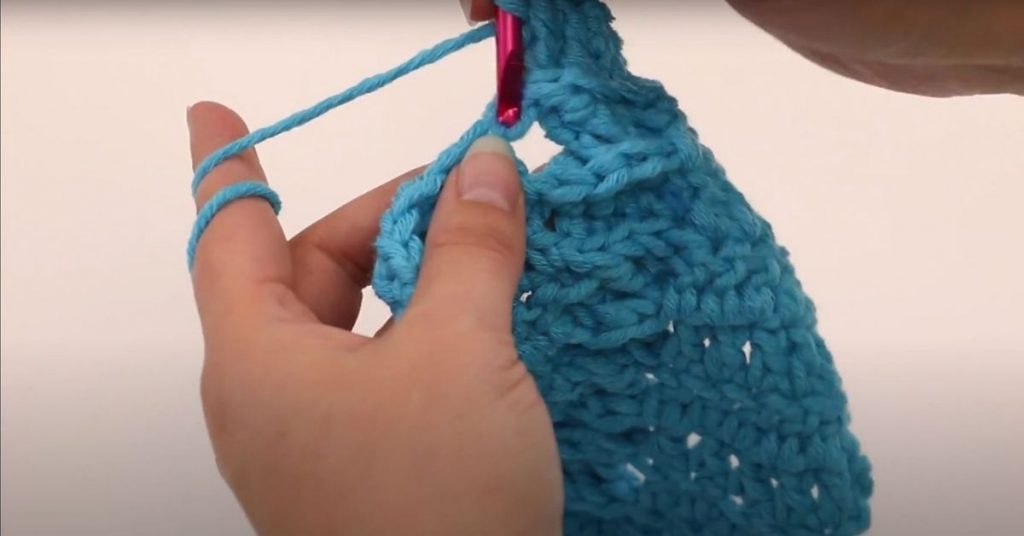
This particular sample is a two stitch cable so you can see that we’ve got two stitches going one way and two going the other way.
The way I did this, your pattern will tell you what to do, but this particular example is two treble crochets through the front post of the row below. This is a little tricky, the only thing you have to watch here is your gauge and your tension because you are having to manipulate the yarn to get it to actually cross.
Before you get started, make sure you’ve practiced the Front Post Treble Crochet and Back Post Treble Crochet techniques so that you are ready to try these cables!
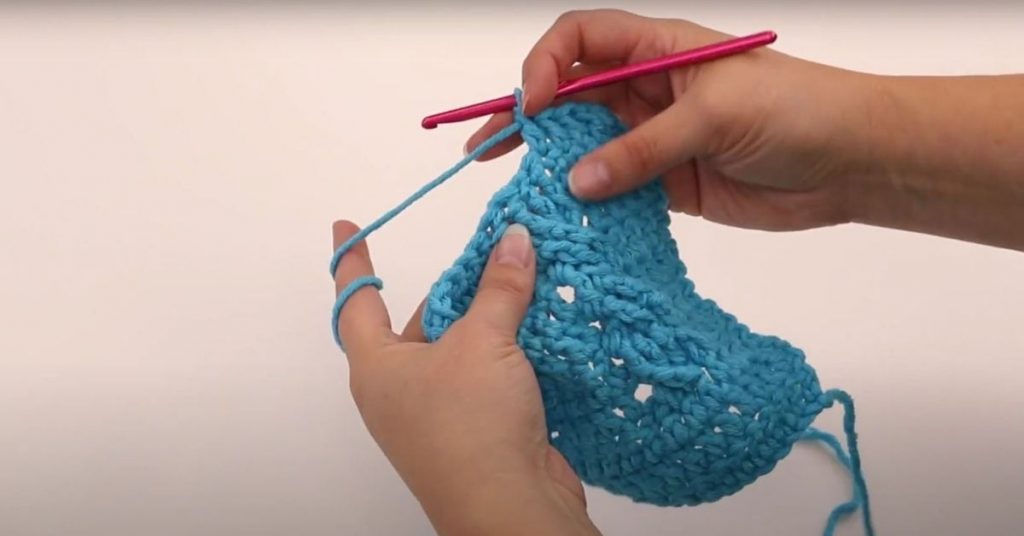
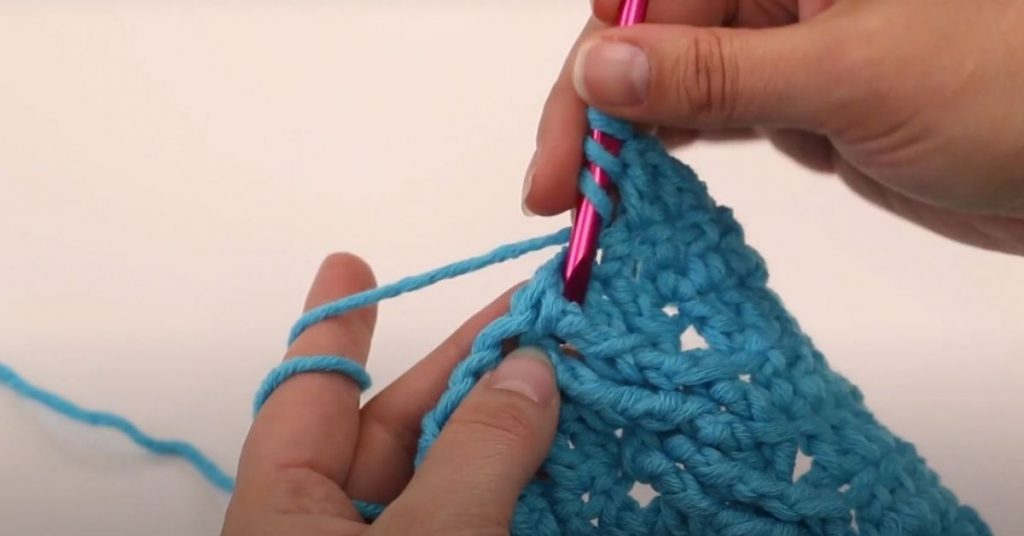
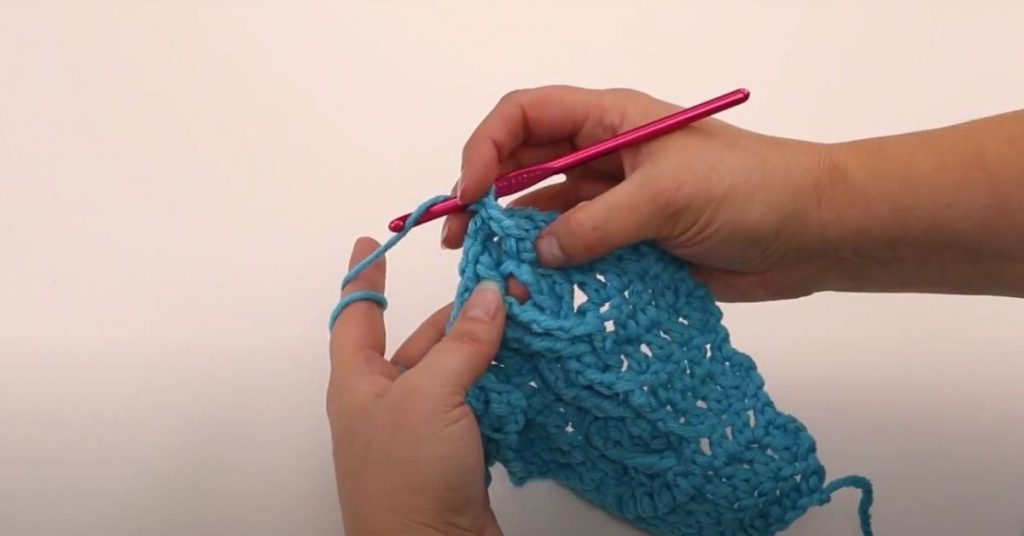
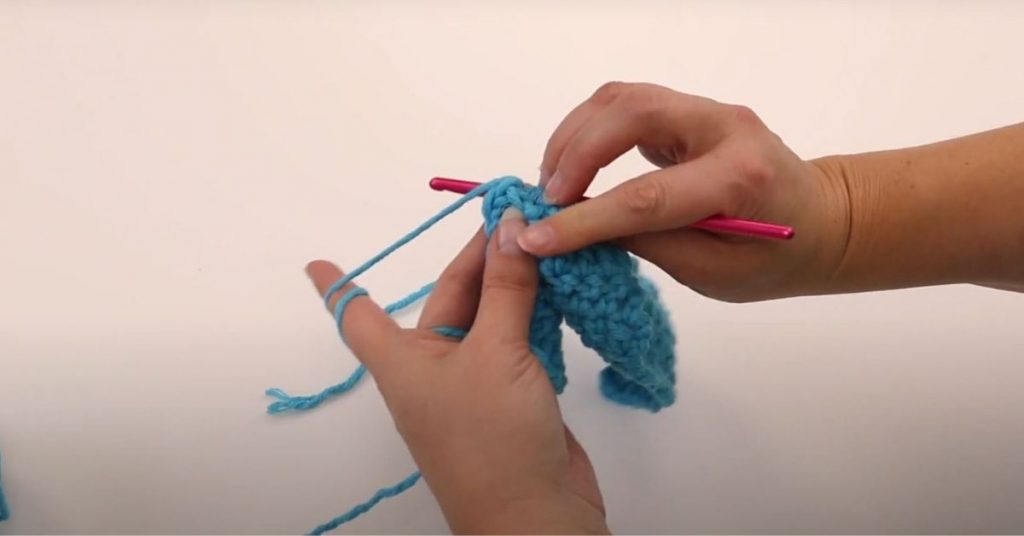
So I’ve started my row, my pattern here is calling for double crochets. So we double crochet across two to where my cable starts. Now here’s where we need to watch our tension. We need to keep things loose but not so loose that we lose our definition.
This is a two stitch cable so what I have to do is skip the next two stitches, which is here and here.
2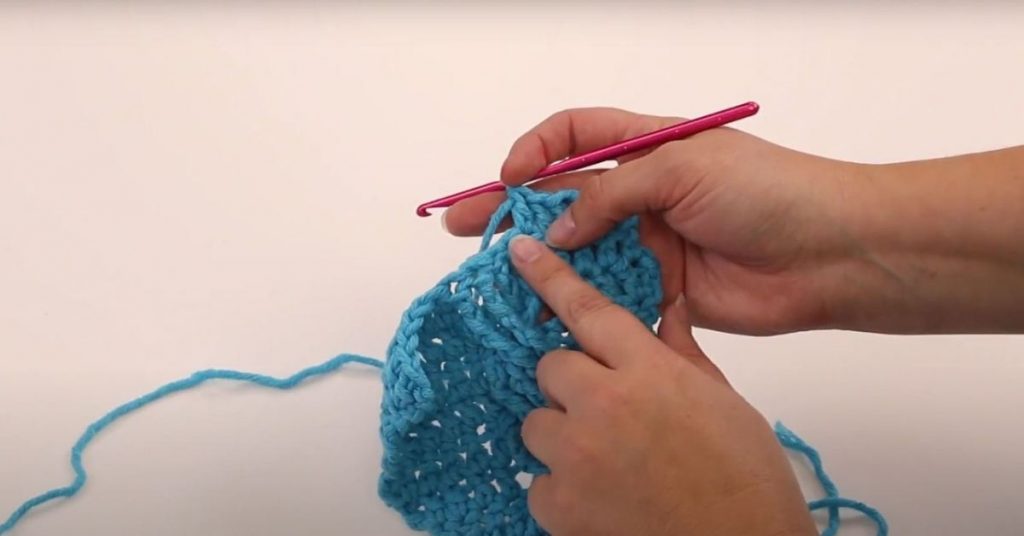
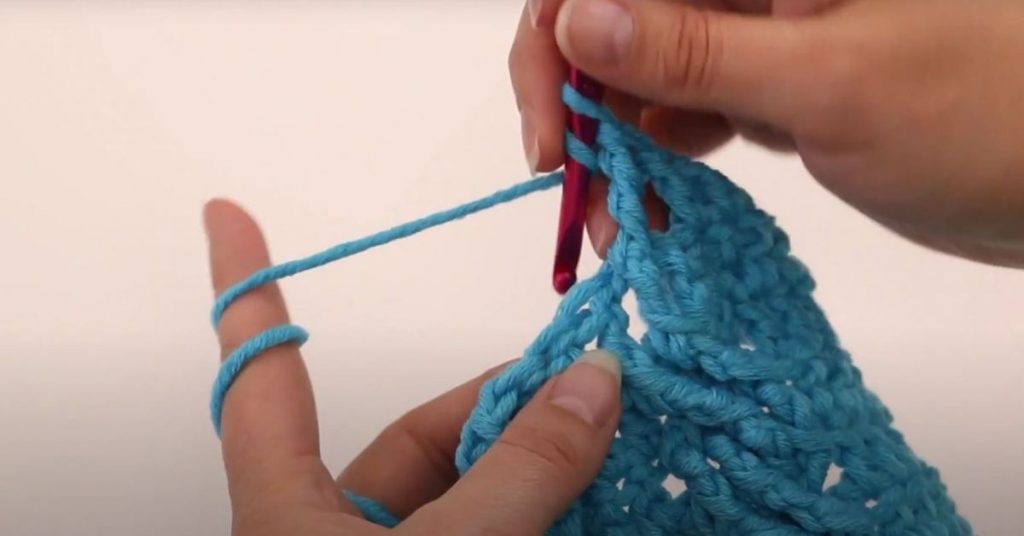
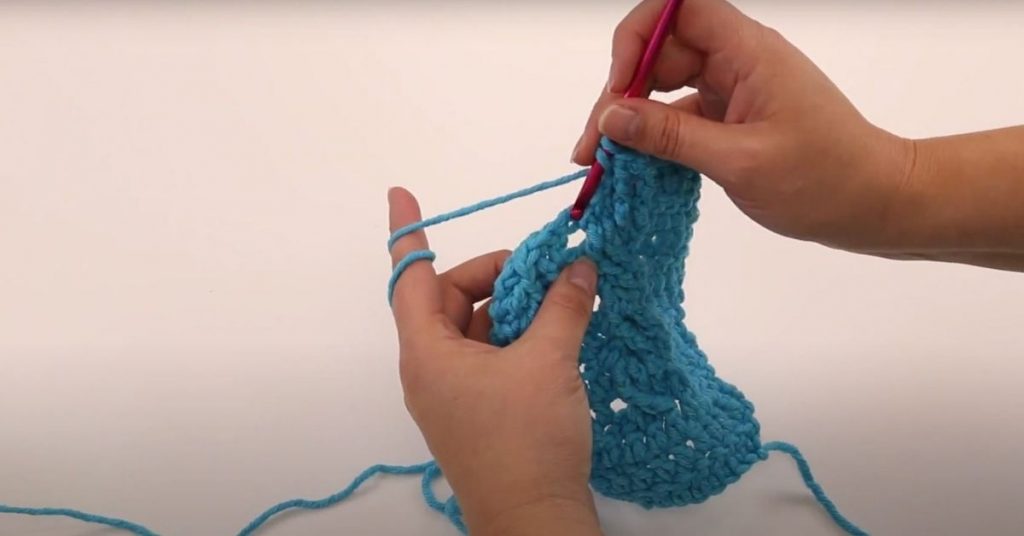
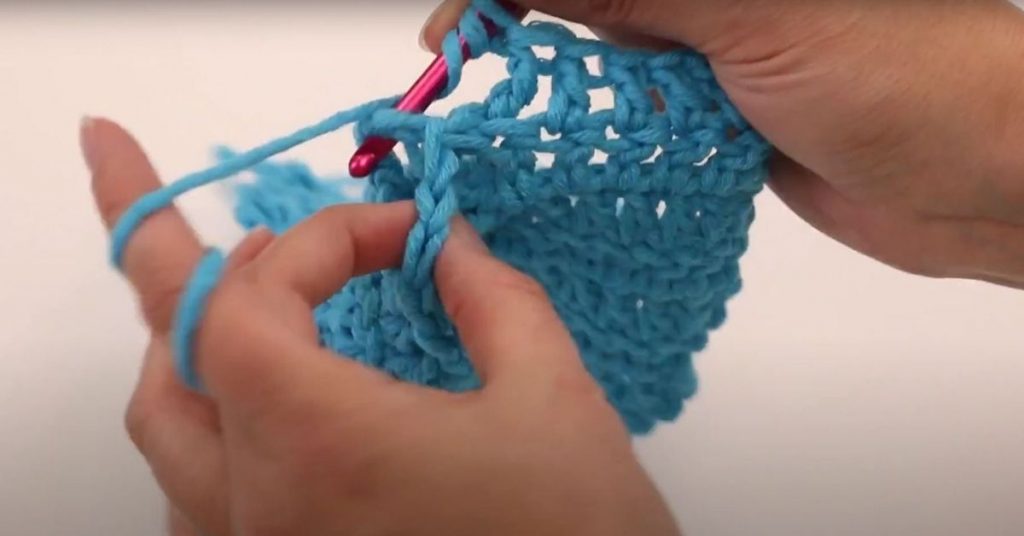
But because we are doing a front post crochet, we’re actually going around the post of the stitch. This part down here is the post.
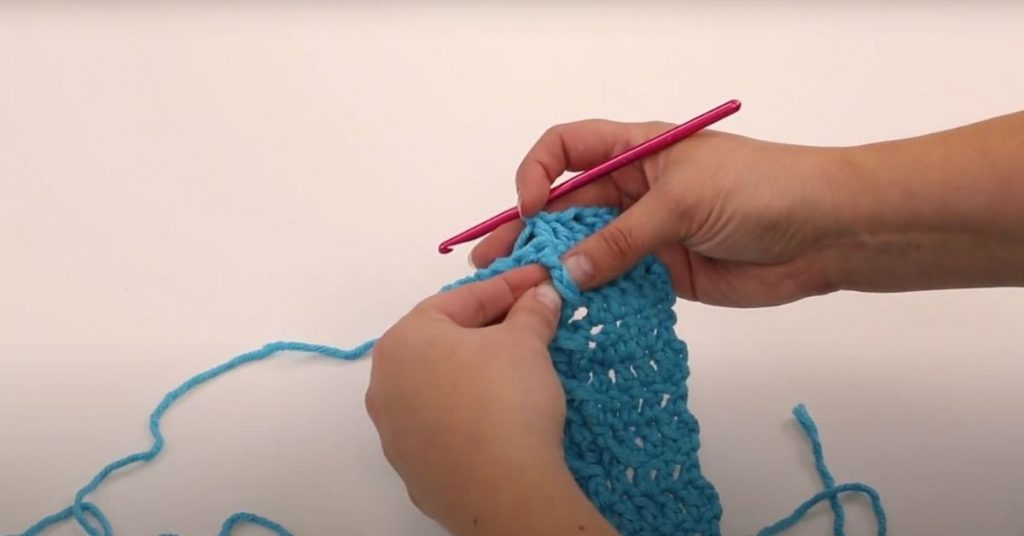
We’re going to go around here with a treble stitch. Wrap twice and a front post we go to the right of the stitch, around the back, around, and through. Then continue you your treble stitch as normal.
*note, the above front post treble crochet was intentionally done in the wrong place to demonstrate the stitch. In the video and the following steps, the stitch is redone in the correct place in the pattern.
To do the cable, you actually have to skip some stitches, to get the cable now.
This is a two stitch so we have to go to the next post as well.
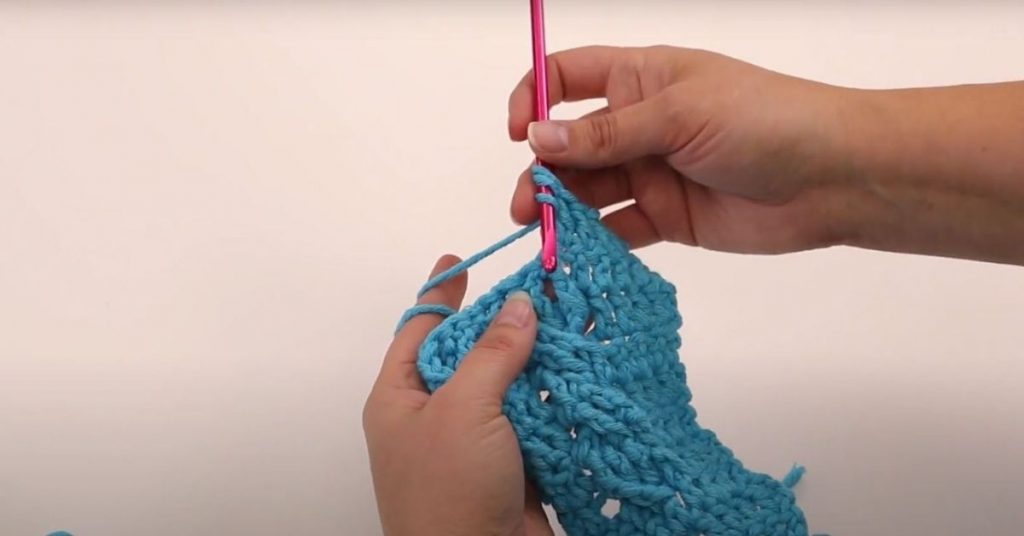
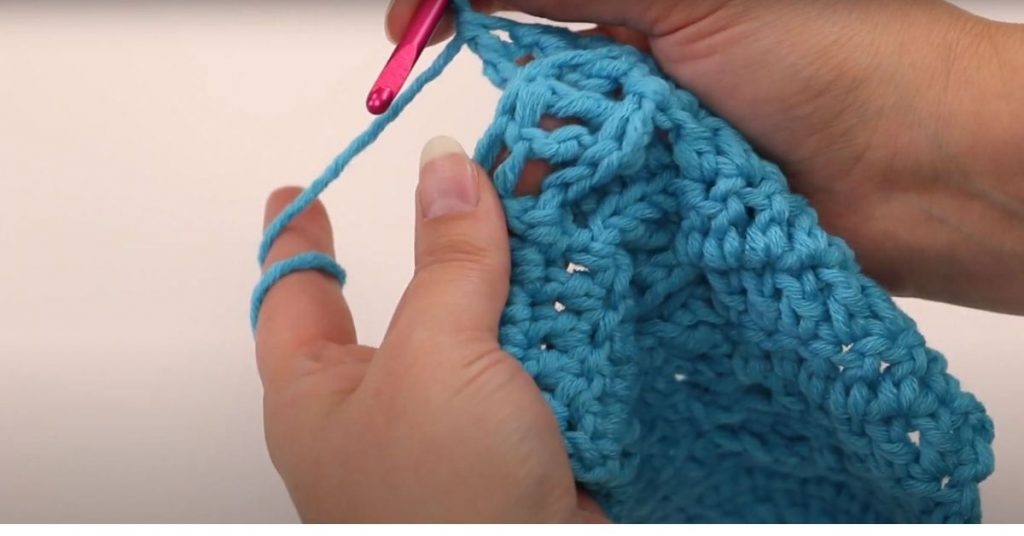
To do the cross keep your stitches loose and you’re going to go back to the stitches that you skipped.
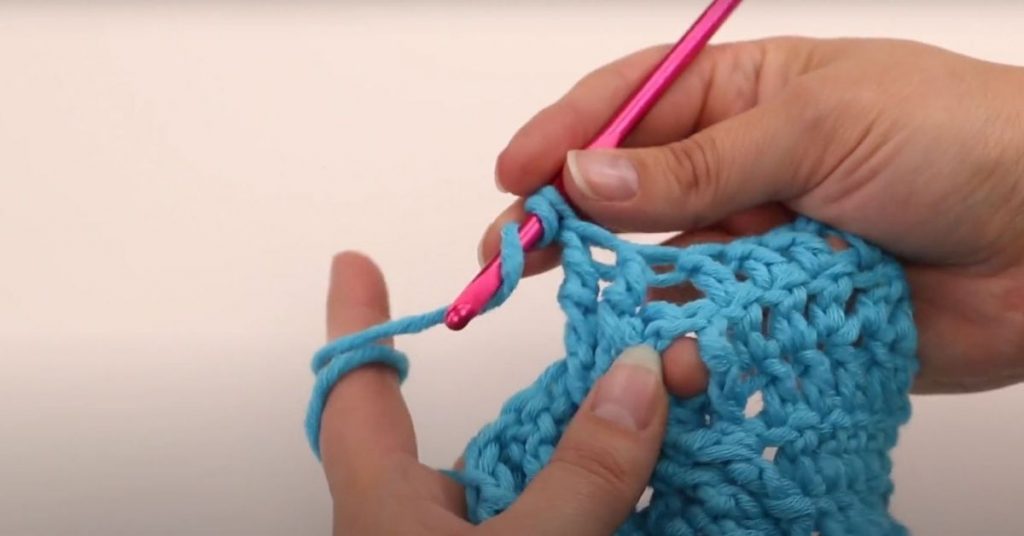
So go to the first one and do a front post treble crochet.
This next one is a little fiddly you’re going to have to pull it up because it does disappear behind.
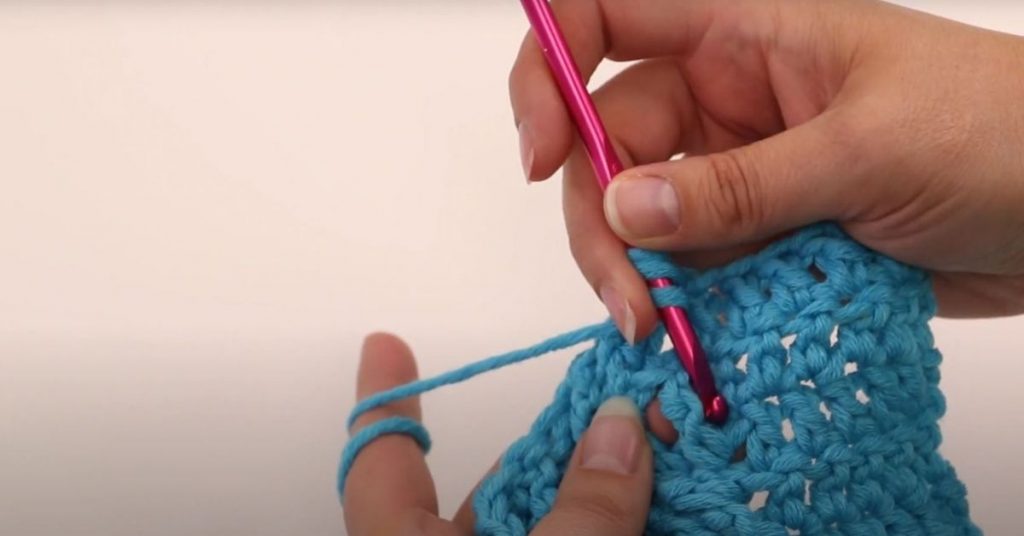
It’s a little awkward to work and if you you don’t want a hole, the key here is to go into the very next hole to continue your double crochet to continue your pattern across.
After finishing this row, we are fast forwarding to the back side of the cable for some tips.

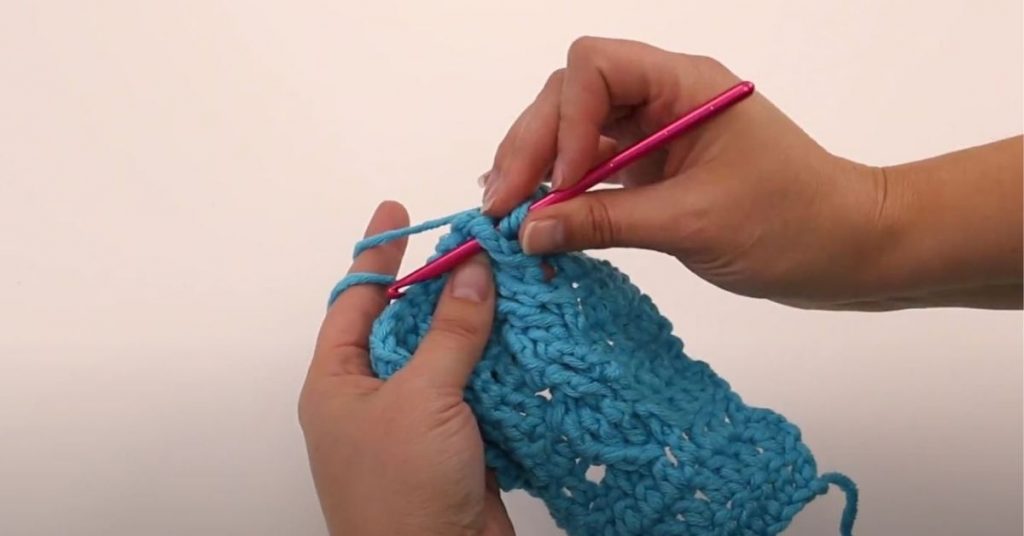
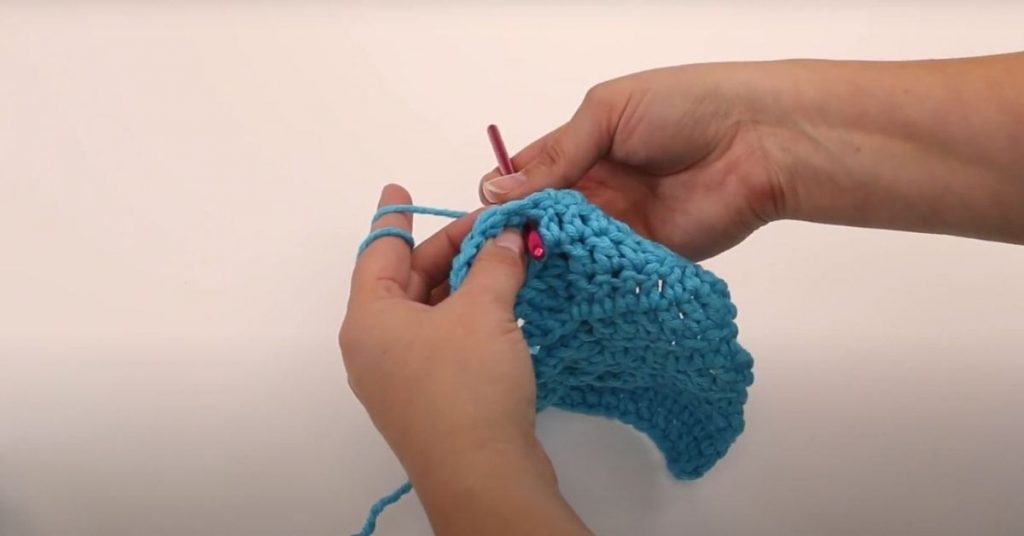
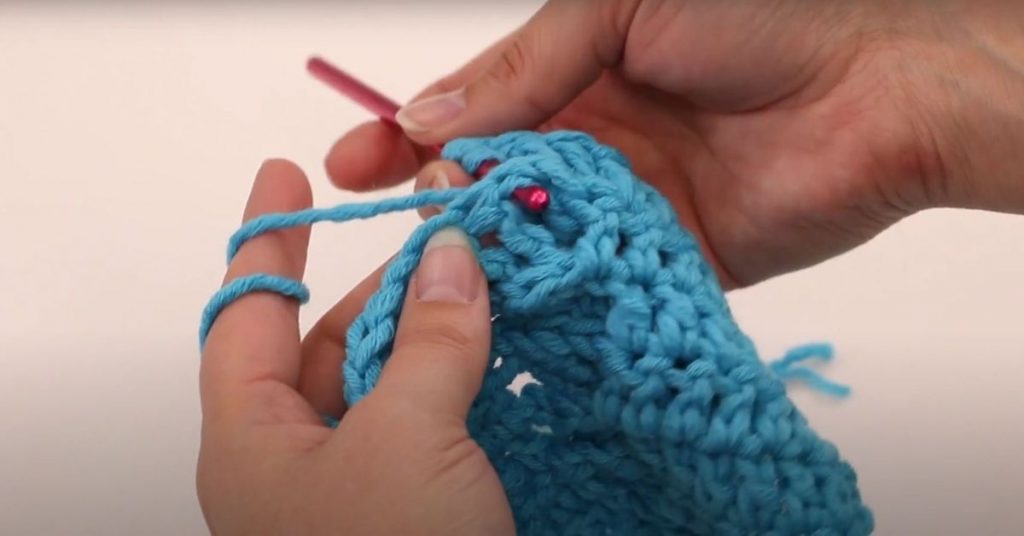
To work this to keep the cable going so that you can have a really nice definition, the trick is to work a back post triple crochet. You’re going to have to really pull your stitches apart which is why you need to keep your tension loose. 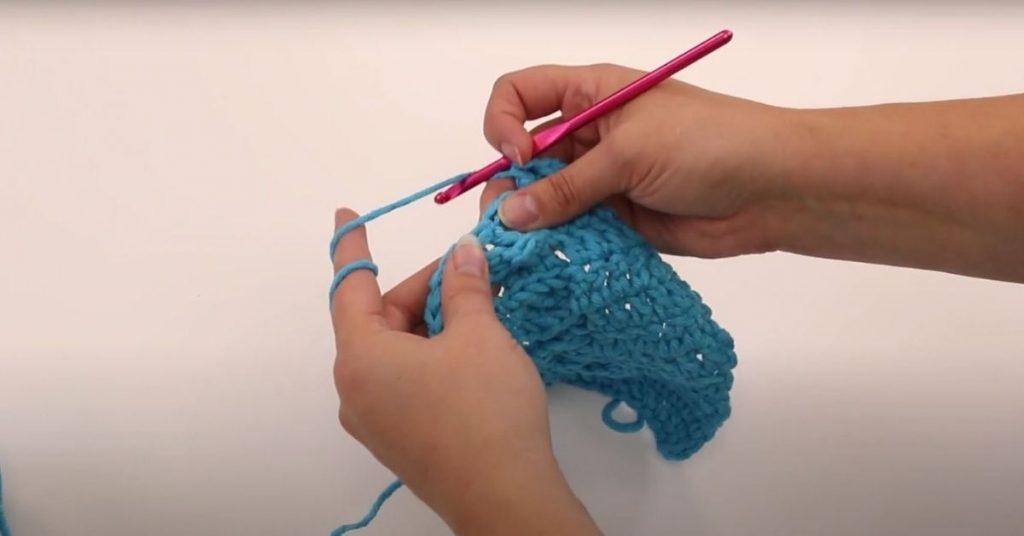
Some people will actually flip their work over to work the stitch but I don’t mind working in this direction and sticking the hook towards myself, around, and pull through.
Then finish the treble stitch. One more time, we are going to go right side of the stitch, through the front of the post…
…pulling it through and then we will finish our treble crochet as normal. Now we have the stitches that crossed behind and you can just stick your finger in there so you can really see the stitches.
Work the second back post and around.
Work the dc in the last available hole and then continue the pattern.
The result is a nice column of cables that is reminiscent of the cables you see in knitting. These cables are great for cozy hats and scarves and more.