


Once you’re done working up your crochet project, it’s time to start thinking about how to finish it up with a little flair. Luckily for you, there is a plethora of ways to edge a sweater or blanket, but our favorite is the simple-to-learn and quick-to-work up picot edging. The picot stitch is versatile, easy to adjust for any situation and just about the prettiest edging you’ll learn. To see how simple this stitch is, follow along and you’ll be whipping out a beautiful edging in no time at all. You only need to know how to work the chain stitch and the slip stitch to create beautiful picots. If our directions still have you confused, be sure to take a look at the video tutorial at the end of this article.

Get this special collection of 3 FREE baby blanket patterns from I Like Crochet right now!
Once you have completed your piece, begin by attaching your edging color near a corner with a simple slip stitch.
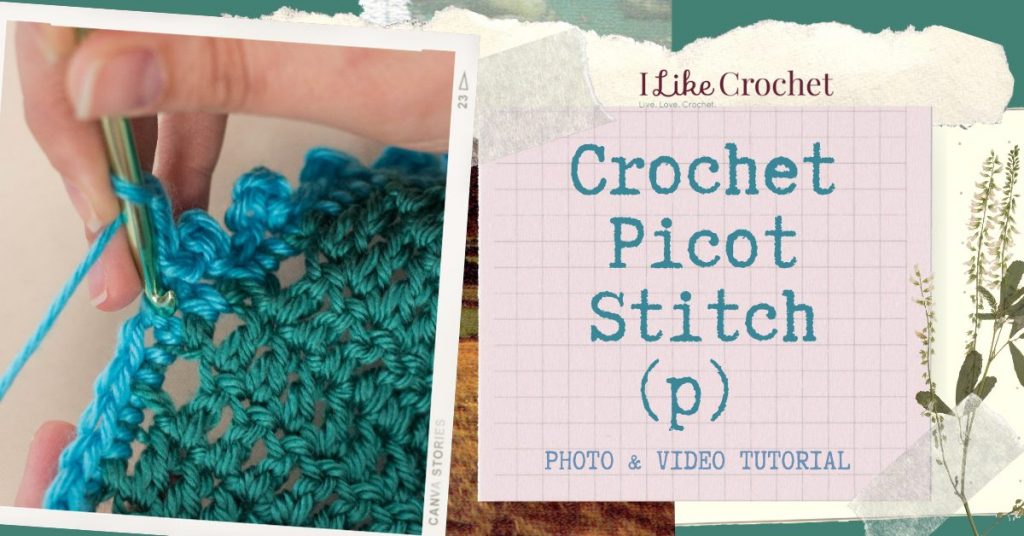
The Picot Stitch
To begin your first picot, chain 3 stitches. To close your picot, slip stitch into the same stitch.
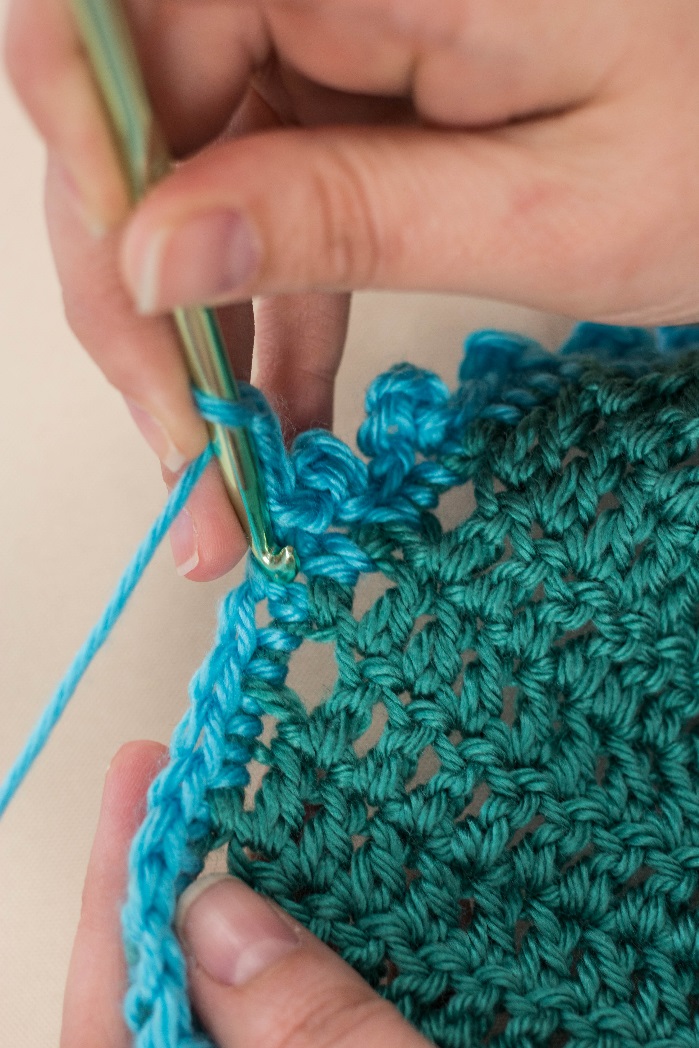
Voila, you’ve just completed one picot!
Continue working picots in this same manner and slip stitch, chain 3, slip stitch again. To get a more ruffled appearance to your edging, work the next picot in the next available stitch. To space the picots out, work slip stitches between the picots.
You can make the picots more pronounced by adding more chains, or make them more delicate by only chaining 2 between the slip stitches.
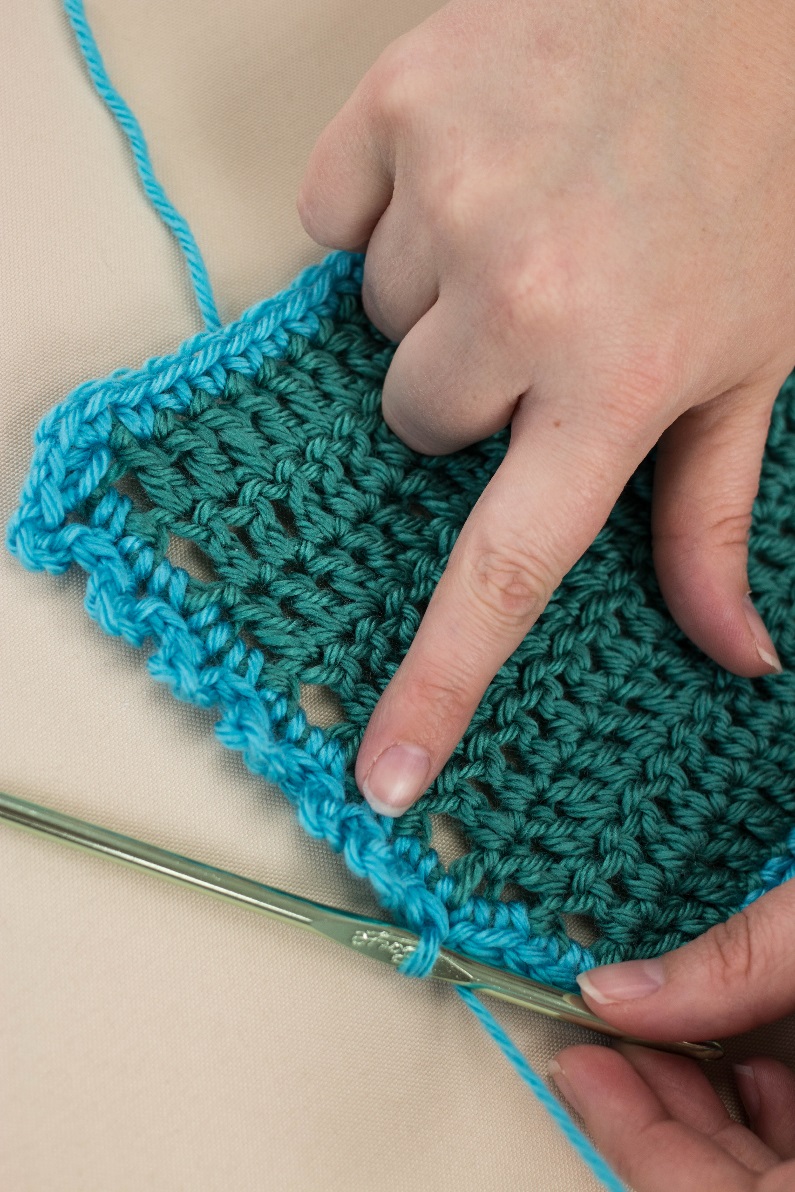
As you can see, the possibilities of the picot edging are almost endless! Now you can go and put this instruction to good use and work up the Second Season Wrap on the next page.