


Does the thought of seaming your sweaters make you nervous? Fear no more! Check out this easy seaming tutorial and get ready to download that sweater pattern you’ve been coveting. We promise; it’s not as bad as you might think.
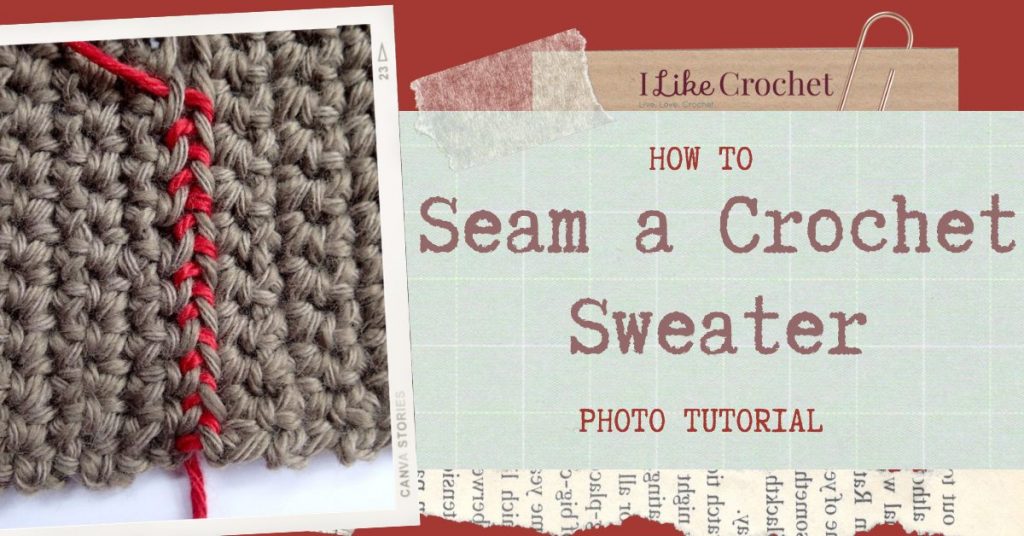
In this free seaming sweater tutorial, you’ll learn how to invisibly join two pieces of knit or crochet work, such as the front and back panels of the Two Sisters Lake Sweater from the October 2019 issue I Like Crochet magazine (pictured).
How to Seam a Crochet Sweater
Materials:
- Yarn to match the project
- tapestry needle
- sweater pieces or scrap work you can practice with

Get this special collection of 3 FREE baby blanket patterns from I Like Crochet right now!
Instructions
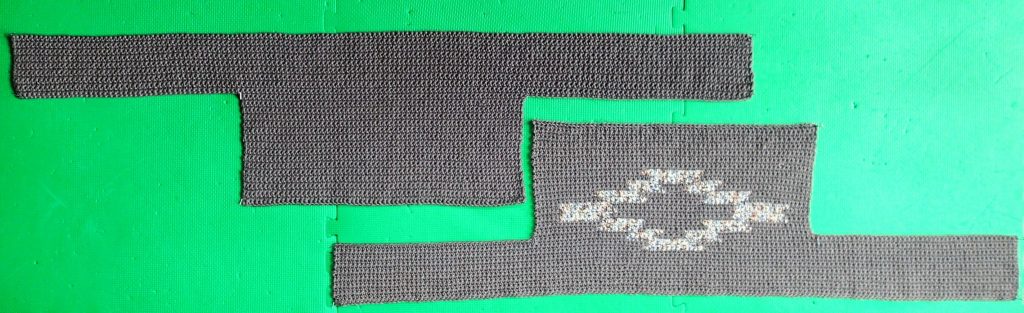
Step 1: Blocking. Flattening and smoothing the edges of each piece will make it easier to match the front and back stitches for an even, pretty seam. Pin the pieces out to the dimensions listed in the pattern and wet block, steam block, or mist with water following the care instructions on the yarn label. Leave pinned flat until completely dry. Need a refresher on how to wet block crochet projects? Check out our other free tutorial.
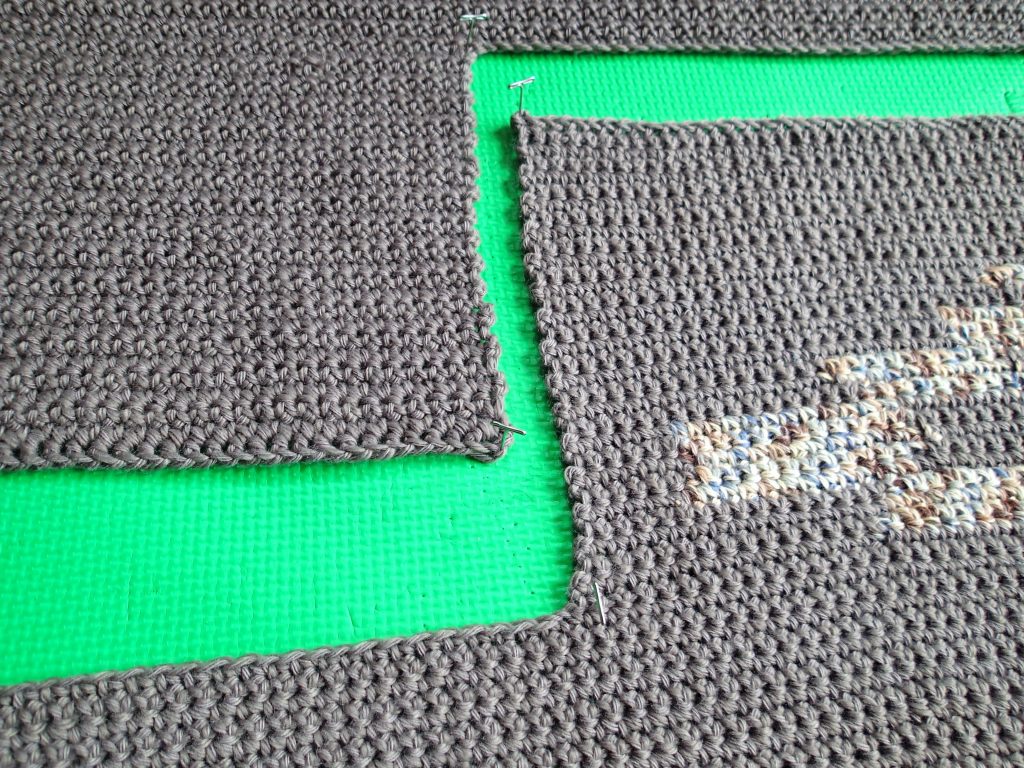
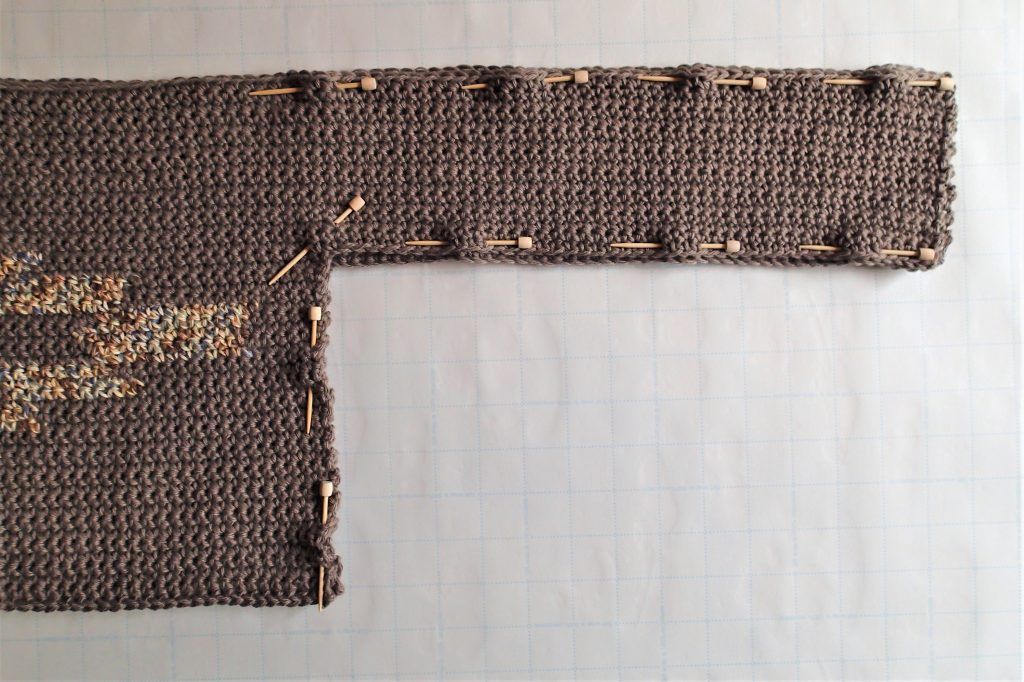
Step 2: With the right sides of the work facing out and the wrong sides facing each other, pin along the edges to be seamed or use small clips to secure the pieces of work. The sides of the sweater, the sleeves from the wrist to the underarm, and the shoulder area typically require seaming. Sewing the seam from the right side rather than inside out ensures that your seam will look great when the sweater is worn.
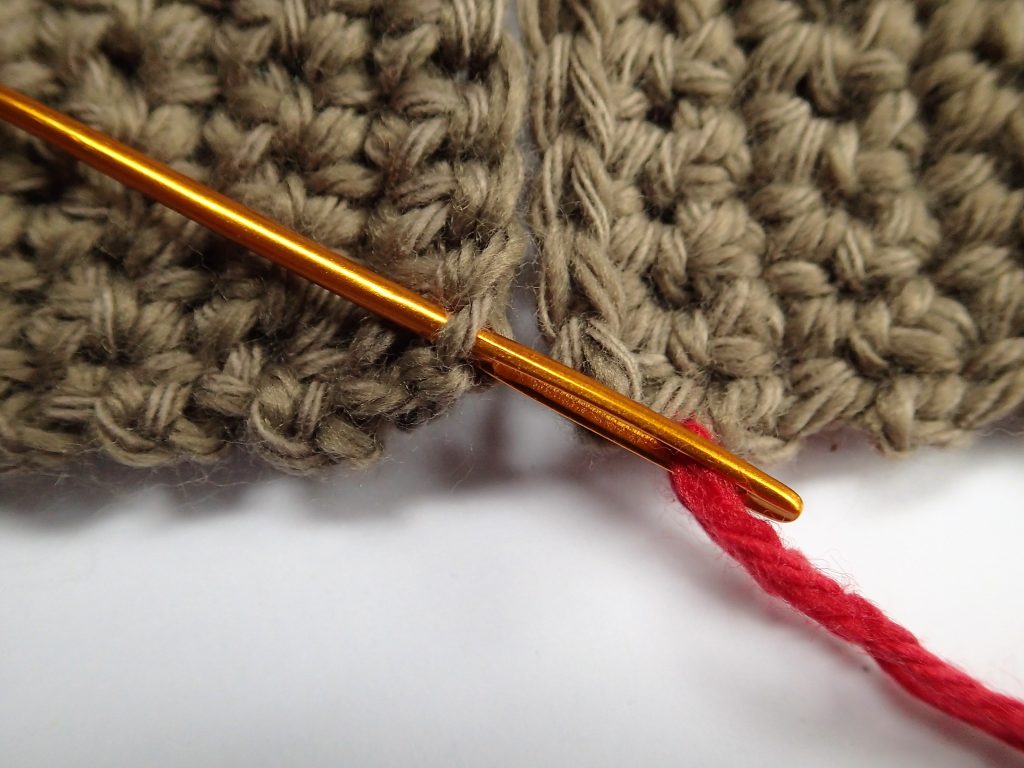
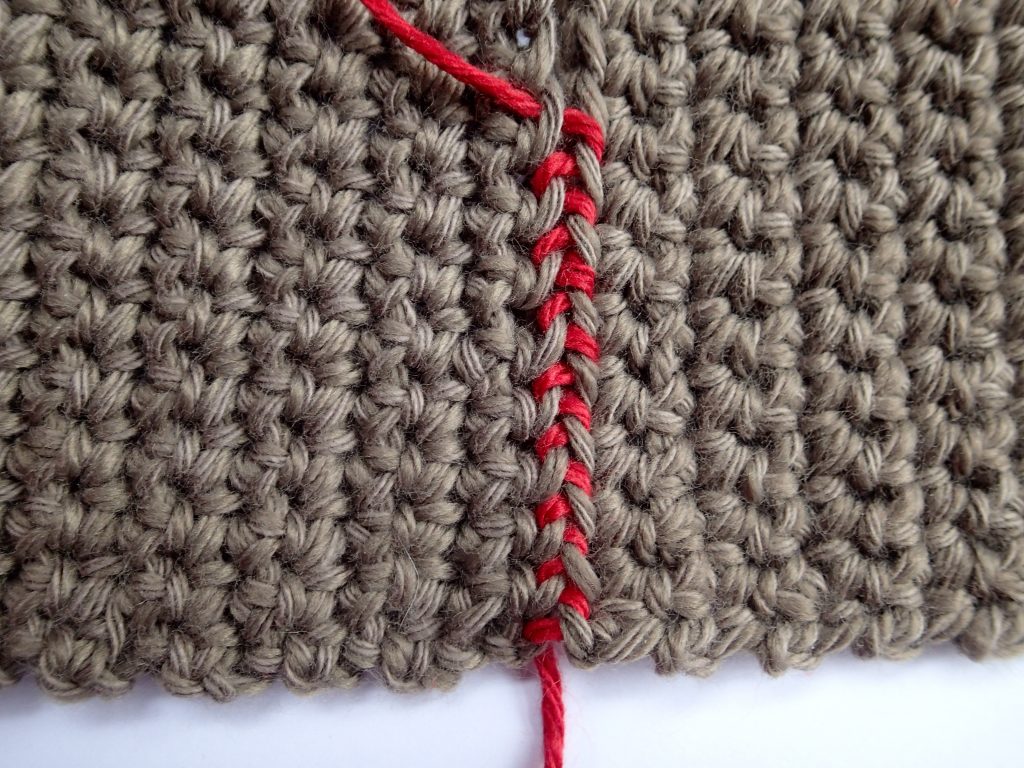
Step 3: Thread the tapestry needle with about 36” [91 cm] of yarn. Contrasting yarn is used here for illustration purposes. Choose yarn to match your project for an invisible seam. Do not knot the end. Instead, leave a 6” tail to help tighten the seam later.
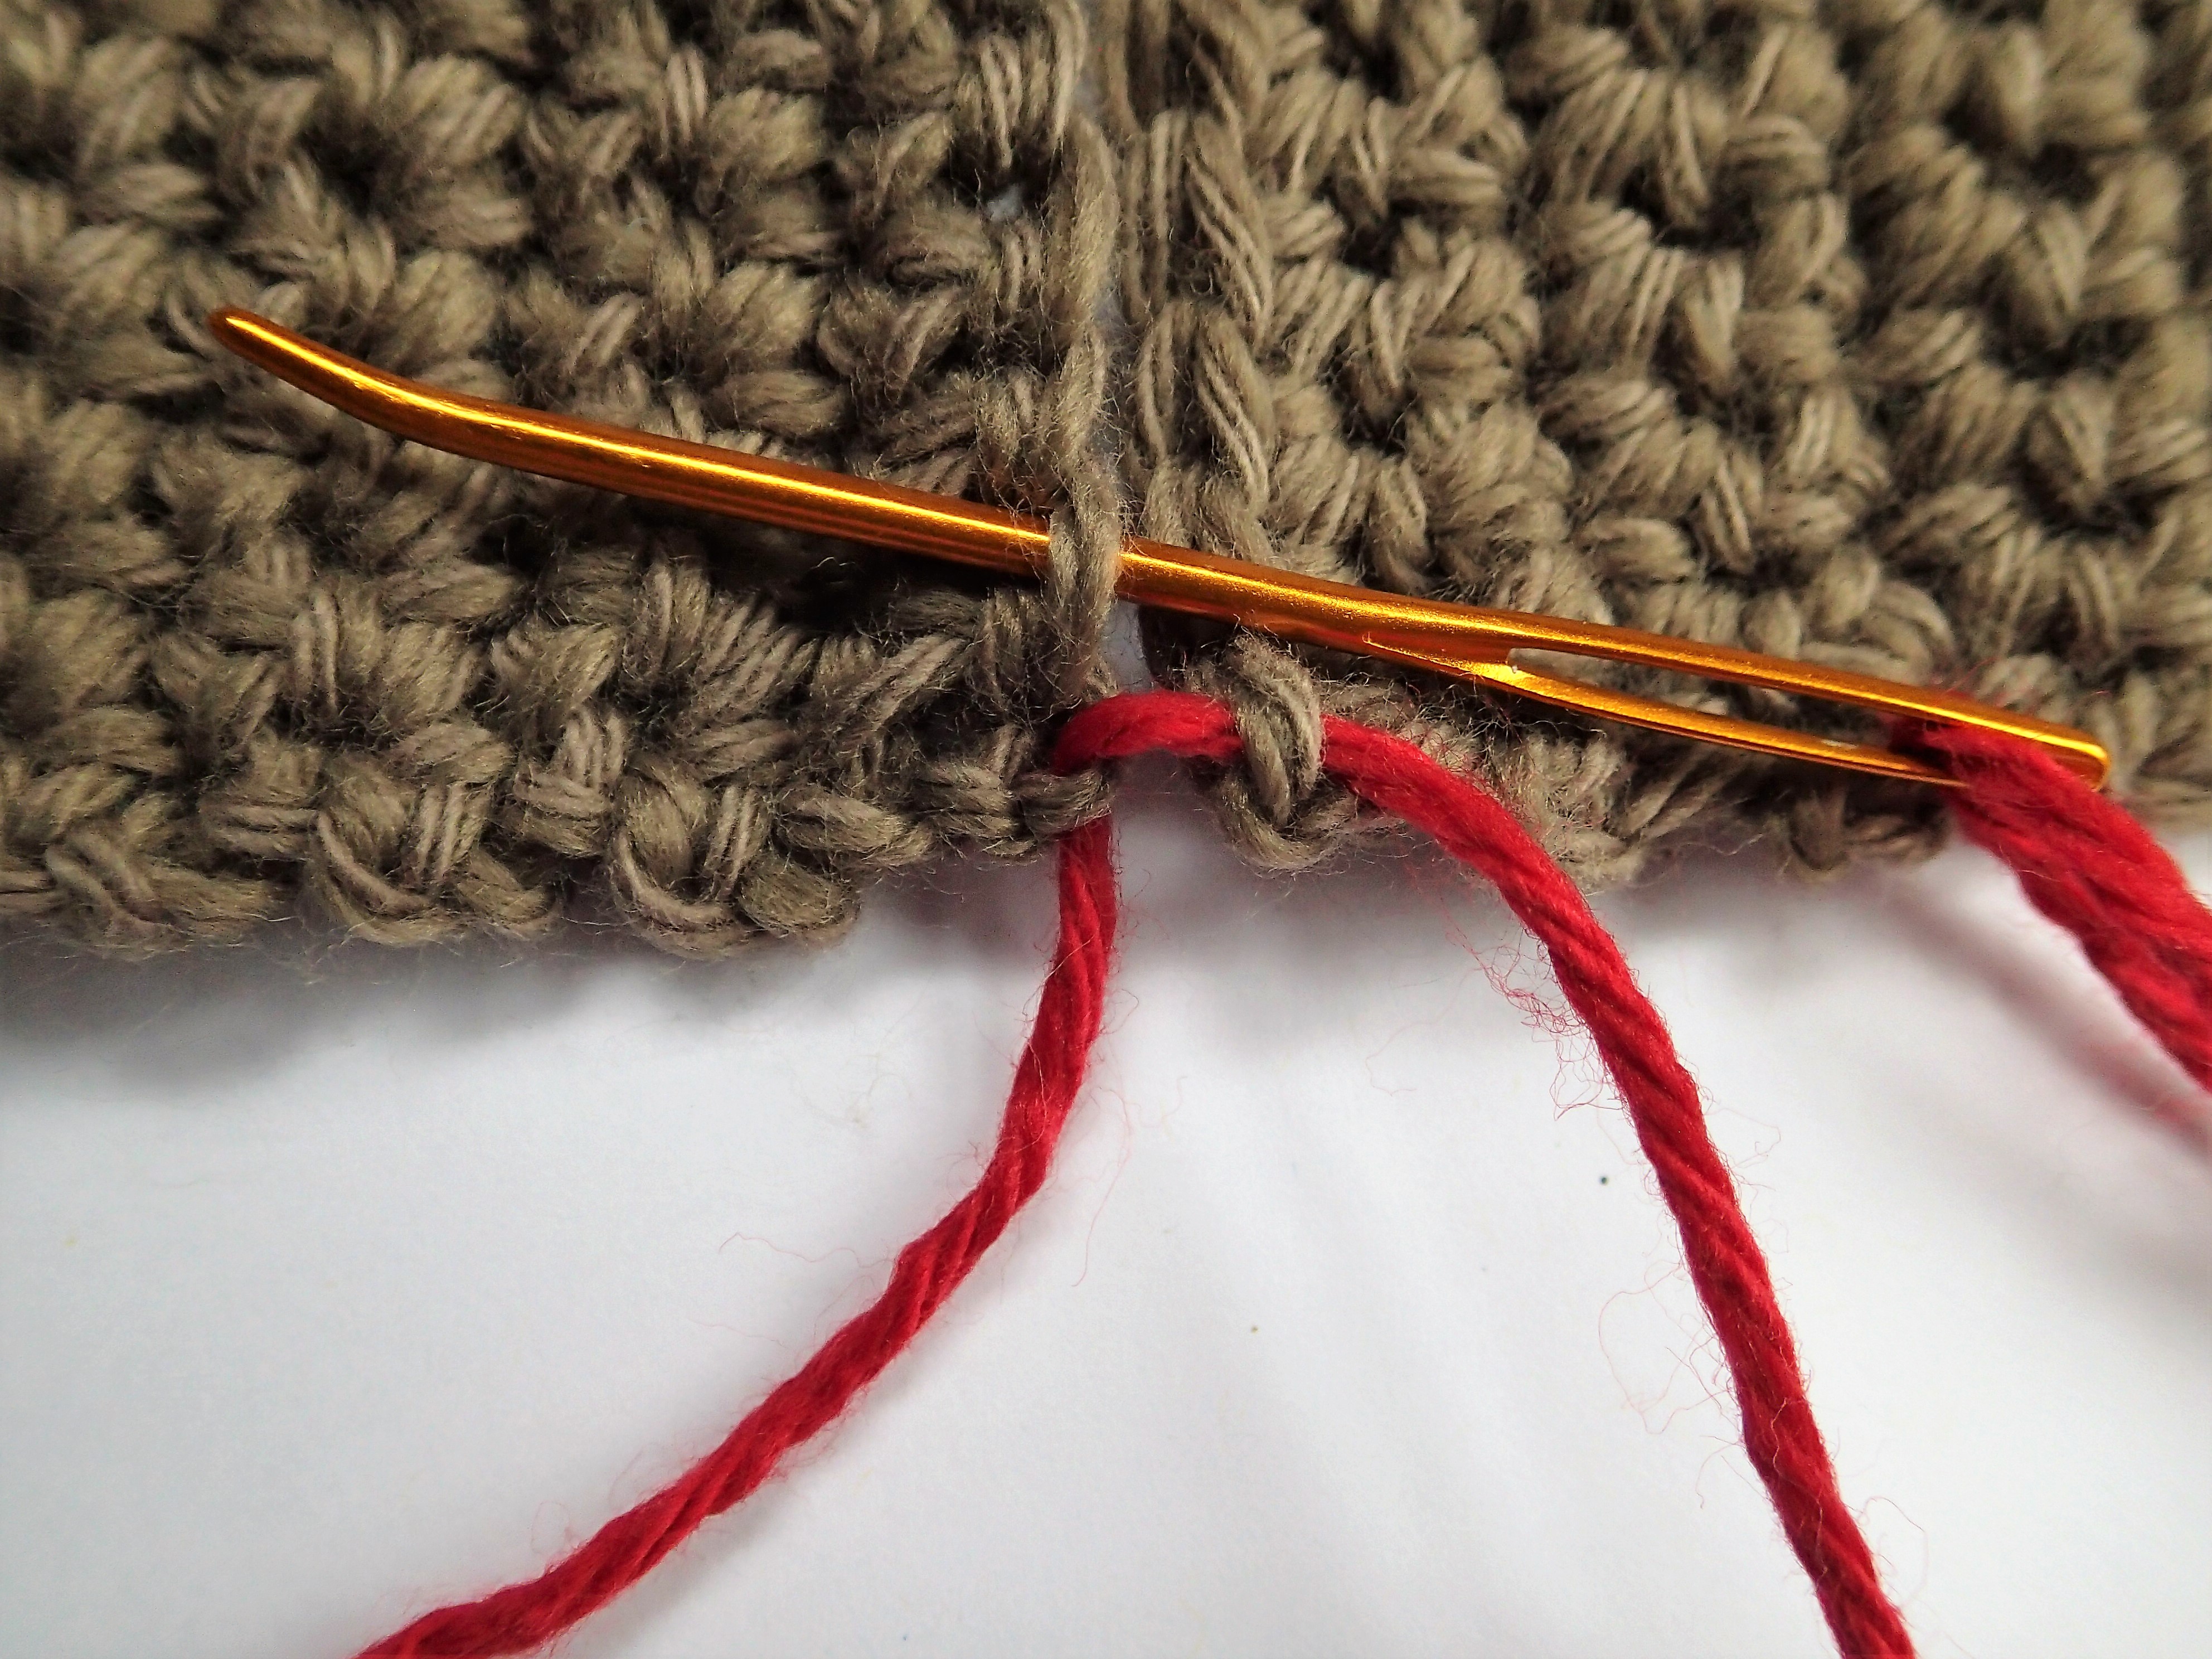
Step 4: Unpin the first few inches of work to be joined and match the edges on a flat surface. Starting at an edge, insert your needle from the bottom of the work up through the front loop only of the first stitch on one piece. The front loop of the stitch will be the outermost loop facing you.
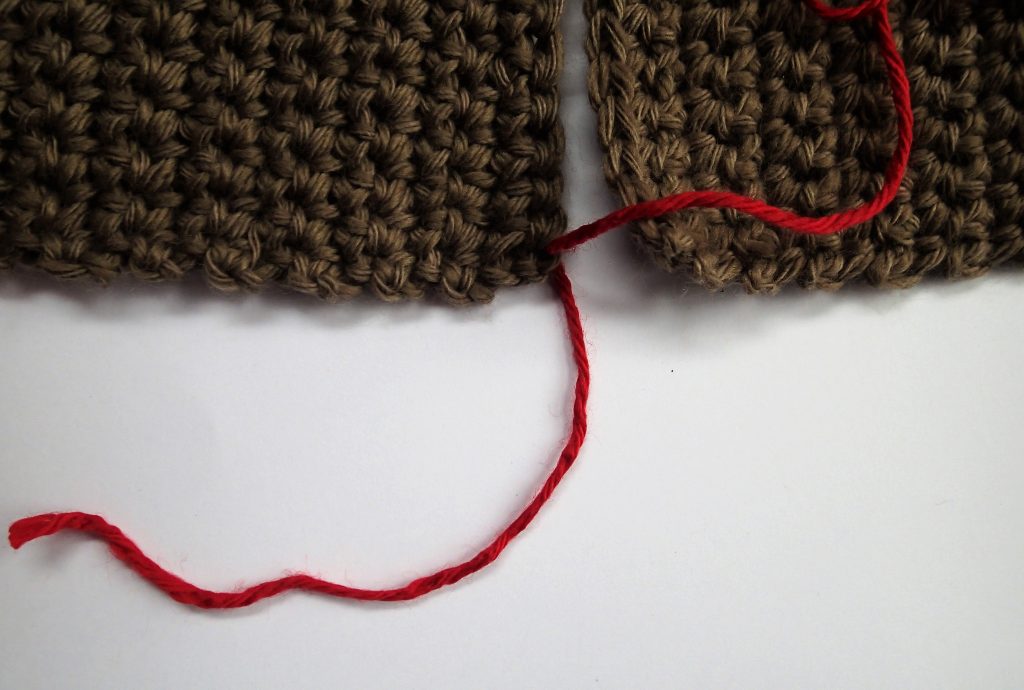
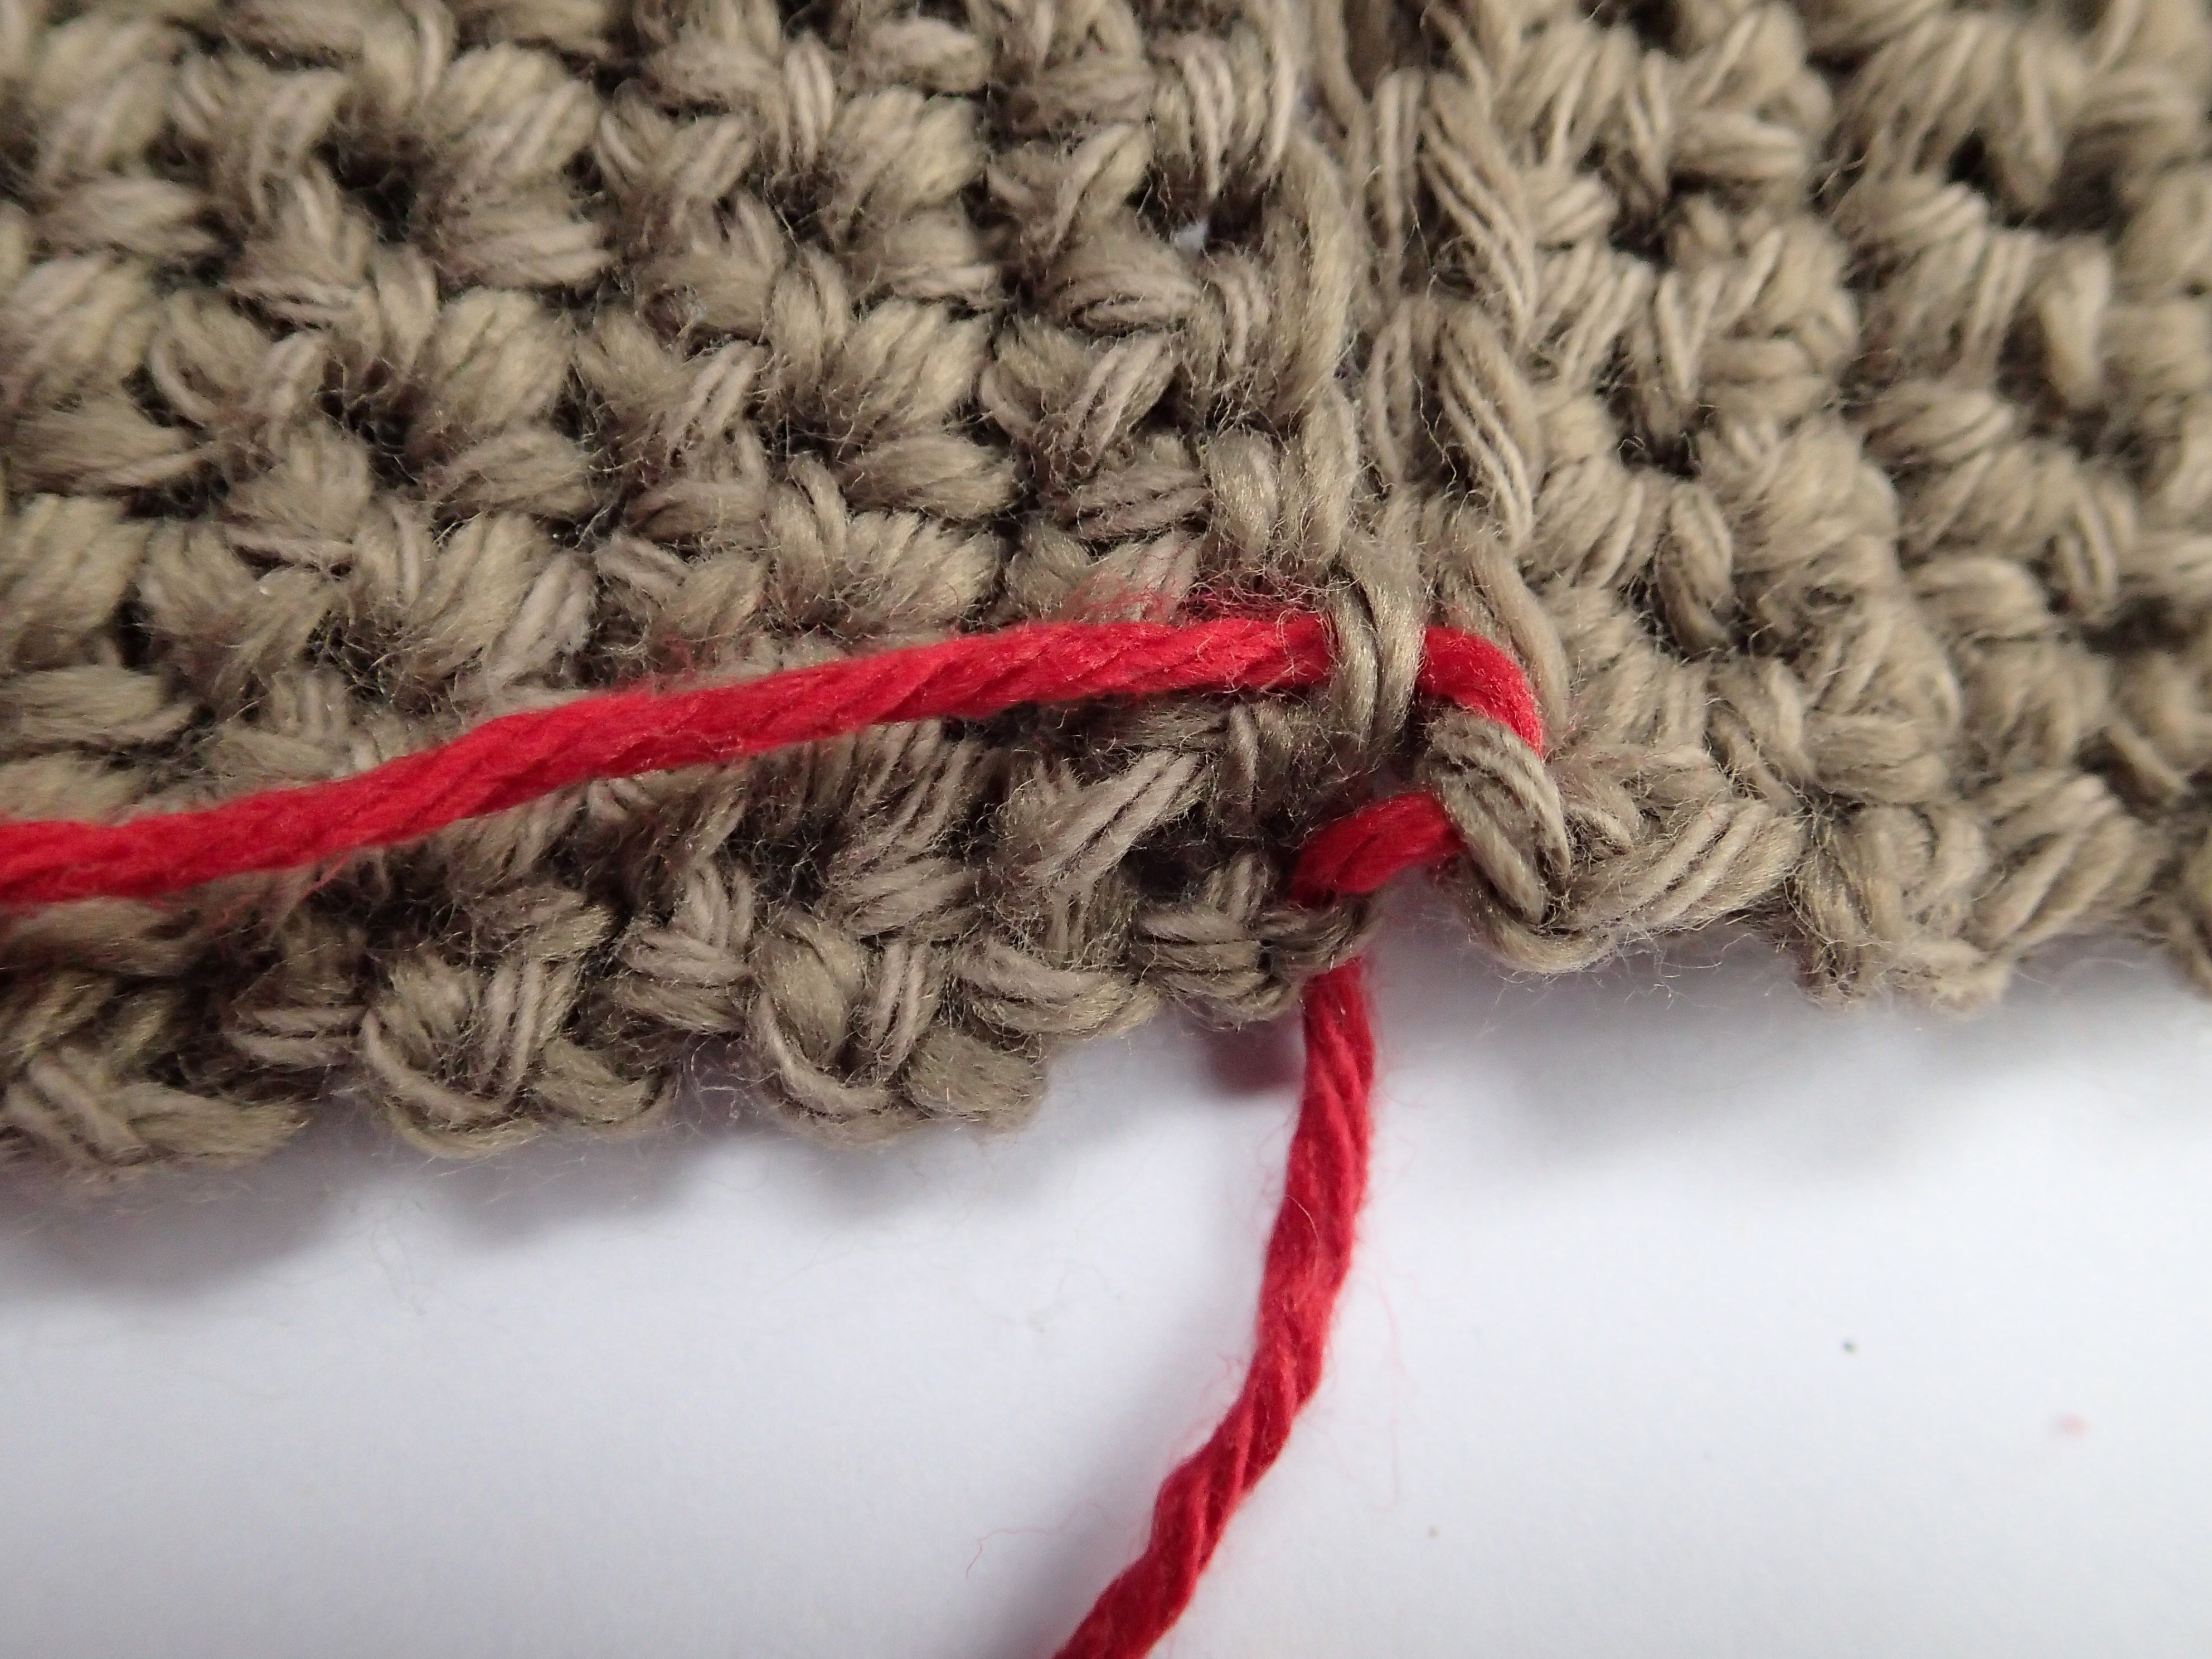
Step 5: Next, insert the needle from the bottom of the work up through the front loop only of the first stitch on the other piece.
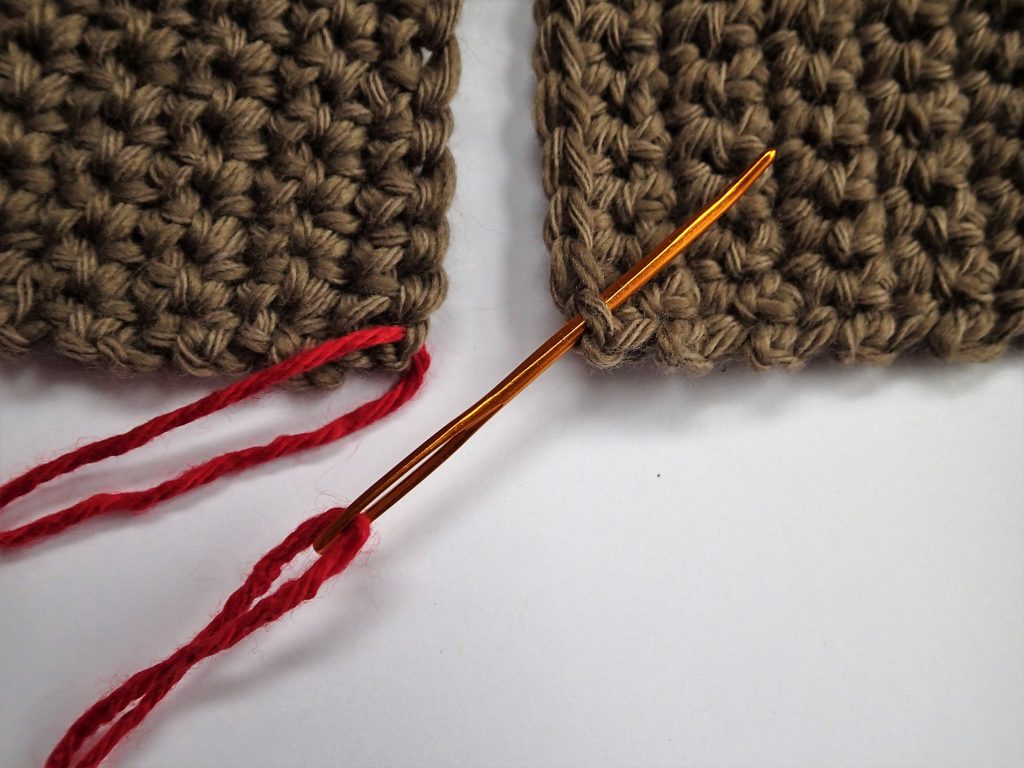
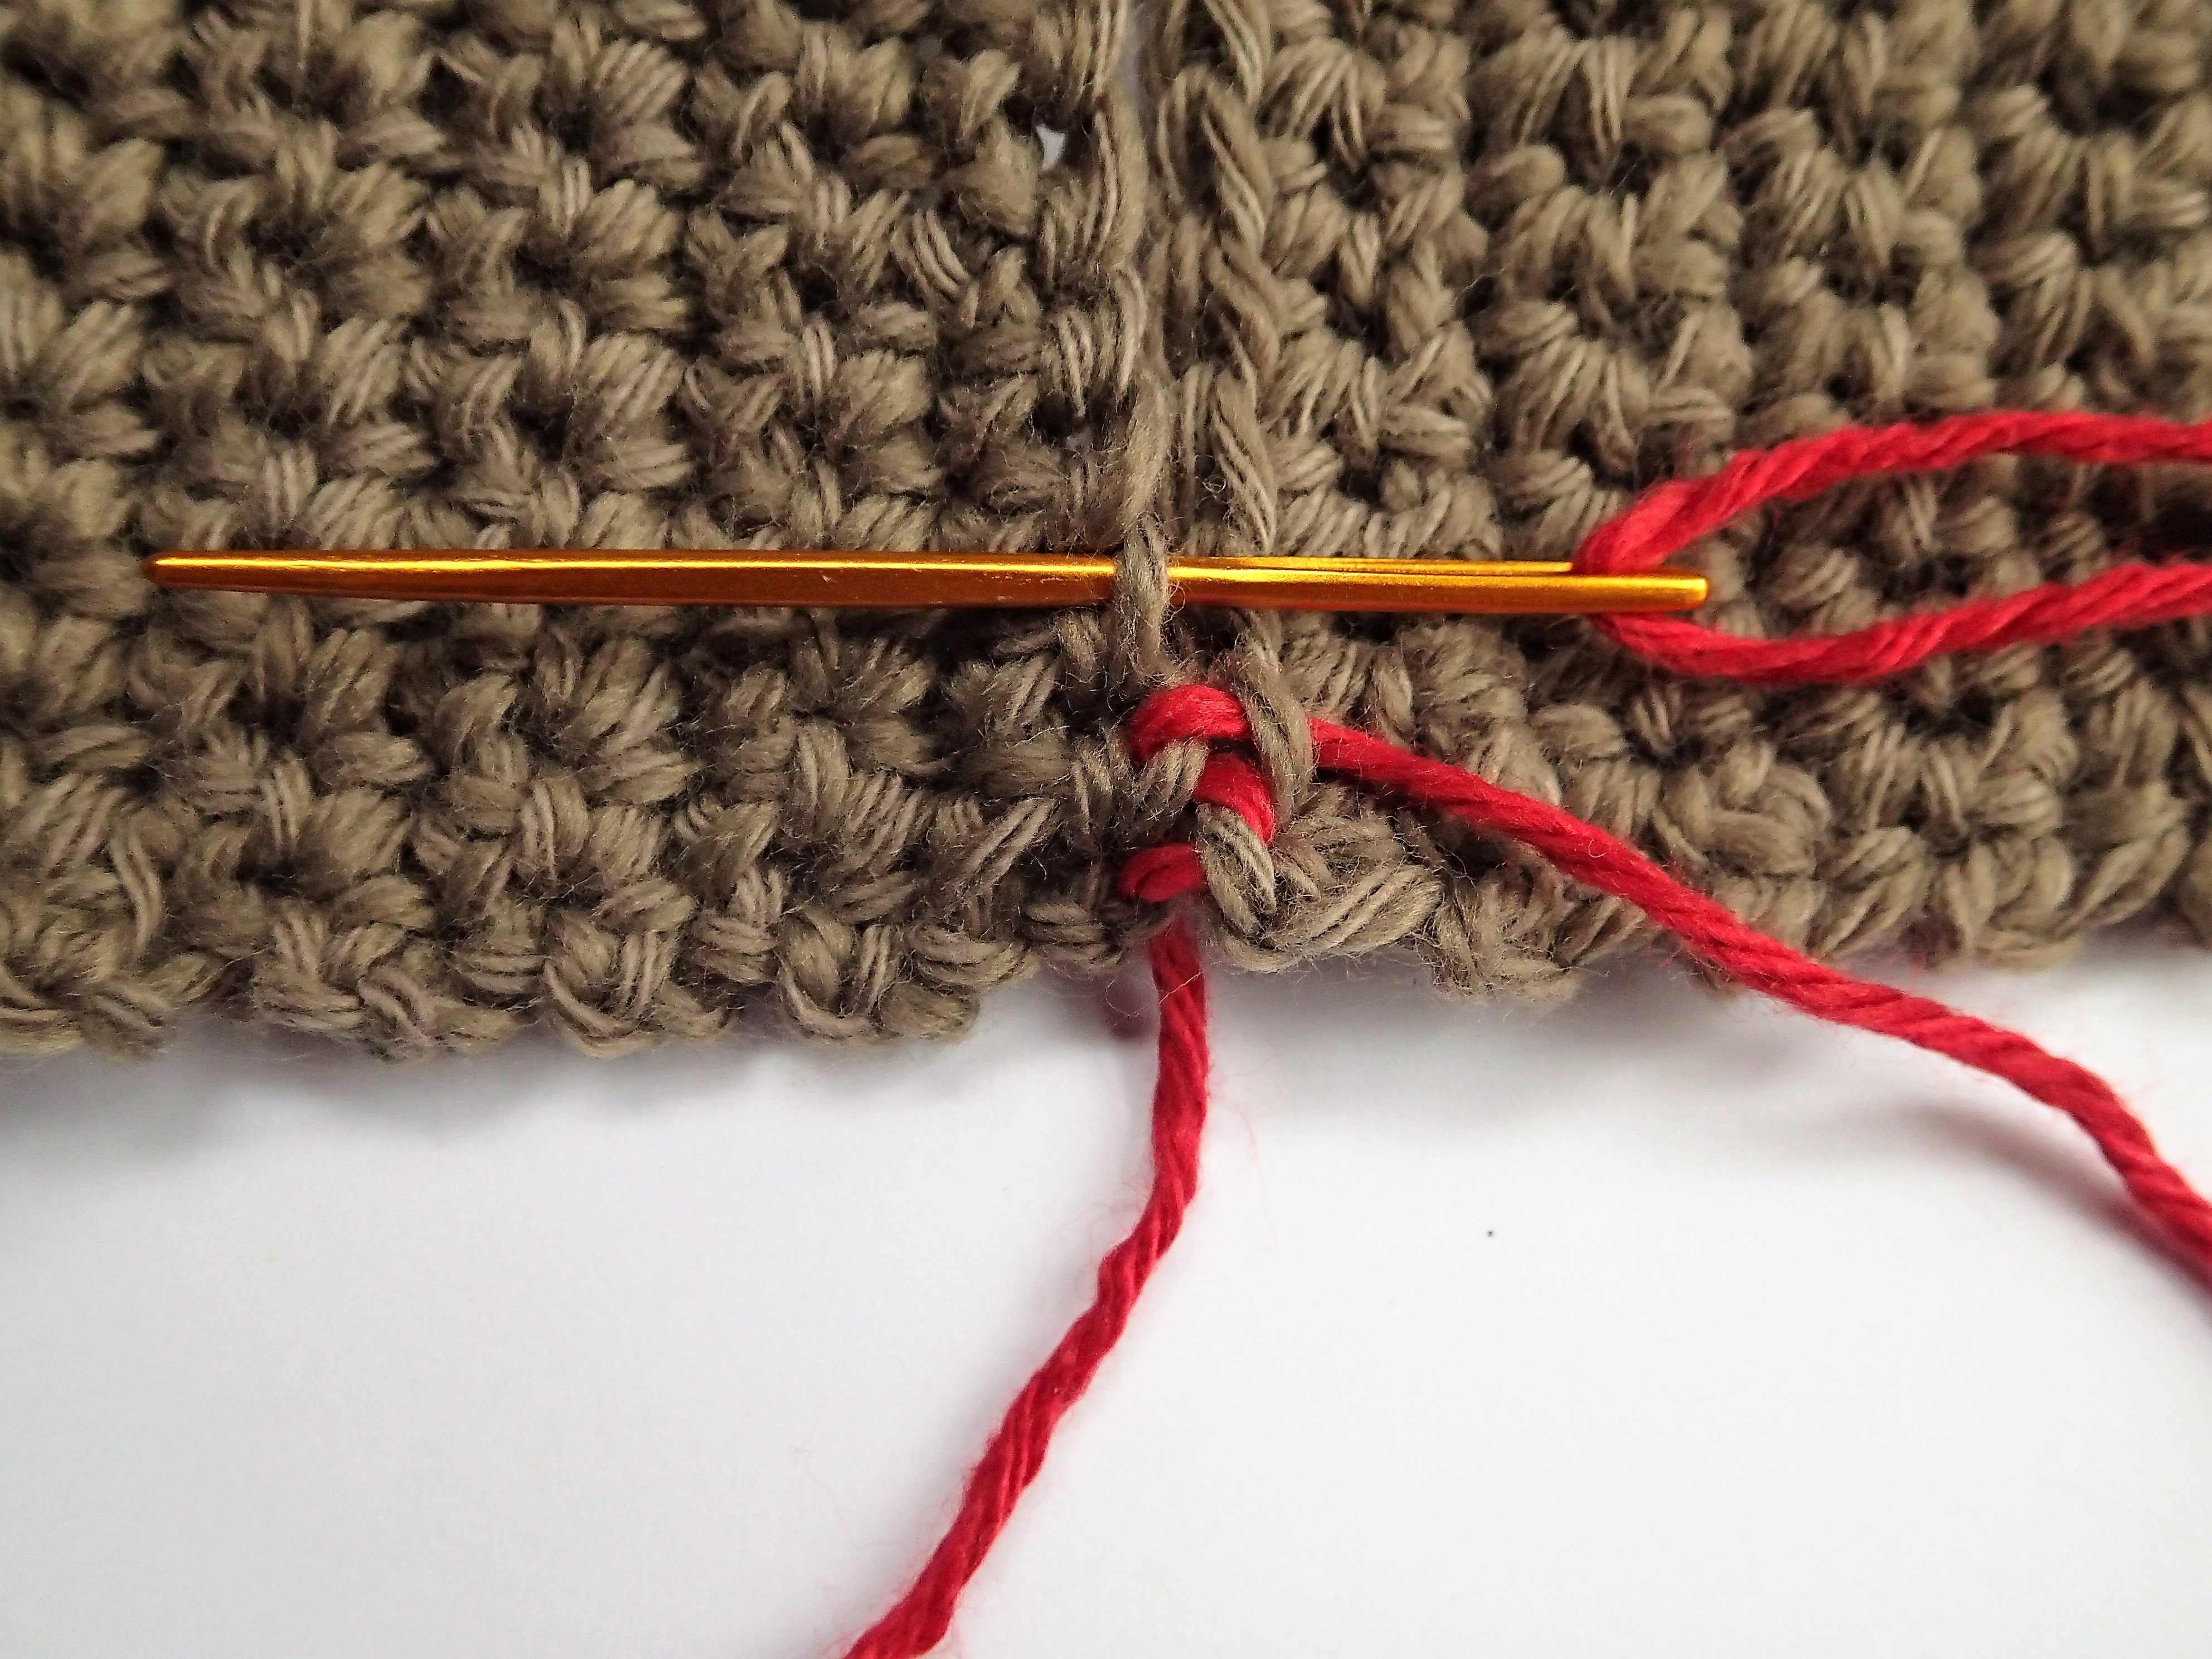
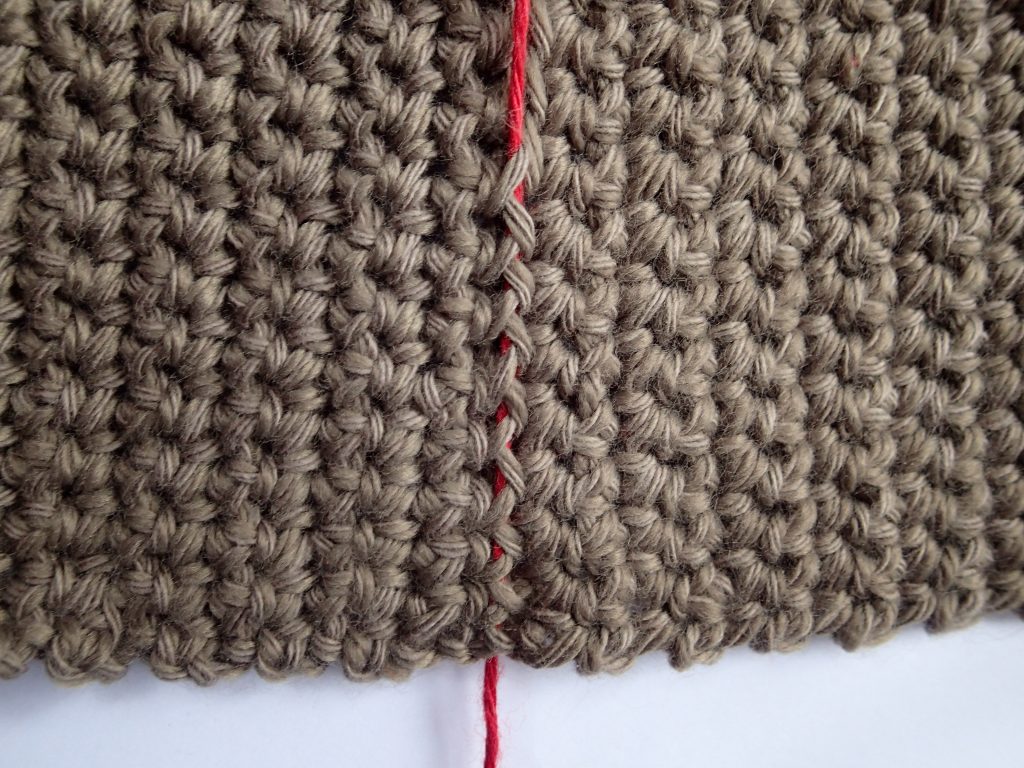
Step 6: Continue matching stitches on the front and back pieces and sewing through the front loop only of each stitch of both pieces, always inserting the needle from the bottom of the work.
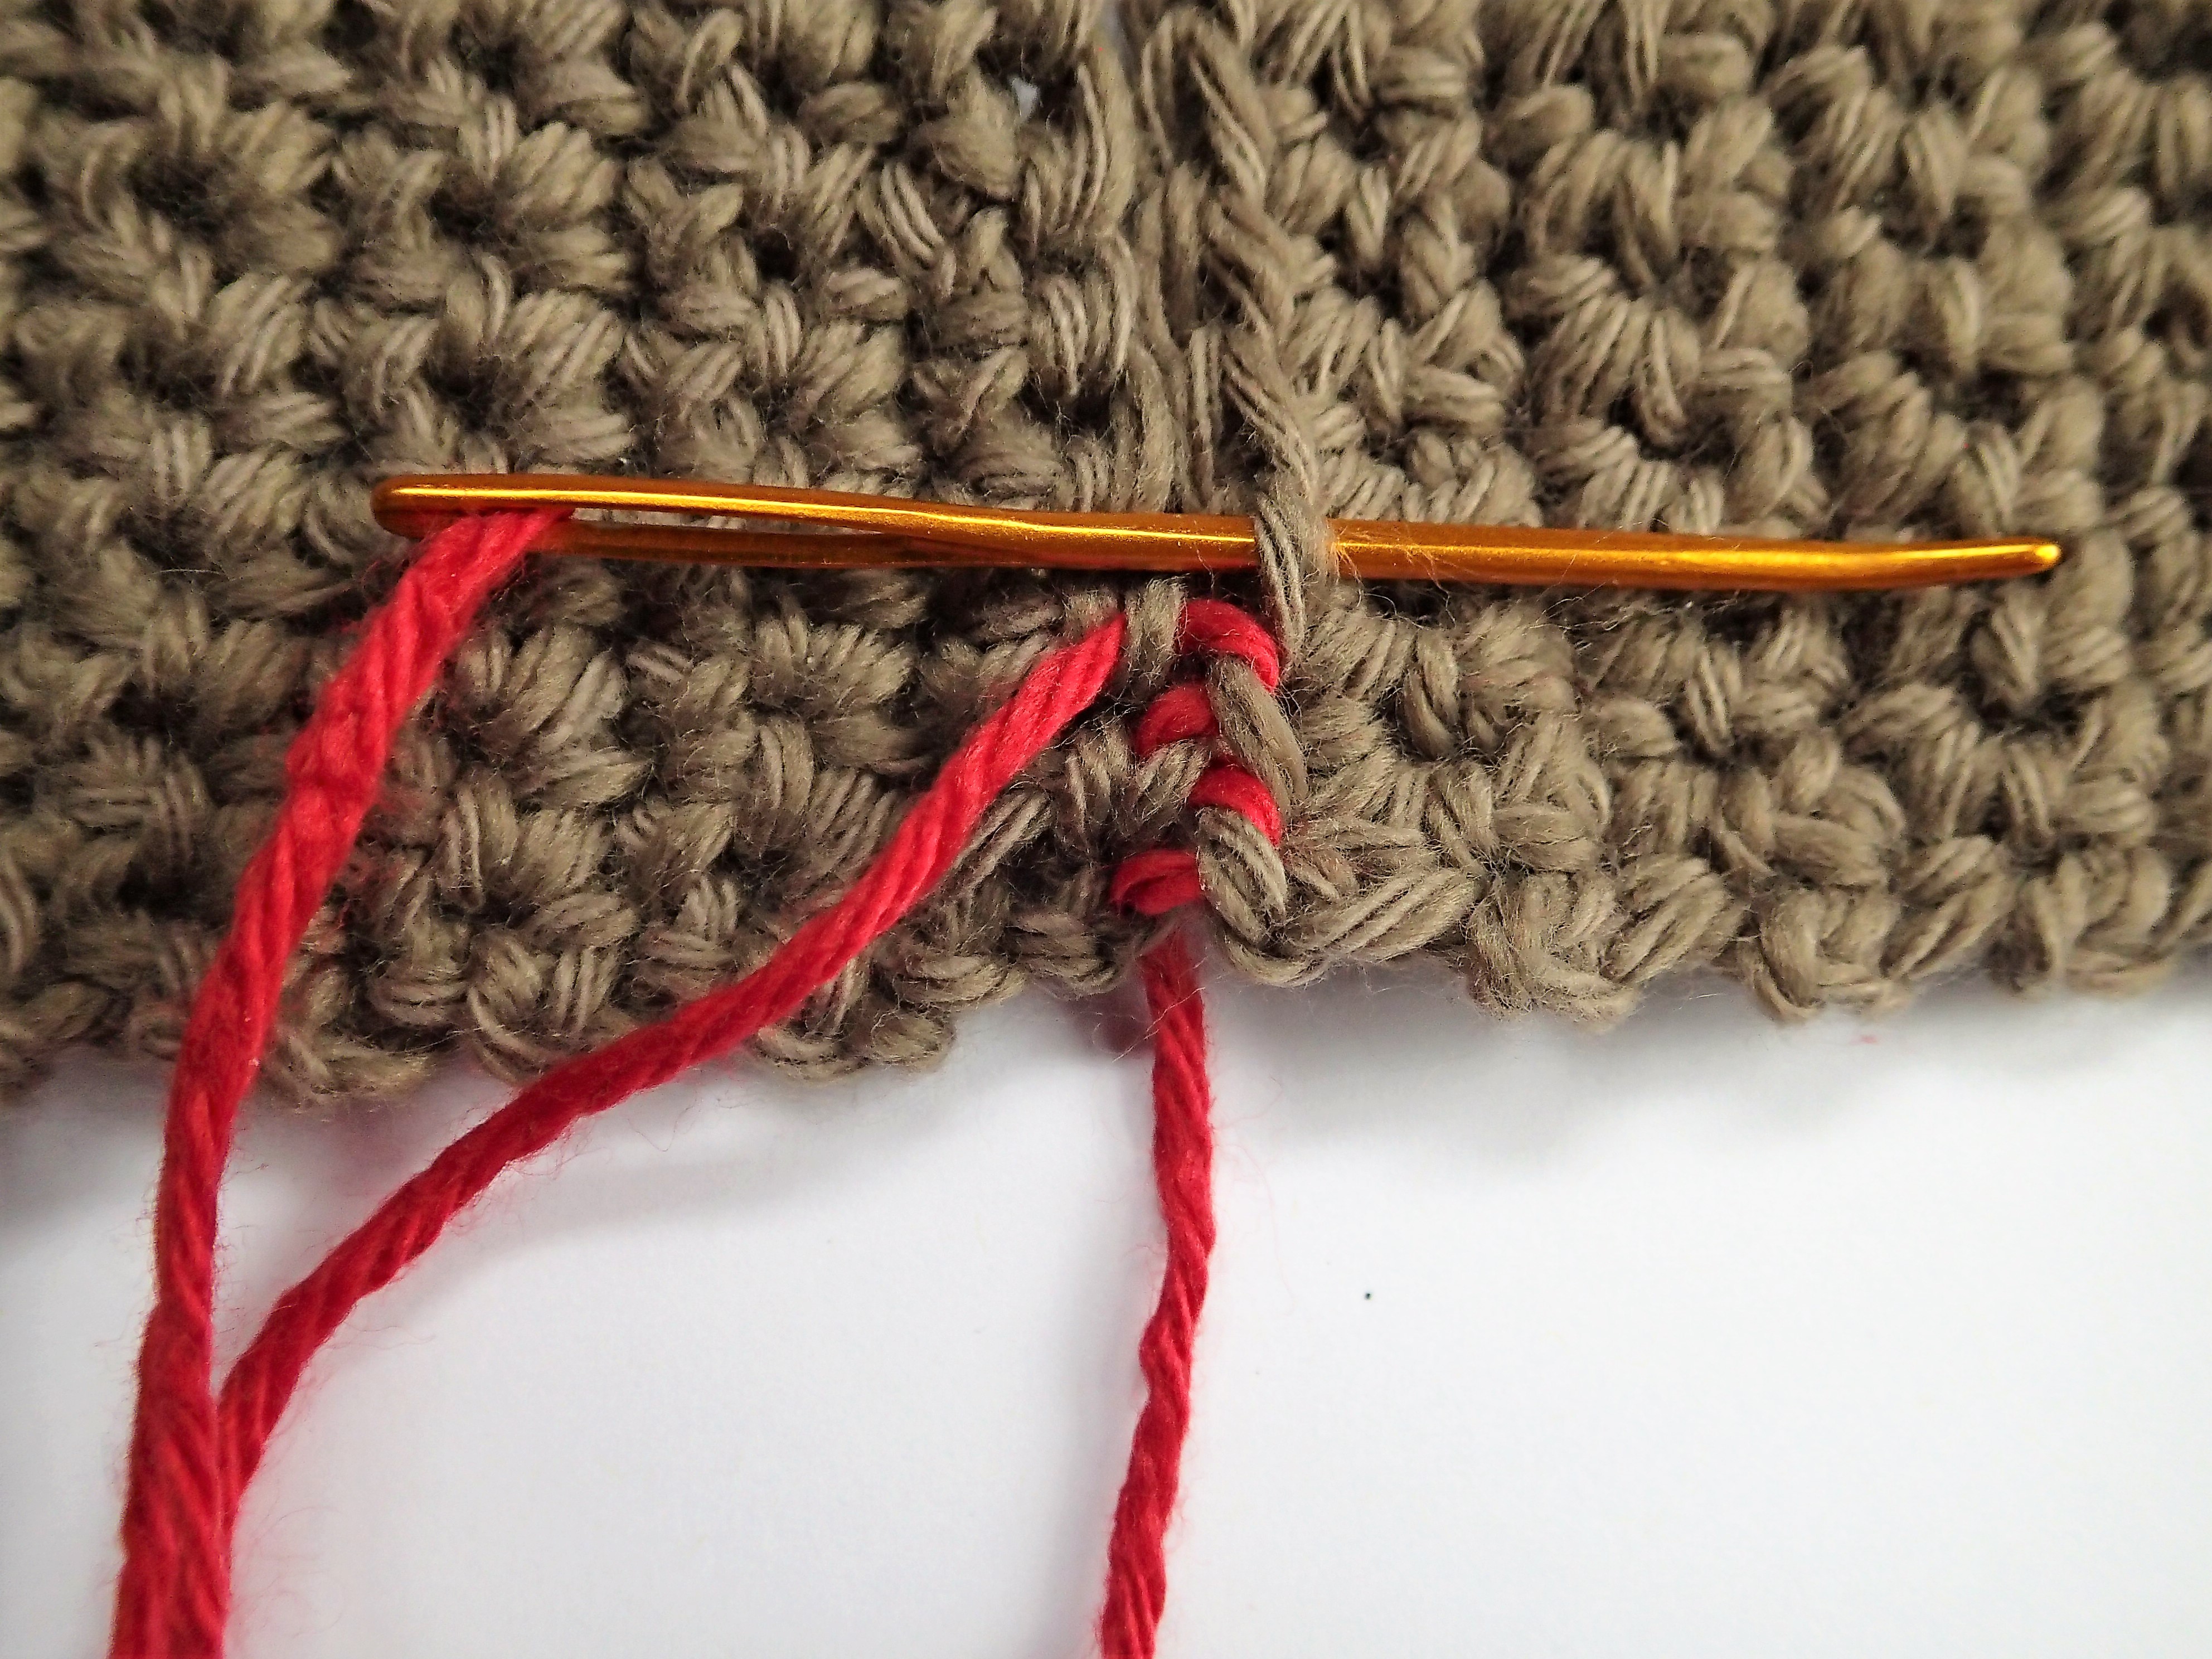
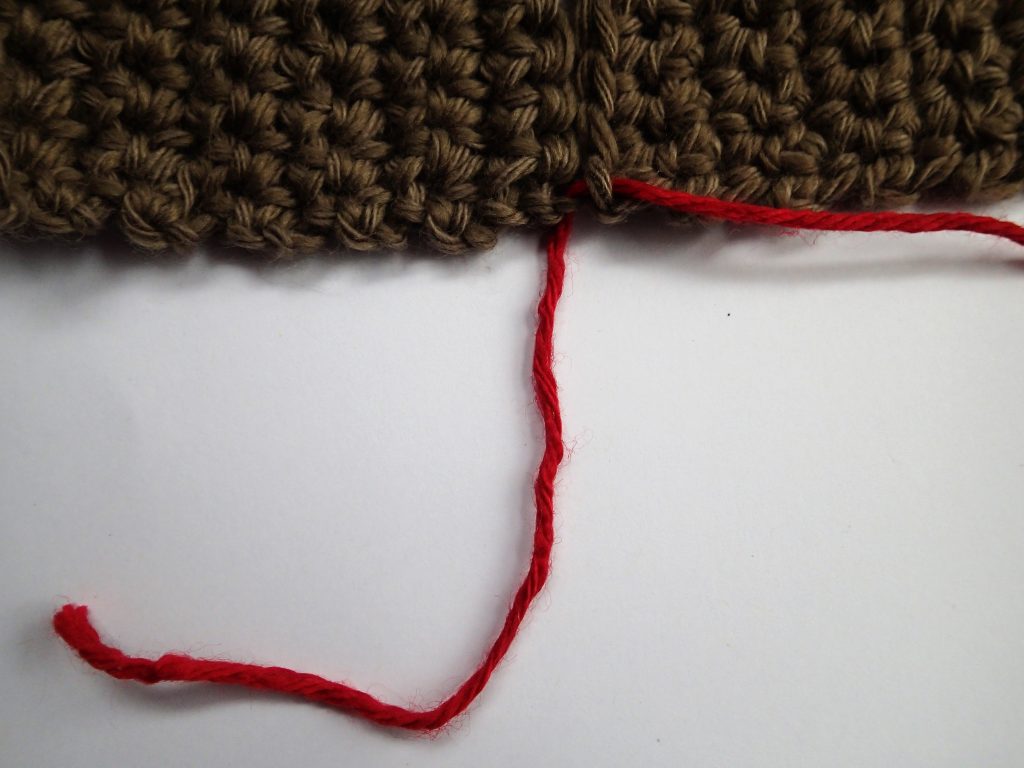
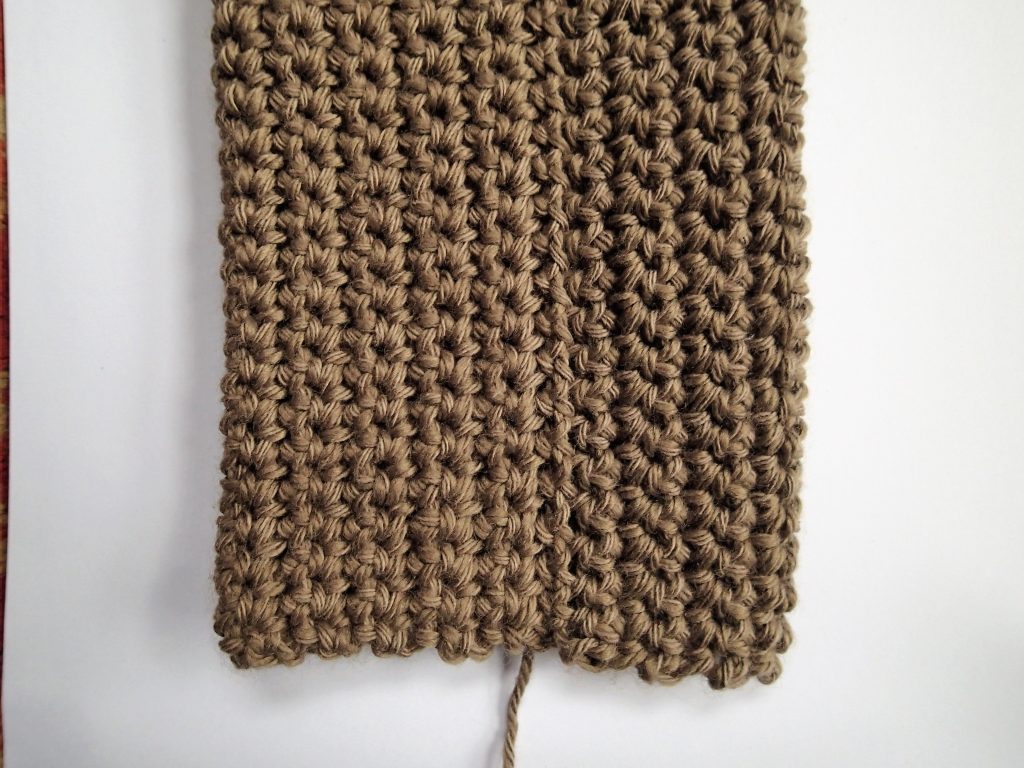
Step 7: Pause after sewing the first few inches of seam. Gently pull on both ends of your working yarn to neaten the seam. It should be nearly invisible after a gentle tug.
Step 8: Try the sweater on after sewing the first seam but before weaving in the ends to be sure the seam is invisible and the sweater fits perfectly. Adjust the size of the neck opening if necessary. Repeat steps 4-7 for the remaining seams. Weave in all ends. Show off your new sweater with pride!
And that’s all there is to it! Like with any new skill or technique, practice makes perfect so make sure to take your time go practice, practice, practice!
Beautiful invisible seam. I do like your tutorials with pictures in progress. Useful for a foreigner like me ! All the best.
Thanks for this instruction. Simple, clear and easy to follow. My seaming looks great.
Thanks so much for the instructions. I’m still crocheting the other side of the vest I’m making. With these instructions, I now know how to attach the sides to the back correctly. Thanks to your ‘lessons’ it will come out so much better. I’d be ‘lost’ without your help.
I have never made a sweater, so therefore I will learn with everyone else.
Happy crocheting. Johnette