



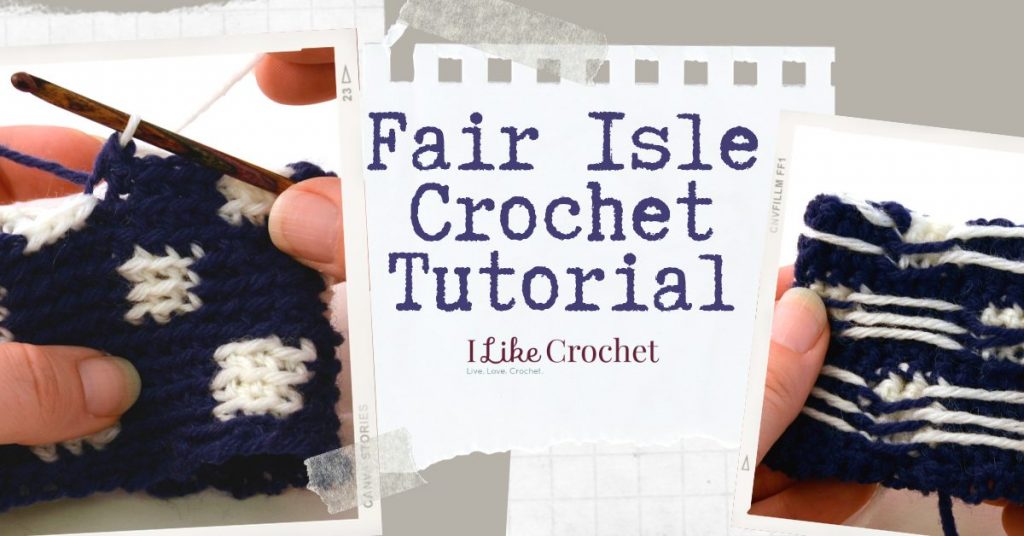
There are many ways in which crochet is different than knitting. For instance, crochet stitches can be short, tall or textured, and they can wrap around and go in many different directions. The look of crochet stitches are noticeable different from knitting stitches, but there is one traditional knitting technique that can be made in crochet, but it doesn’t get much attention at all: Fair Isle crochet.
Fair Isle is a method of changing colors in your work in order to create patterns or make pictures with your yarn. One stitch represents one pixel of color. Fair isle is similar to the more familiar tapestry crochet in the way that the colors are changed. In tapestry crochet, the stitches are worked around unused strands of color, but in Fair Isle crochet, the unused strands are held behind the work. By doing this, the finished piece of crochet has more stretch than a tapestry piece and is less stiff.
Get this special collection of 3 FREE baby blanket patterns from I Like Crochet right now!
The following photo tutorial demonstrates working Fair Isle in the round with single crochet stitches worked only through the back loop. By working through the back loop and not both loops, the diagonal tendency of circular crochet is minimized. If you’re still confused by Fair Isle crochet, there’s a video tutorial at the very end of this tutorial that should clear things up for you.
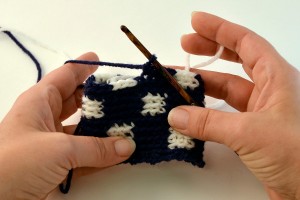
- Here is a piece of Fair Isle crochet in progress. There is one more navy single crochet (sc) to be worked before the next white sc. Notice that the navy color is held in the left hand while the white color is held in the right hand. It is also possible to hold both strands in the left hand, or to simply hold only the color that is being used. While it takes some getting used to holding a color in each hand, I find it is the most efficient way to do Fair Isle crochet.
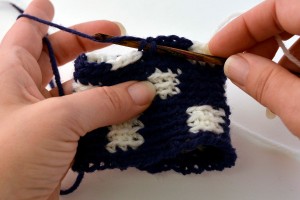
- To complete the last navy sc before the white section begins, complete the first half of this sc with navy. Insert the hook into the back loop of the stitch, yarn over, and pull through.
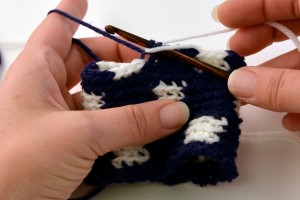
- Then, to complete this navy stitch, yarn over with white. Notice that the white yarn over is done by bringing the yarn around and over the top of the hook, which is opposite of the usual way of yarning over. It is easier to pull the yarn through the stitch from this direction when holding with the right hand.
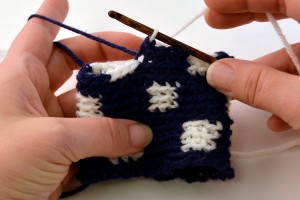
- The navy stitch is completed. Even though the last step of the navy sc was done using white, the post of the stitch and the top loops are navy.
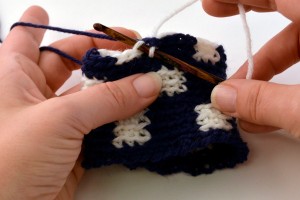
- Continue working the white section with white only. On the last white stitch, the last half of the stitch will be completed with navy.
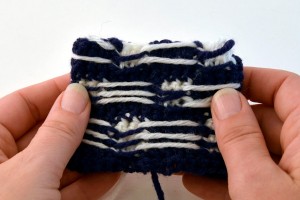
- This is what the inside of the piece looks like. Those long white strands are “floats” of unused color. They run the length of sections where navy was used but white was not. It is very important to make sure floats do not pull too tightly across the back of the work, nor should they be overly loose either.
Another note – when joining the end of a round, complete the stitch in the color of the sc, but join to the beginning of the round with the color that will be the first stitch of that next round.
Fair Isle crochet is a method that, once learned, can become fun and addictive! With practice, you can learn to make patterned sweaters (like the Ski Lodge Pullover on the next page), holiday ornaments, stockings, blankets and more!
Ive done a few of these before but I could really know a few different ways to hold the yarn. When I am dropping it, it seems to twist around the other yarn color as I switch back and forth. Any pics or videos on how to hold two yarns. I’d love to see how on one hand as well
This tutorial may be helpful: https://www.ilikecrochet.com/daily/beginner-crochet/tips-tutorials-and-abbreviations/how-to-crochet-three-strands-of-yarn/
I’ve seen where the yarns are carried easily and it makes a cleaner back side. Seems like the loose strand would get easily caught and then tear out. So, would it depend upon the type of pattern such as a sweater, one would carry the yarn to make a smoother wrong side?
I haven’t made a sweater yet, but I’m working on a bag with this method. I like to carry the yarn and crochet through both the working yarn and the non-working yarn for a discreet finish that won’t get in the way.
Addendum to previous question: Would a crocheter use 1 sc per pixel of a graph to obtain similar Fair Isle design results?
Question: Could a crocheter use a chart/ graph designed to be knitted–and implement the chart using sc throughout , and have success?
Hello! I’ve reached out to the designer for advice and she or I will reply as soon as possible. Thanks! – Nicola, Editor
Yes! This seems totally possible!
Many years ago I used this method but with 4 colors and made a baby bunting with hood for my niece
Lovely! Do you have any Fair Isle crochet patterns to try this out with?
Hi Lisa! This tutorial was made for this particular pattern:
https://www.ilikecrochet.com/magazine/crochet-sweater-patterns/ski-lodge-pullover/
We also have a section in our December 2021 with a variety of fair isle crochet patterns in the Ski Chalet Crochet section: https://www.ilikecrochet.com/toc/magazine-december-2021/
Happy crocheting! – Nicola, Editor
I like the use of 2 colors, however, the float is somewhat strange-looking, how is one to keep them on the same side, and do they get caught in the pattern on the working row? Nice stitch nonetheless.
This seems like a very interesting and easy new stitch to learn. Thank you
Actually it’s not new. I figured out how to do this years ago on my own without any YouTube. To me it was common sense.
Crochet E – it does seem pretty easy. 🙂