


Perhaps you’ve heard of the Russian join method, but don’t really know where to start. In this free demonstration from I Like Crochet magazine, we’ll give you our best tips and tricks. Traditionally, the Russian join method is preferred because of its sturdiness and invisible finish. To put it simply, it’s just a great way to join yarn. And once you get the hang of it, we know you’ll return to this crochet technique again and again. So ready to get started? Let’s dive in!
How to Do a Russian Join in Crochet
Instructions
- To splice yarn together with the Russian Join, first, thread a tapestry needle or small yarn needle with one of the yarns.
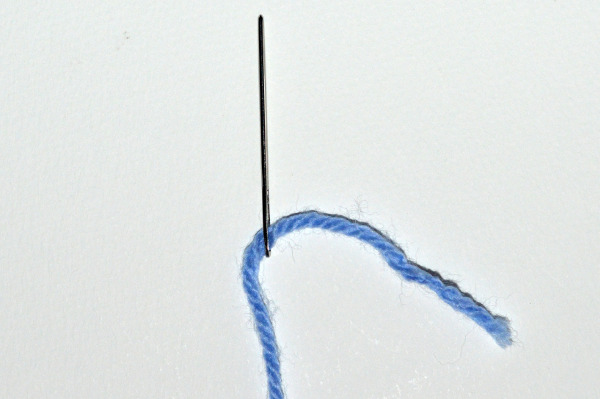
- Gently insert the tapestry needle into the yarn, so that it goes inside of the plies.
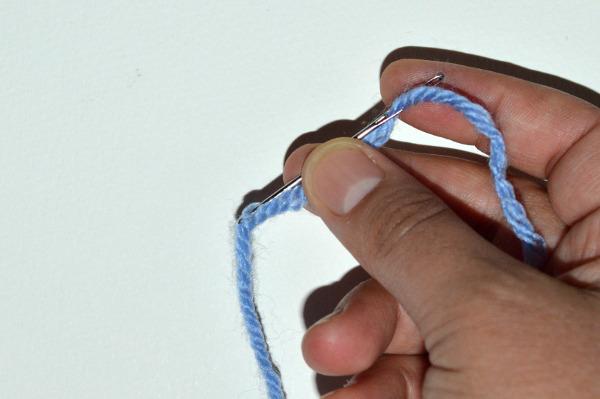

- Remove the tapestry needle slowly, while holding onto the small loop of yarn. This may be challenging at first.
- Now thread the tapestry needle with the other yarn.
- Insert the needle into the small loop of the first yarn.
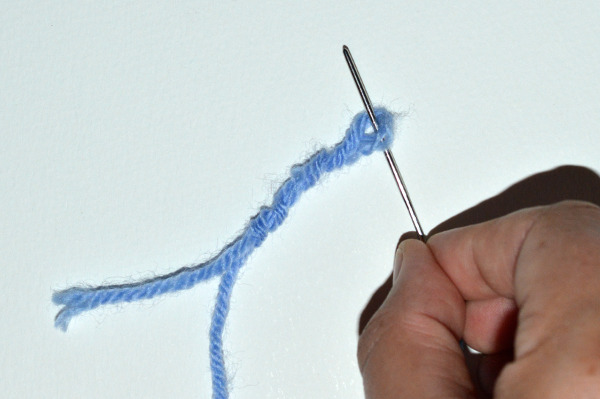
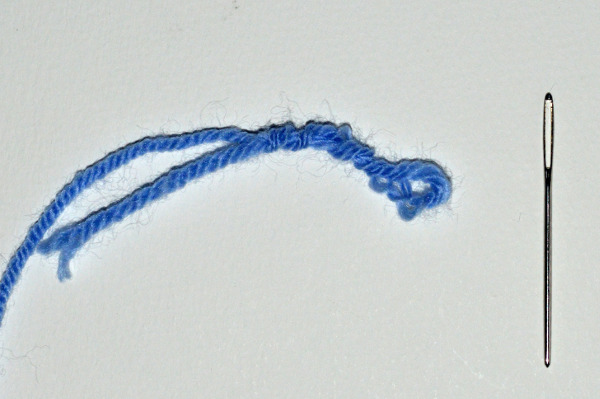
- Pull the new yarn through the loop.
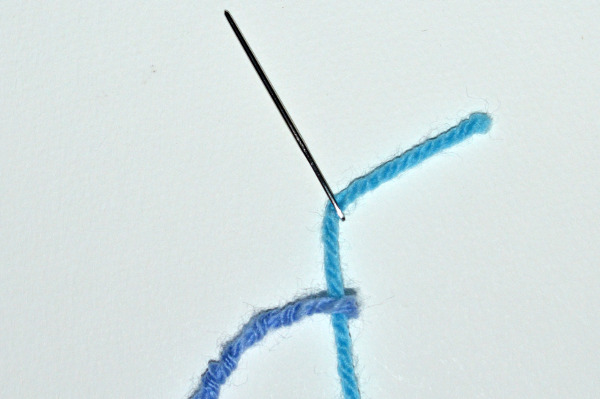
- Gently insert the tapestry needle into the yarn, so that it goes inside of the plies.
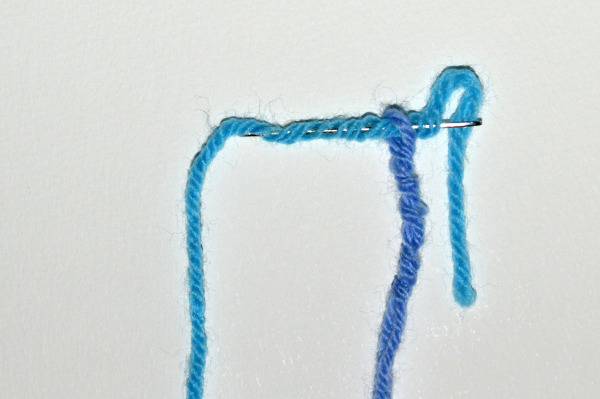
- Slowly remove the tapestry needle. You do not need to hold onto the loops this time.
- Trim away the excess yarn tails.
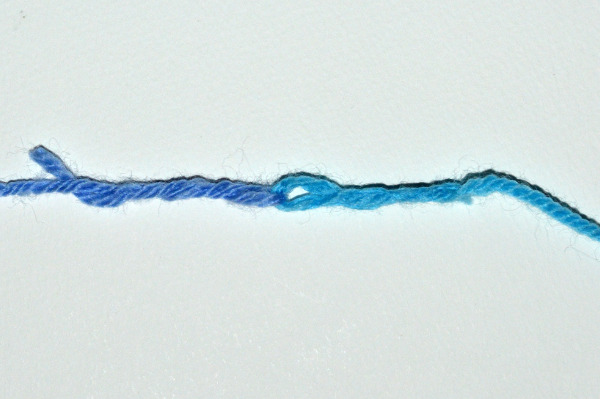
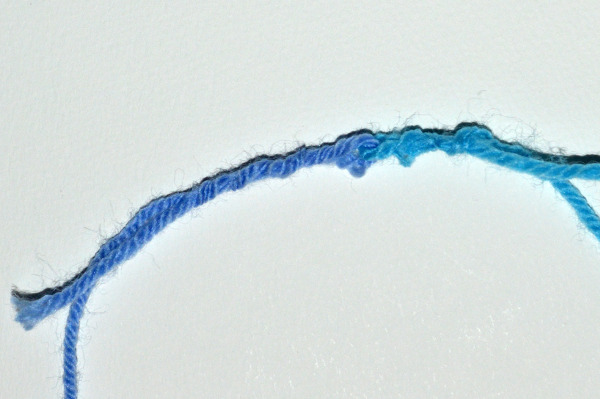
The section of yarn with the Russian Join will be slightly thicker than other parts of the yarn, but in most cases will not be visible in your finished project. You may find it necessary to trim away excess yarn tails again after crocheting, as some may emerge after you start stitching.
Get this special collection of 3 FREE baby blanket patterns from I Like Crochet right now!
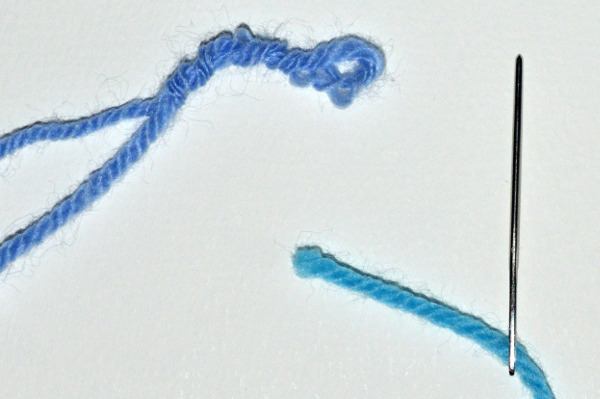
When creating a magic yarn ball, choose yarns to splice together that have the same fiber content or care instructions. For yarns made from wool or other animal fibers, you can felt the ends together. Check out this article on knots in yarn for more instructions. You can splice yarns together randomly, or plan your colors so that your finished yarn ball is more harmonious looking.
I have done something but this is easier… I thread the yarn into the needle, remove the needle and lay the yarn back on itself, then use thread to tie it down. I thread the other needle with yarn and pass it through the first loop, remove the needle and use thread to tie it down. I think this makes a flatter area but it is harder to tie the yarn with the thread. Thanks for the tip. BTW, wouldn’t the connection be more secure if on the second needle, one went OVER the loop of the first yarn before proceding?
I thought that is what was done as it makes sense but makes it thicker there as they said.
I learned this joining method from a friend in our crochet group and then we both taught the others —as usual. Very handy once you get the knack of it.