


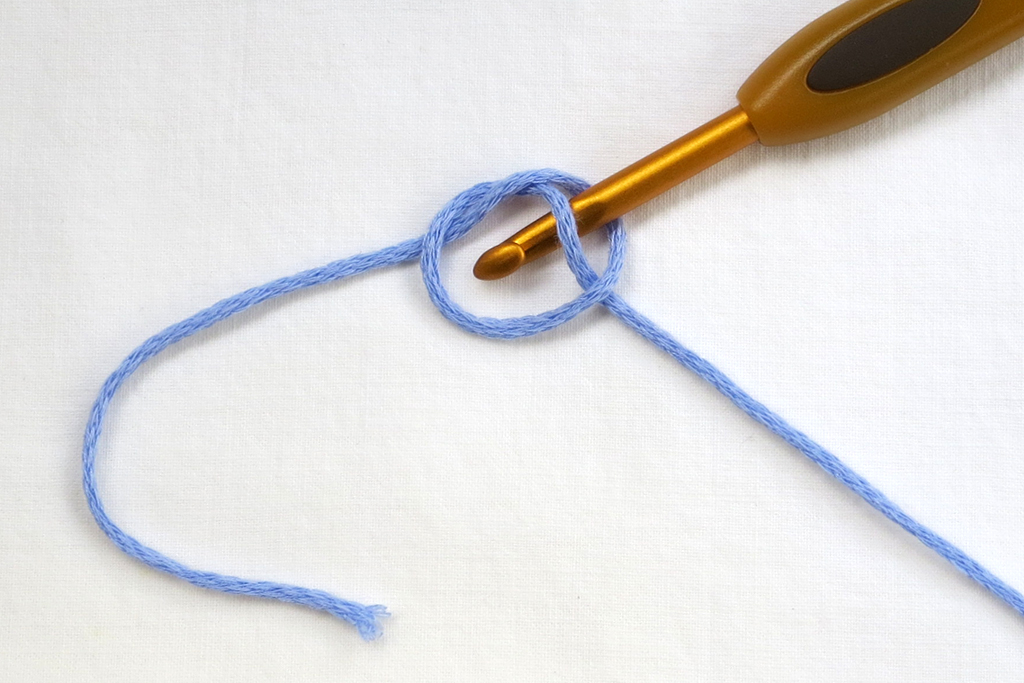
1. Make magic ring.
Rnd 1:
2. Ch 3.
3. Work 15 dc in ring.
4. Sl st in sp between ch-3 at start of rnd and first dc.
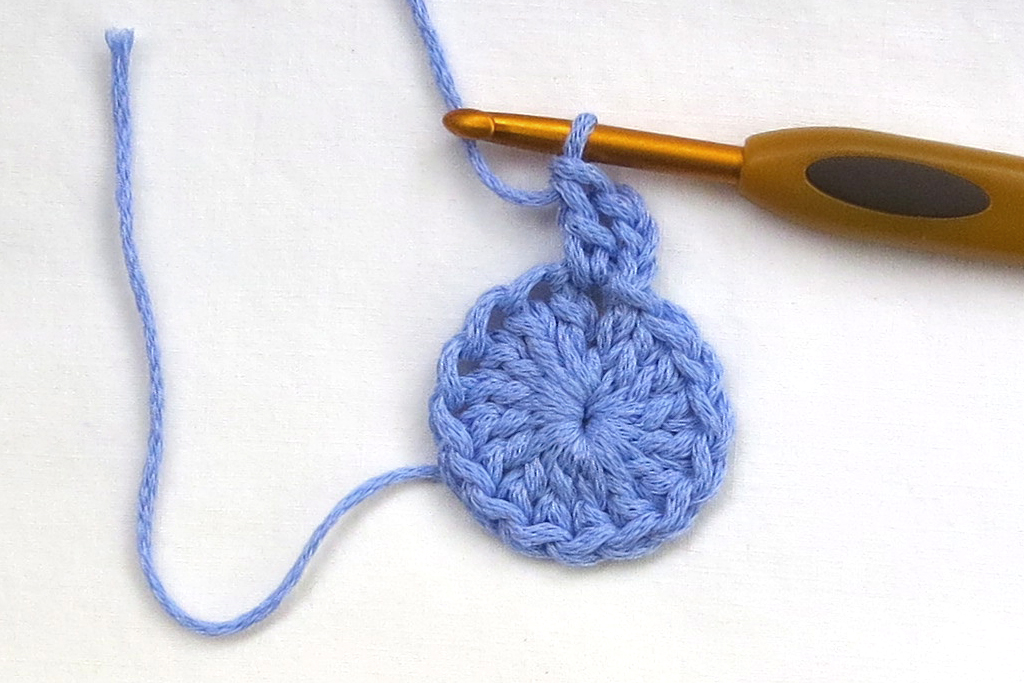
5. Pull magic ring tight.
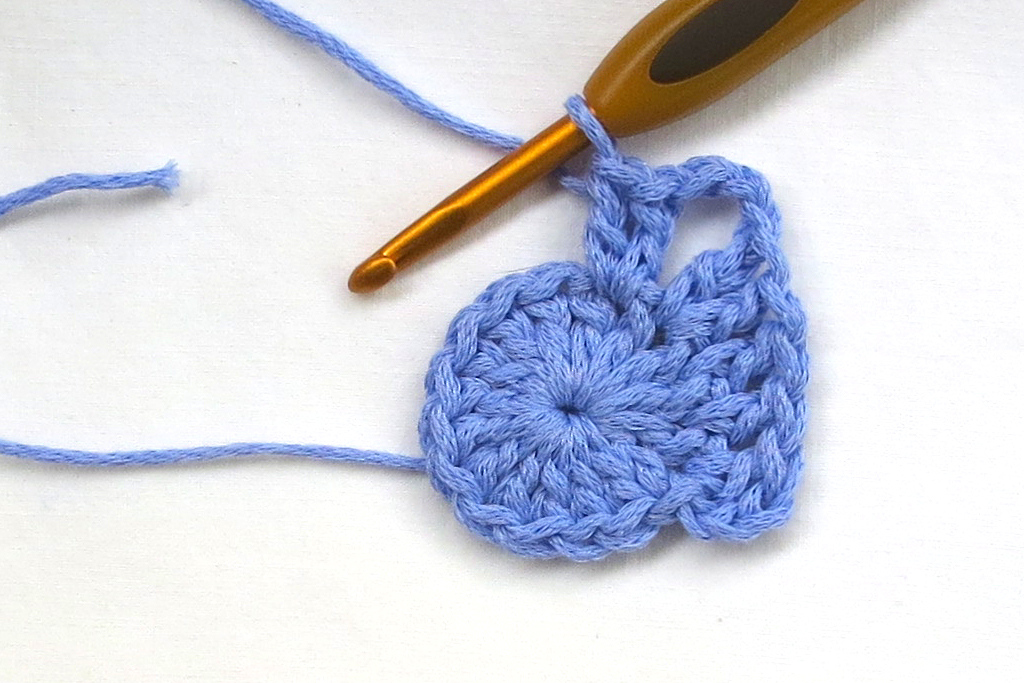
Rnd 2:
6. Ch 3 and dc in same sp as join.
7. *Dc in next 2 sp (sp refers to the sp between 2 dc), 2 dc in
1. Make magic ring.
Rnd 1:
2. Ch 3.
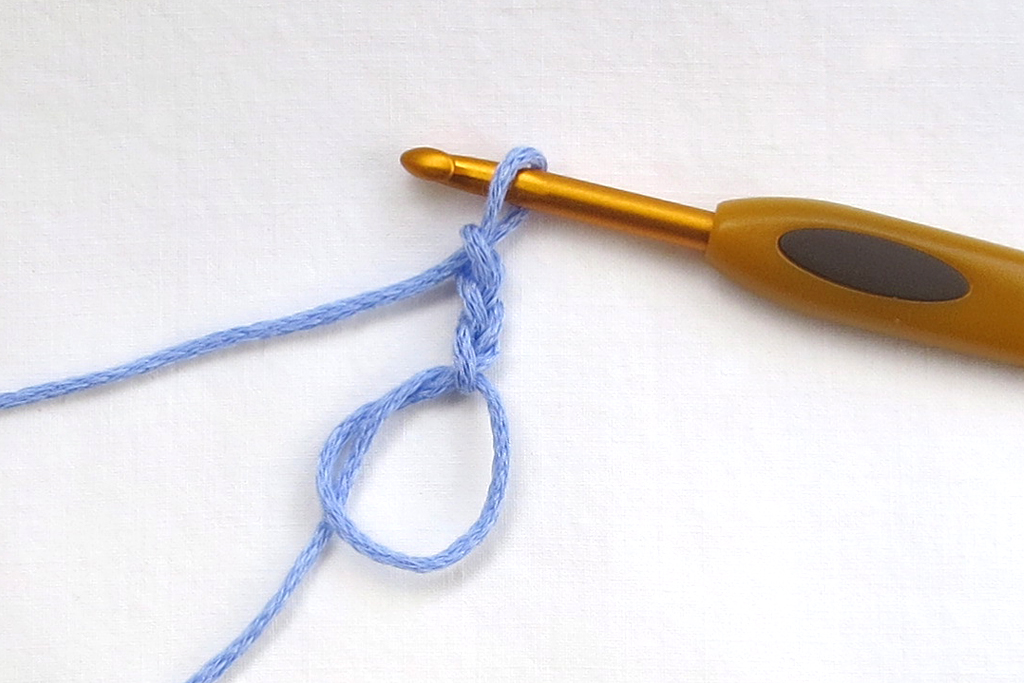
3. Work 15 dc in ring.

4. Sl st in sp between ch-3 at start of rnd and first dc.
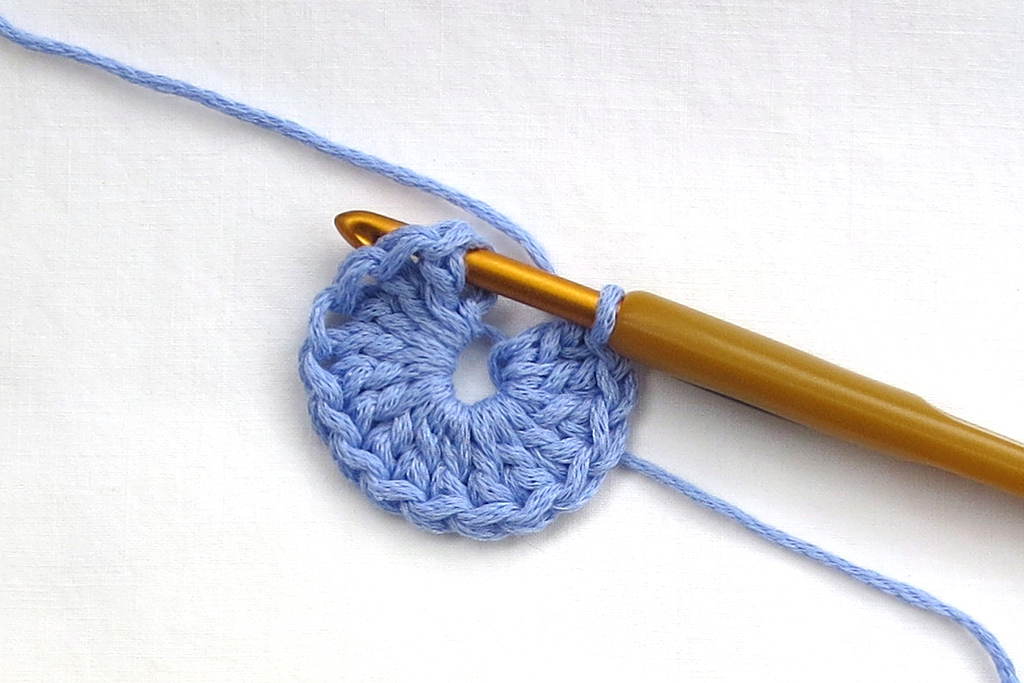
5. Pull magic ring tight.

Rnd 2:
6. Ch 3 and dc in same sp as join.
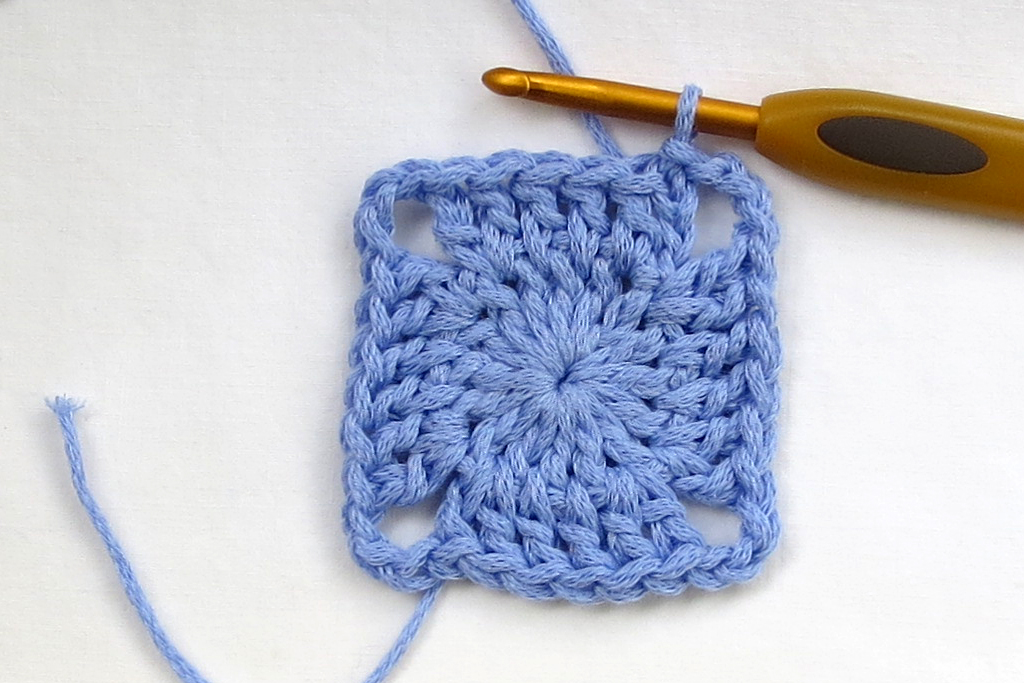
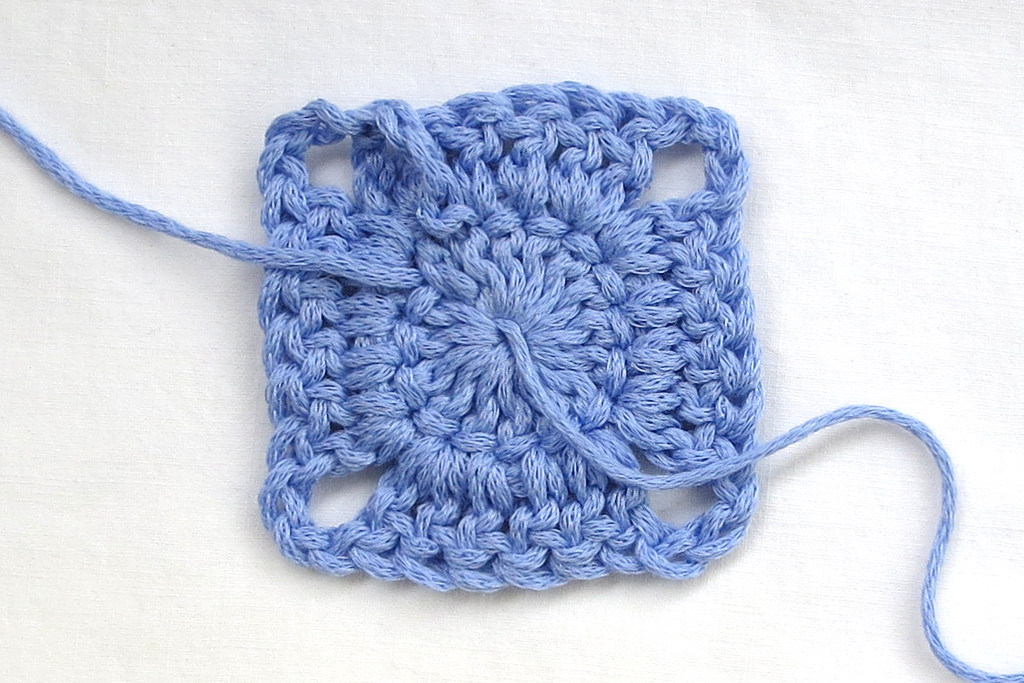
7. *Dc in next 2 sp (sp refers to the sp between 2 dc), 2 dc in next sp, ch 3**, 2 dc in next sp (corner made); rep from * around, ending last rep at **.
8. End with sl st in top of first dc to join.
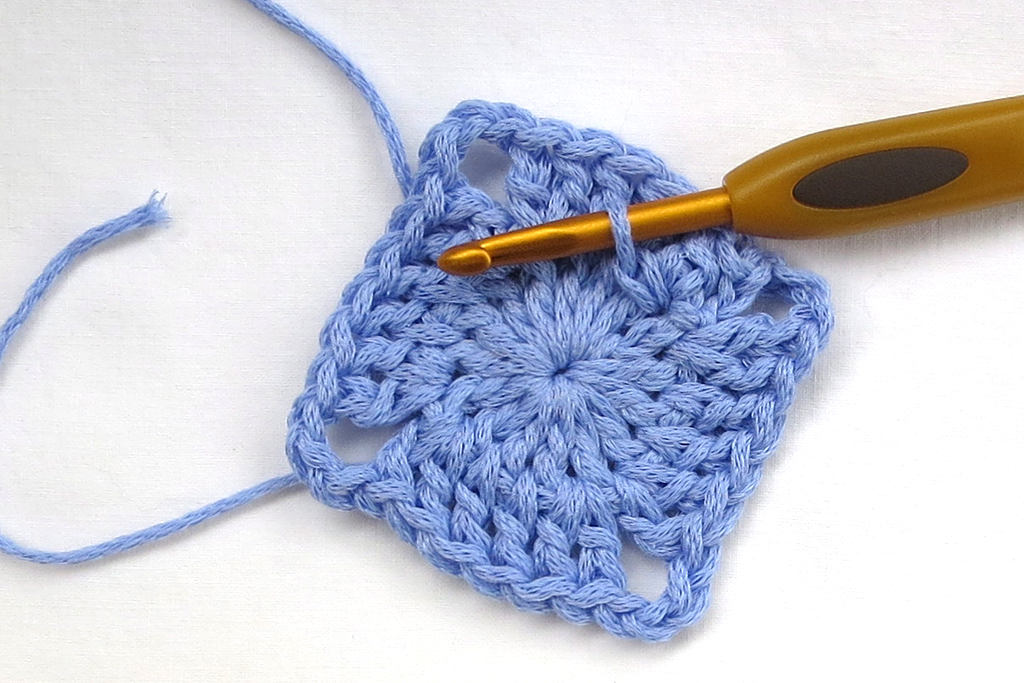
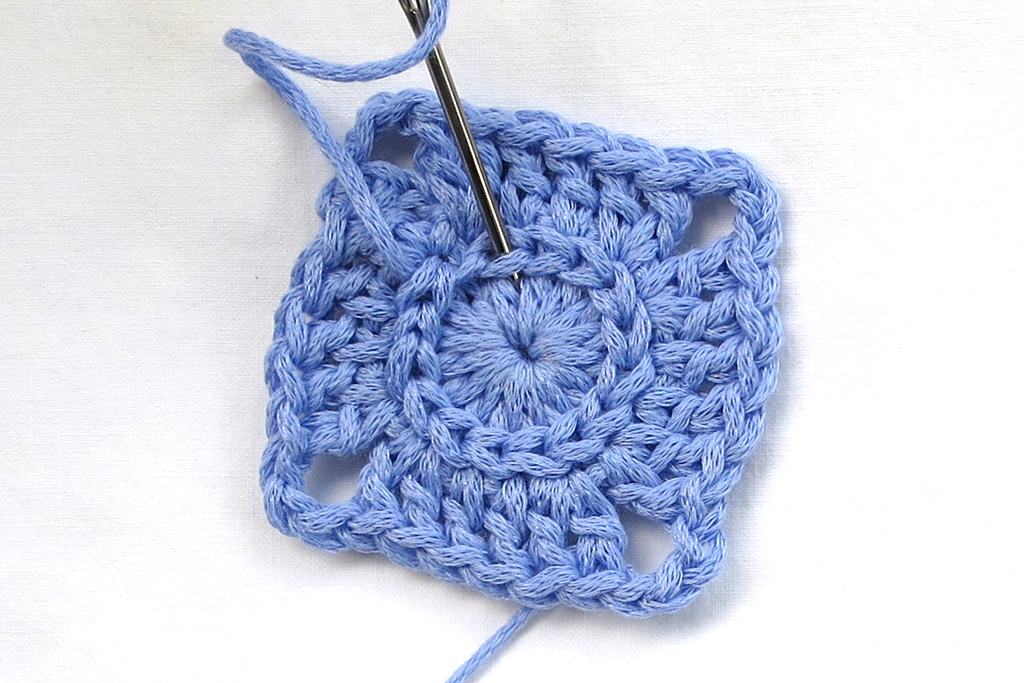
Rnd 3 (Surface Crochet rnd):
9. Ch 3 (not too tight).
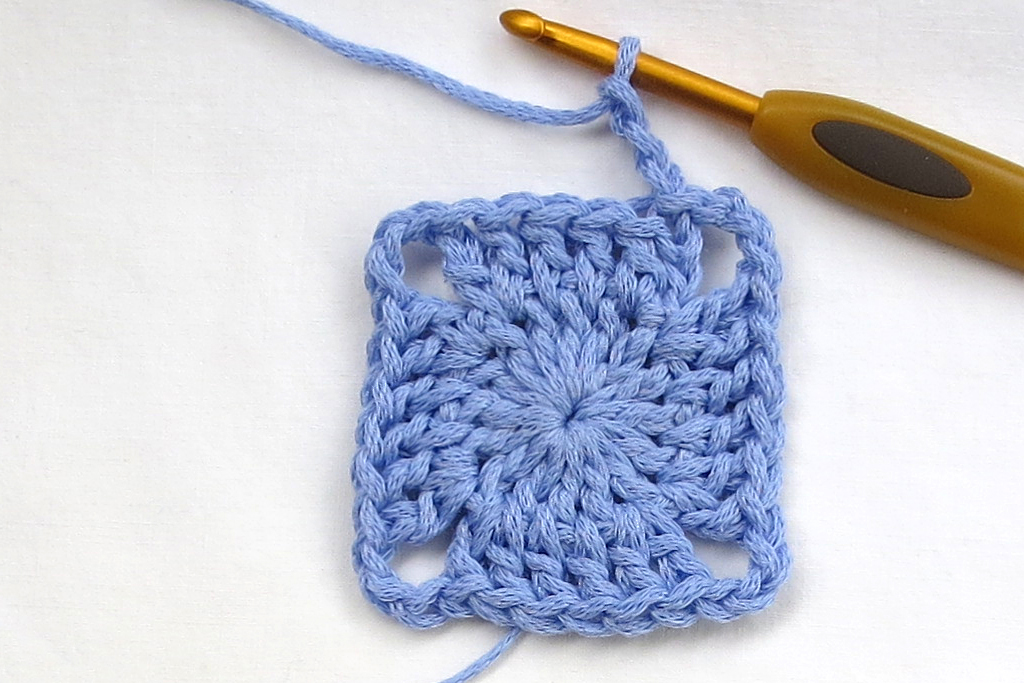
10. Remove hook from loop.
11. Insert hook from front to back in sp between 2 dc made in first rnd directly below join.
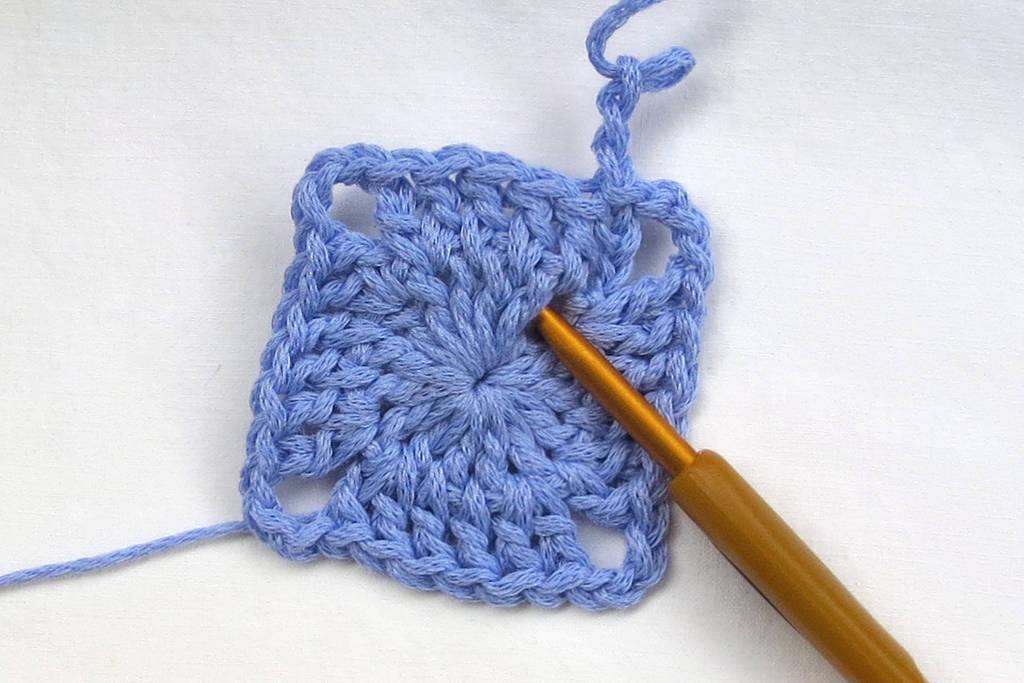
12. Grab loop in back and pull through to front.
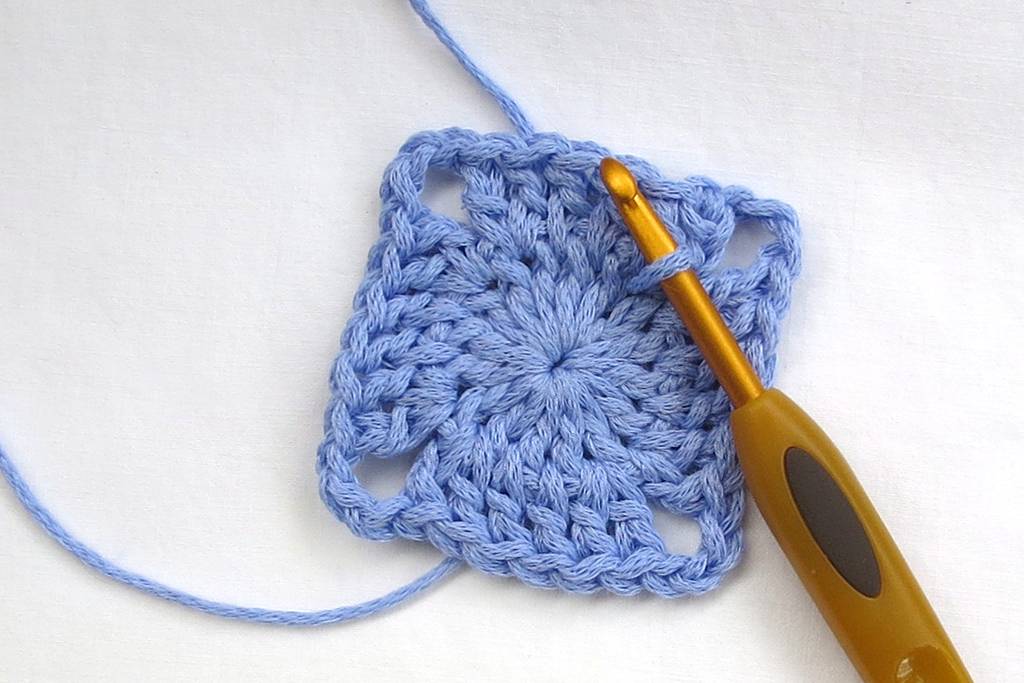
13. Insert hook in next sp between 2 dc.
14–15. Yo, pull yarn through to front and through loop on hook.
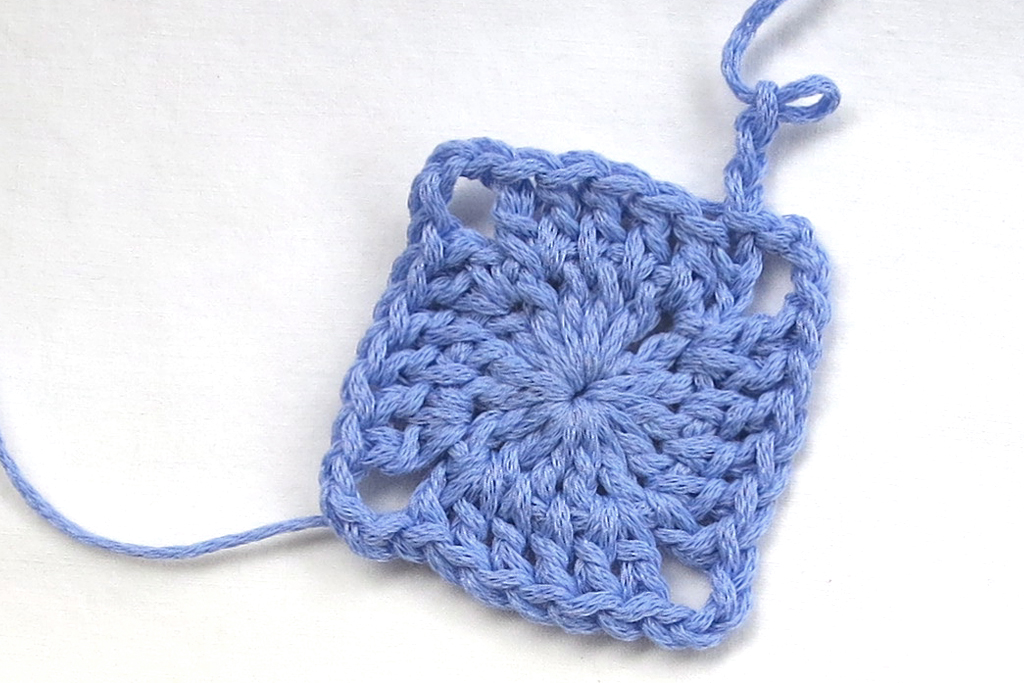
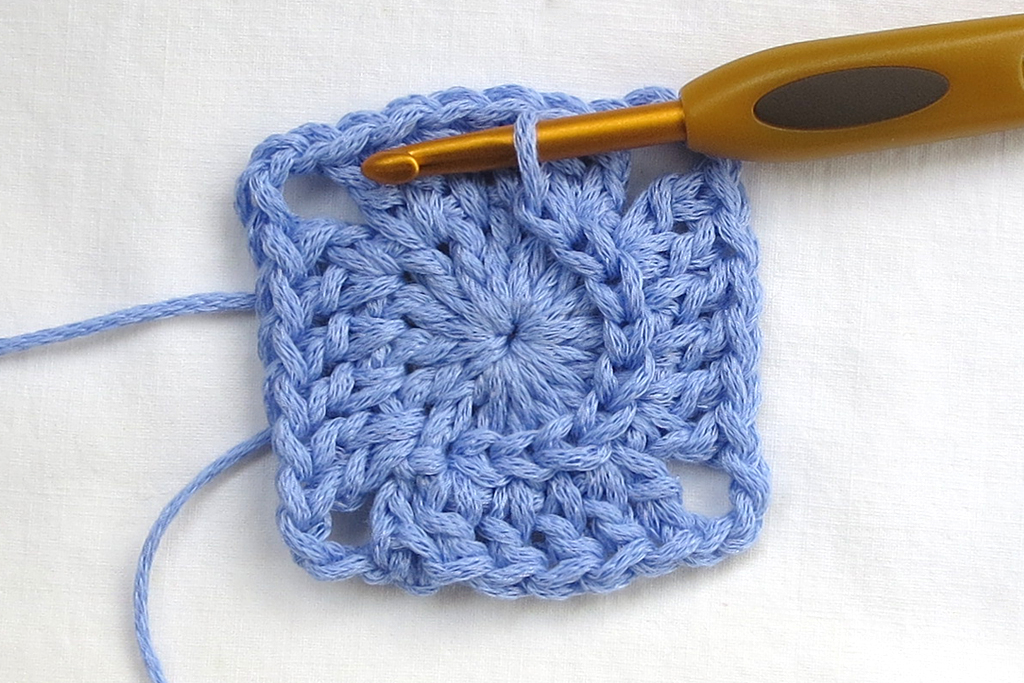
16–18. Repeat around until 15 surface crochet sts have been completed.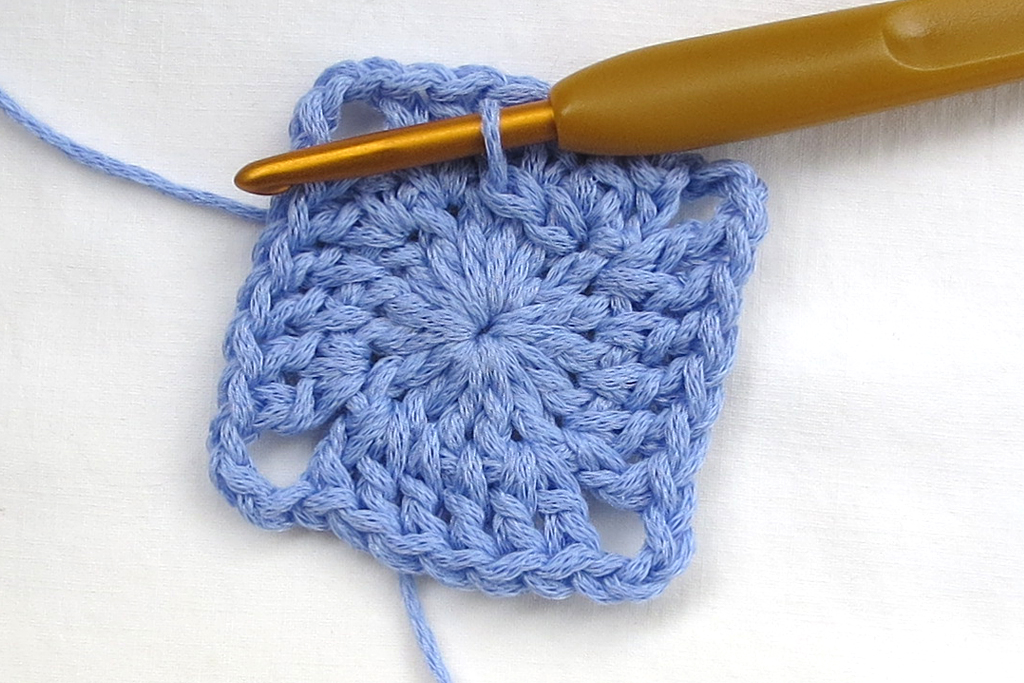
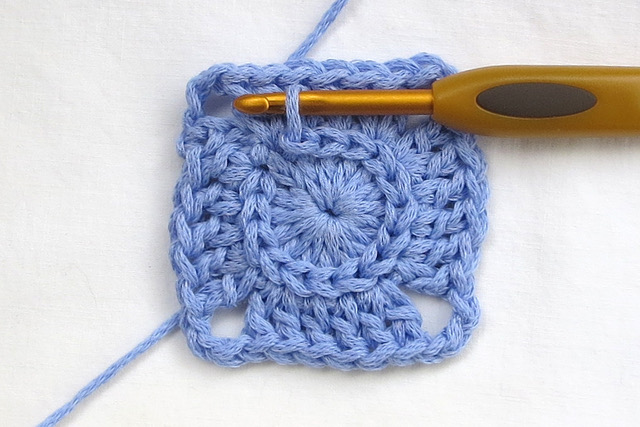
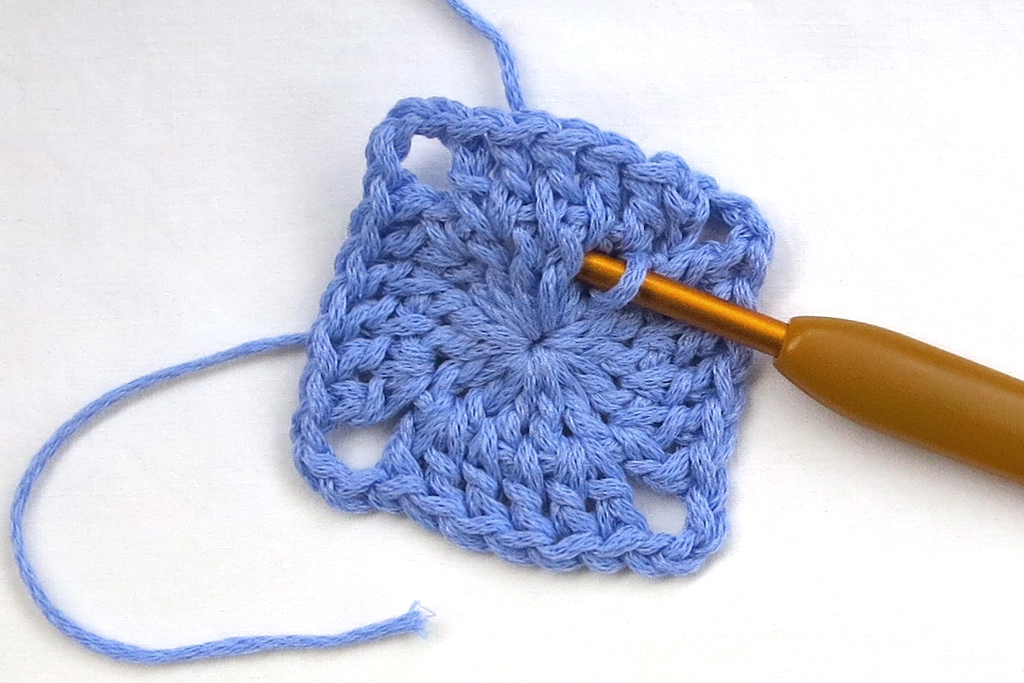
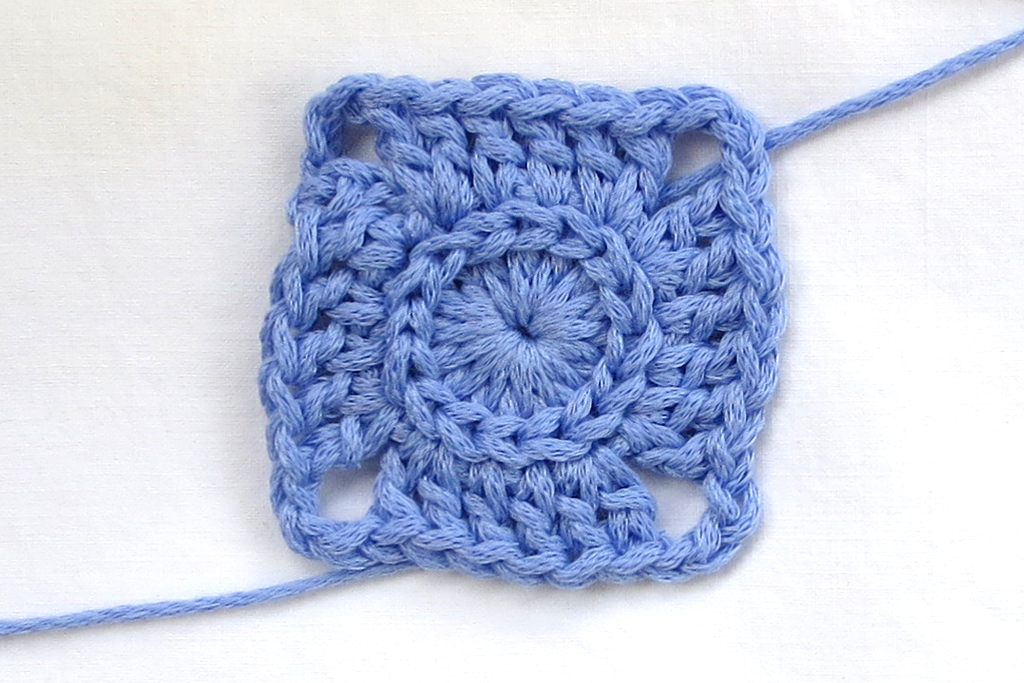
19. This is what the reverse side should look like.
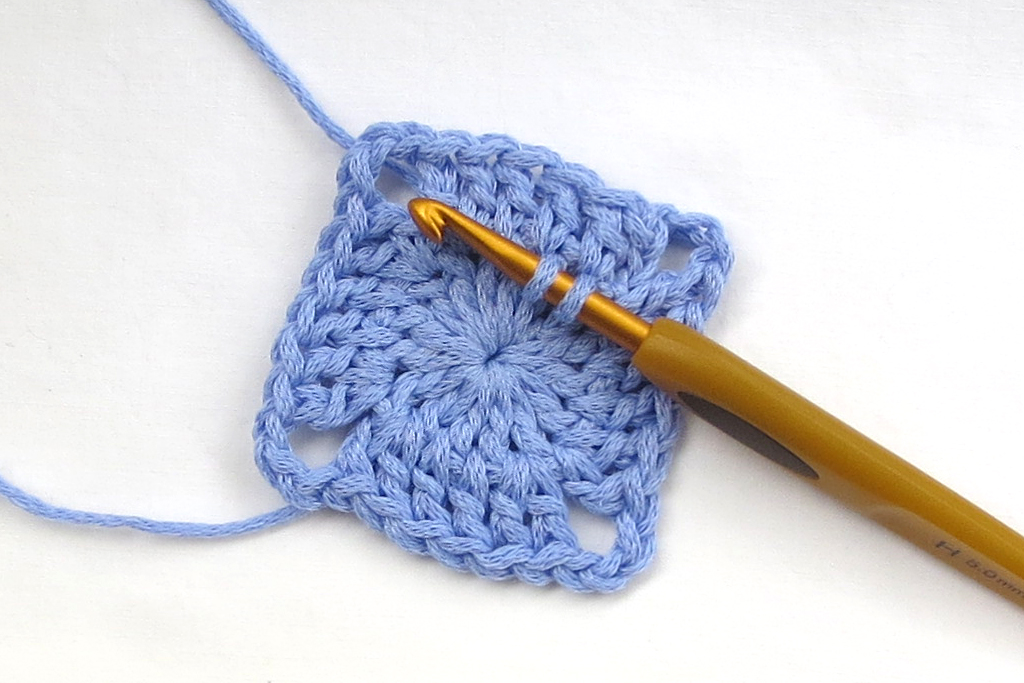
20. Cut yarn approx 6” long and pull to front through loop on hook.

21–22. With tapestry needle, thread needle and insert under first surface crochet.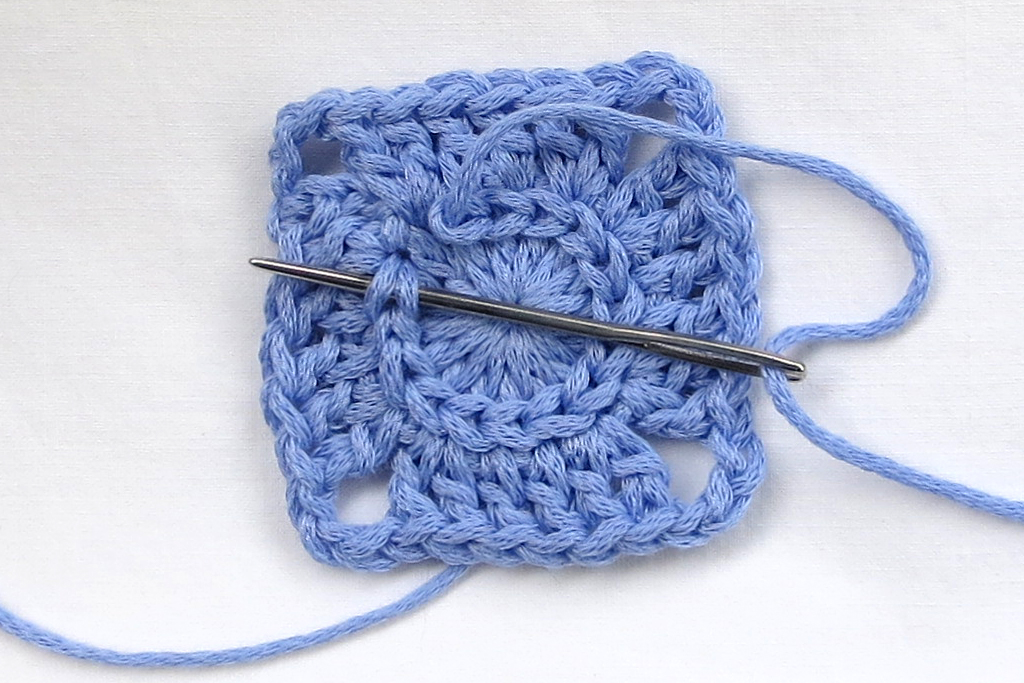

23. Then insert needle front to back inside st where yarn originates.
24. With tapestry needle, gently pull on the last surface crochet st made so that all sts look the same and have the same tension. Pull corners into shape and tighten magic ring one last time if necessary. Weave in ends.
Thanks
I paid subscription, when do I get access?