


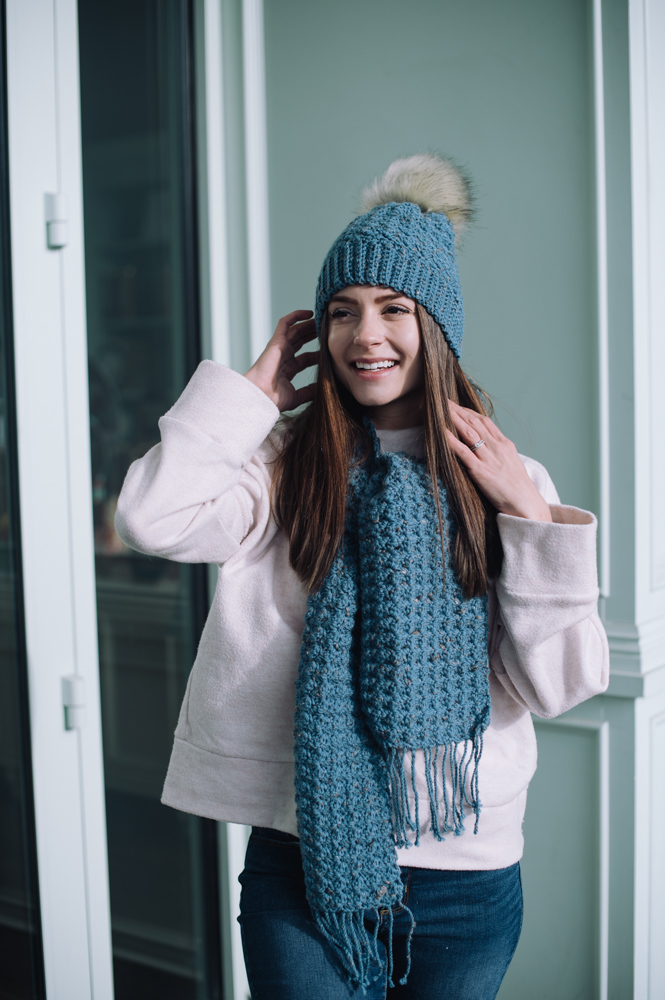
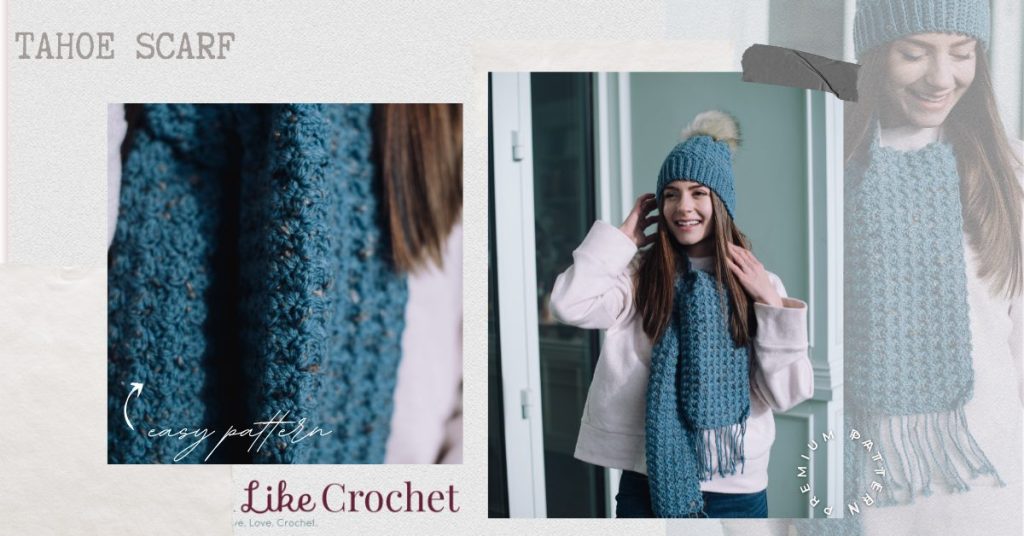
Finish off your look and keep the cold away with the versatile Tahoe Hat and Scarf set. The textured stitches, combined with a tweed yarn, and twisted fringe ends give it a classic touch that you are sure to love.
Time: 1 Week Project
Skill Level: Easy
Size: Shown in adult size
| Scarf Size | Width | Length |
| Children (Aged 4 – 5) | 4 – 4½” / 10 – 11 cm | 40” / 101.5 cm |
| Children (Aged 6 – 10) | 5 – 6” / 12.5 – 15 cm | 55” / 140 cm |
| Adult | 6 – 8” / 15 – 20 cm | 60” / 152 cm |
Gauge: 16 sc in bl only = 4” [10 cm]
Materials

Yarn: Stylecraft Special Aran with Wool (77% acrylic, 20% wool, 3% viscose; 816 meters / 400 grams): 3391 Atlantic Blue Nepp (1 ball)
Hook: US size H/8 (5.00 mm)
Notions: Tapestry needle, 2 stitch markers
Pattern Notes
To adjust scarf width, total number of foundation chain needs to be a multiple of 3 ch + 2.
Pattern
You may find it helpful to add a stitch marker in the first and last stitch of each row.
Ch 29.
Row 1: (Sc, 2 dc) in 2nd ch from hook, sk next 2 ch, [(sc, 2 dc) in next ch, sk next 2 ch] across to last ch, sc in last ch, turn. (9 groups of (sc, 2 dc) and 1 sc)
Row 2: Ch 1 (does not count as st throughout), (sc, 2 dc) in first sc, sk next 2 dc, [(sc, 2 dc) in next sc, sk next 2 dc] across to last sc, sc in last sc, turn.
Rep Row 2 until scarf measures 60” long, or until desired length. Fasten off.
Finishing
Adding a Twisted Fringe
You might find using a stone, or a clothes pin to hold one strand in place, whilst twisting the other, useful when creating the twisted fringing.
See supporting images;
- Take a yarn length of about 16” [40 cm]. Fold the strand of yarn in half so that there is a U-shaped bend on one side and two ‘tails’ on the other side. Insert your hook at desired location along short edge of the scarf and catch the bend of your yarn with your hook. Pull the folded end of the yarn under the stitch taking care not to pull the yarn all the way through. The ends of the yarn should remain on the opposite side of the stitch as the folded end. Open up the fold of the yarn so that you have a loop. Insert the tail ends of yarn into the loop. Pull the ends of the yarn tightly to cinch the loop down into a knot.
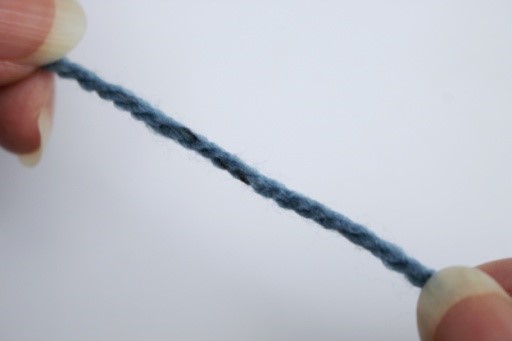
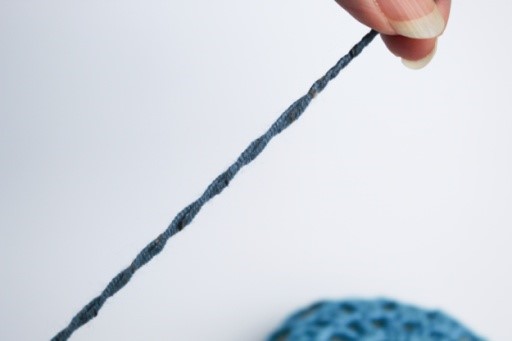
- Take one of the strands and start to twist in the same direction as your yarn is twisted – you can tell if you are twisting the wrong way as the ply of your yarn will start to separate.

- Twist the strand until it is quite taut and almost starts to curl in on itself, secure so it doesn’t unwind while you work on the second strand – I held mine under a large stone.
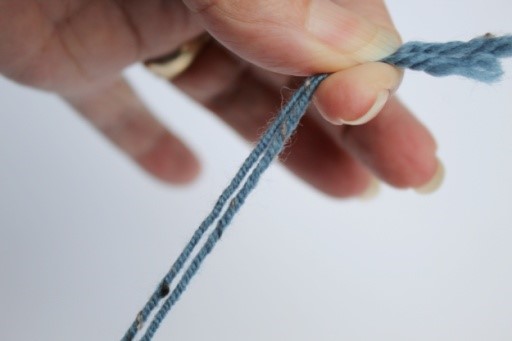
- With the second strand repeat steps 2 – 3
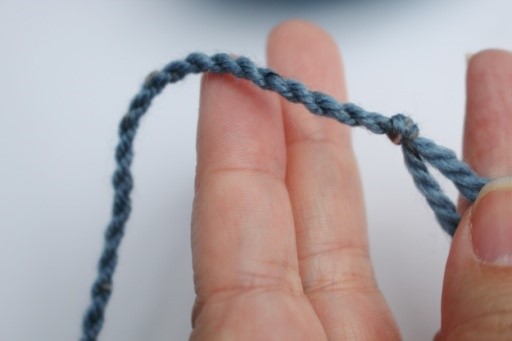
- To finish the fringe hold both strands taut and twist together, working into the opposite direction as you first twisted. Your strands should twist around each other naturally – make sure you twist enough so that they curl round each other securely, then secure both strands together with a knot.
Repeat steps 1 – 5 along the short ends of your scarf to complete the twisted fringe.
How do I print the instructions for the Tahoe Scarf?
Hi! You can print using your browser’s print function or the printer icon on the left side of our website.
I love knitting patterns, thank you for the free ones.
Thank you very much,I love free patterns
I like the choices for what level each pattern is needed
Where are the instructions for the hat
Hi Judith! Here are the instructions for the hat: https://www.ilikecrochet.com/magazine/crochet-hat-patterns/tahoe-hat/
– Nicola, Editor