

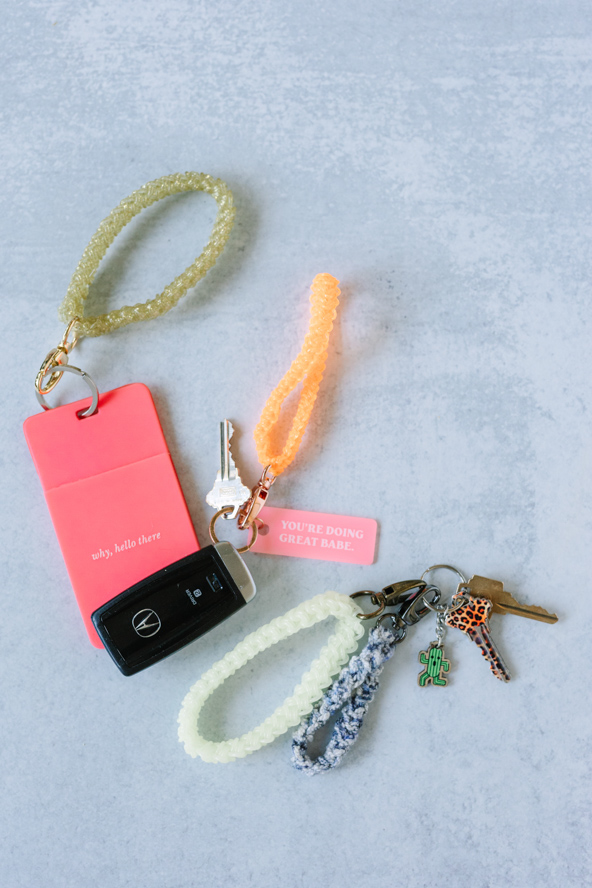
Create unique and stylish keychains with the Lumi Keychain pattern. With an estimated completion time of just one hour, it’s a quick and enjoyable project. Experiment with different yarn textures and colors to craft one-of-a-kind keychains that reflect your personal style.
These versatile keychains can be worn around the wrist, allowing you to keep your hands free while multitasking. Whether you’re texting, walking the dogs, or unloading groceries from the car, they provide the convenience you need.
Utilize Jelly Yarn, a 100% vinyl yarn available in various shades, to bring your keychains to life. Let your creativity shine as you explore the possibilities of this unique material.
Time: 1-Hour Pattern
Skill Level: Easy
Size: Crochet as you go pattern can be sized to fit each individual wrist. Key chains should measure circumference of wrist plus an additional 1 to 1.5 inches to allow key chain to easily slide over hand.
Gauge: Not important to design
Materials
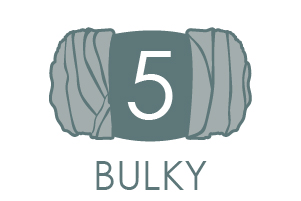 Jelly Yarn (100% vinyl; 65 yards [60 meters]/150 grams): Vanilla Peppermint Glow (1 ball), Honey Gold, (1 ball)
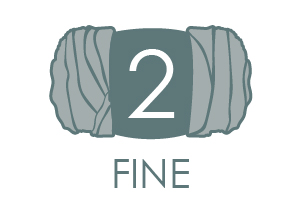 Jelly Yarn (100% vinyl; 85 yards [78 meters]/140 grams): Orange Sherbet, (1 ball), Honey Gold (1 ball) from https://www.jellyyarn.com
 CascadeYarns Fixation Splash (cotton/spandex; 100 yards [91.4 meters]/50 grams): #113 denim, (1 ball), from https://www.cascadeyarns.com/
Hooks: US size L/11 (8.0 mm), H/8 (5.0 mm) and G/6 (4.0 mm)
Notions: Swivel Snap Hook; 3/4” (20mm) antique brass, 1; 3/4” (20mm) gold, 1; 1/2” (12mm) copper, 1; 1/2” (12mm) gun metal, 1; from https://emmalinebags.com/
tapestry needle
Pattern Notes
Key chain is worked from bottom to top, then snap closure is sewn on.
Use tight tension when making beginning slip knot to start project.
After first row is made, pull and tighten beg yarn tail to secure.
Apply a small amount of hand salve that accompanies jelly yarn order to crochet hook to allow yarn to flow more freely over hook. See www.jellyyarn.com for more tips regarding how to work with Jelly Yarns.
Do not chain at beginning of rows unless otherwise stated.
Samples shown are vanilla peppermint yarn with 3/4” antique brass swivel; honey gold bulky jelly yarn with 3/4” swivel; honey gold fine jelly yarn with 1/2” swivel, orange sherbet fine jelly yarn with 1/2” swivel and denim yarn with 1/2” gun metal swivel.
Pattern
Bulky Jelly Yarn Key Chain
Row 1: With size H hook and desired color bulky weight Jelly yarn (see Pattern Notes), leaving a 10” beg yarn tail, ch 2, sc in 2nd ch from hook, turn. (1 sc)
Row 2: Do not ch 1 (see Pattern Notes), sc in sk ch of Row 1, turn. (1 sc)
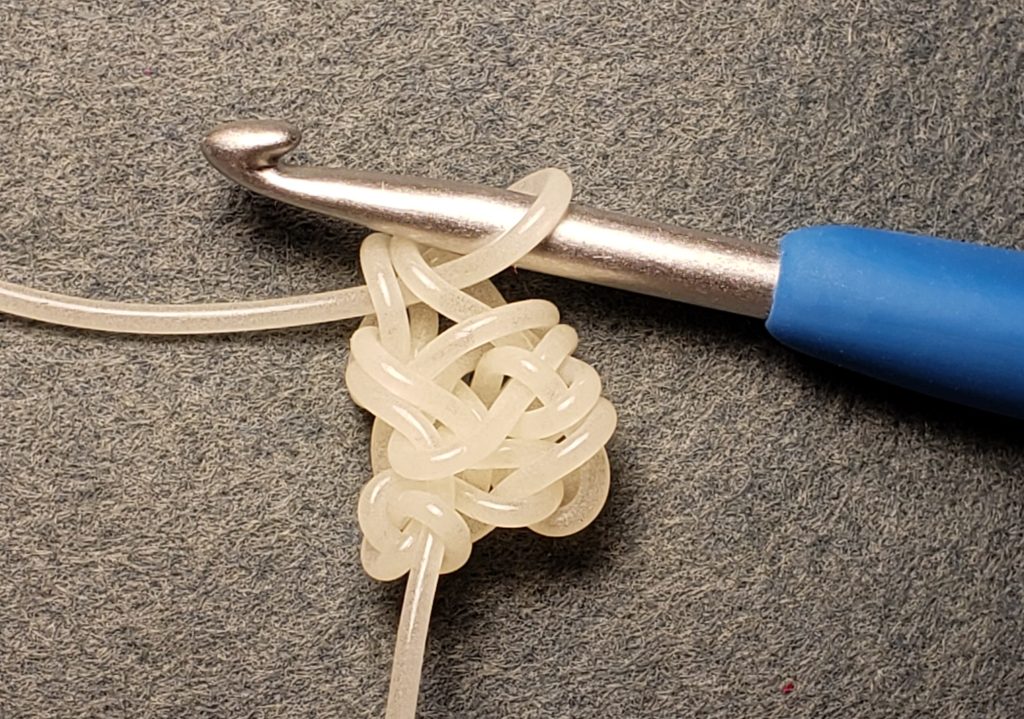
Row 3: Insert hook under 2 vertical loops at left edge of work (Photo A), yo and pull up lp (Photo B), yo and pull through both lps on hook to complete as a sc (Photo C), turn. (1 sc)
Rep last row until cord measures desired length (see Pattern Notes), cut yarn leaving a 12 inch yarn tail.
Photo A:
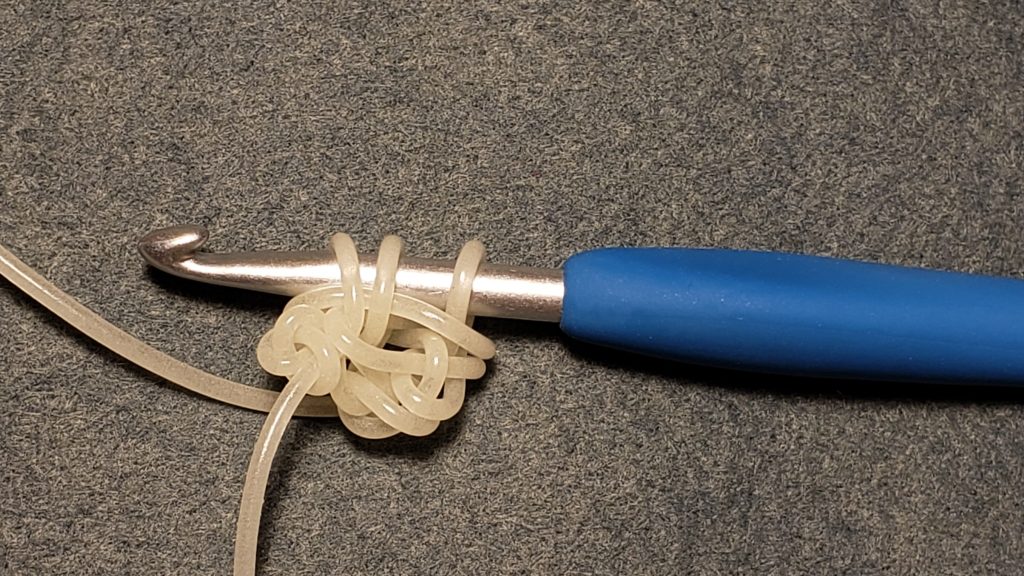
Photo B:
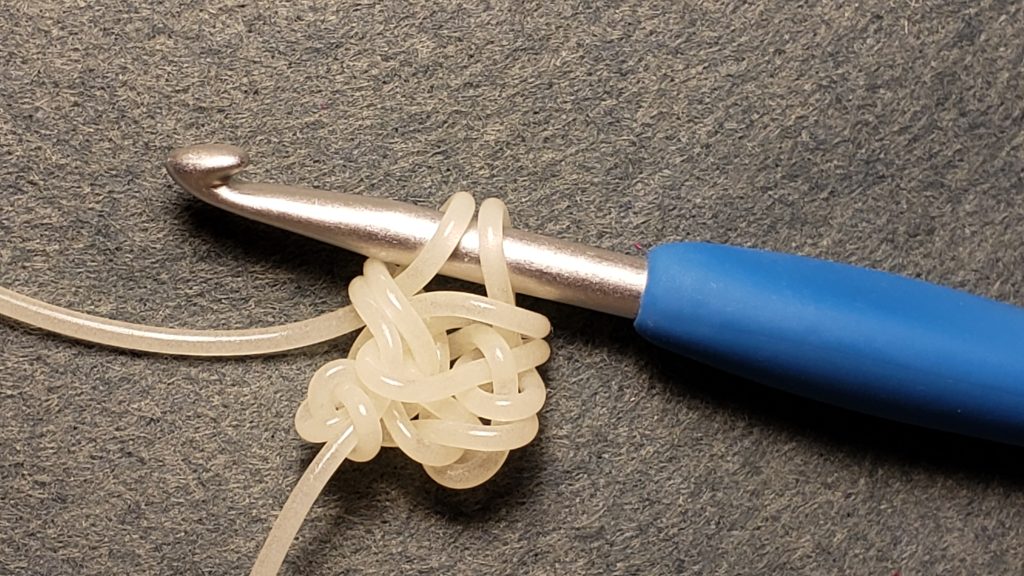
Photo C:
Updated 4/22/2024
Fine Jelly Yarn Key Chain
Row 1: With size G hook and desired color fine weight Jelly yarn rep same as for bulky jelly yarn key chain.
Fixation Yarn Key Chain
Row 1: With size L hook and denim yarn, rep same as for bulky jelly yarn key chain, working to desired length and adding gun metal snap closure.
Finishing Jelly Yarn Keychains
With hair blow-dryer on medium heat setting, direct flow of air over jelly yarn to relax stitches. Untwist key chain if necessary and use straight pins to pin key chain flat onto cardboard or flatten key chain then place a heavy book on top of key chain and allow to sit overnight.
All Keychains
Fold ends of key chain together having bottom edge of snap closure above ends, thread tapestry needle with yarn tail, create a whipstitch by inserting needle through both layers of key chain and over bottom edge of closure, rep whipstitch several times to secure.
Where are the photo instructions that are referenced in the pattern? Is row 3 like the foundation sc stitch?
Thanks for bringing this to our attention! We’ve updated the pattern with the missing photos. Hope this helps! – Nicola, Editor