


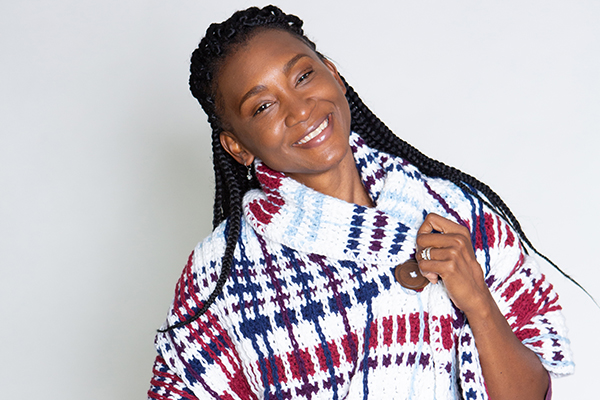
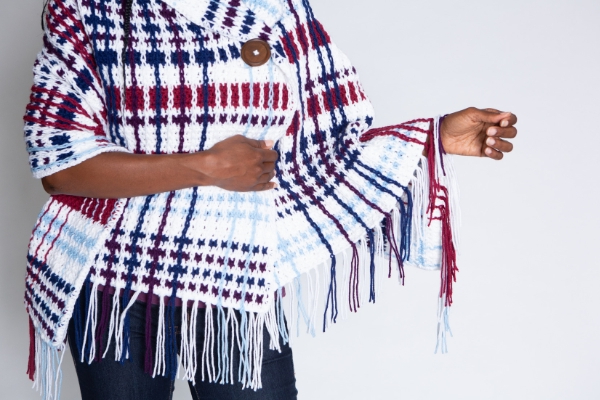
This oversized scarf can be worn multiple ways for optimal coziness. Hefty in size, this scarf is ideal for morning walks to the log shed or for sitting down at the dock before sunrise.
Skill Level: Easy
Size: 62” x 26”, before adding fringe
Gauge: 12 sts and 7 rows = 4” [10 cm] in dc, before vertical striping
Materials
 Yarn Caron One Pound (100% Acrylic; 812 yards [742 meters]/453 grams): #10501 White (MC, 2 balls), #10508 Sky Blue (C1, 1 ball), #10546 Midnight Blue (C2, 1 ball), #10547 Deep Violet (C3, 1 ball), #10535 Country Rose (C4, 1 ball).
Hook: US size K/11 (6.5 mm), US size M/N (9.00 mm)
Notions: Markers, tapestry needle, one 2” button
Special Stitches
Sc join (single crochet join): With slip knot on hook, insert hook into desired stitch, pull up a loop, yo, pull through both loops on hook.
Surface sl st (surface slip stitch): Without yarn on hook, insert hook from front to back of work through desired stitch. With yarn behind work, put slip knot on hook and pull through work. Insert hook into next st, draw up a loop from behind work, pull through loop on hook.
Pattern Notes
Ch 3 at beginning of row counts as a dc.
Recommended: Add border to scarf before beginning vertical stripes. This will reduce stretching and puckering of the fabric while working vertical stripes.
Pattern
With MC and smaller hook, ch 80.
Row 1: Dc in 4th ch from hook (3 skipped chs count as a st), 77 dc across, turn. (78 sts)
Row 2: Ch 3, dc across, turn. (78 sts)
Row 3: Change to C1, rep Row 2.
Row 4: Change to MC, rep Row 2.
Row 5: Change to C1, rep Row 2.
Row 6: Change to MC, rep Row 2.
Rows 7-8: Rep Row 2.
Row 9: Change to C2, rep Row 2.
Row 10: Change to MC, rep Row 2.
Row 11: Change to C3, rep Row 2.
Row 12: Change to MC, rep Row 2.
Row 13: Change to C2, rep Row 2.
Row 14: Change to MC, rep Row 2.
Row 15: Change to C3, rep Row 2.
Row 16: Change to MC, rep Row 2.
Row 17: Change to C2, rep Row 2.
Row 18: Rep Row 2.
Row 19: Change to MC, rep Row 2.
Rows 20-21: Rep Row 2.
Row 22: Change to C4, rep Row 2.
Rows 23-24: Rep Row 2.
Row 25: Change to MC, rep Row 2.
Row 26: Change to C3, rep Row 2.
Row 27: Change to MC, rep Row 2.
Rows 28-30: Rep Row 2.
Row 31: Change to C4, rep Row 2.
Row 32-34: Rep Row 2.
Row 35: Change to MC, rep Row 2.
Cont in stripe pattern, rep Row 2 until piece meas 18” long. Mark row.
Cont in stripe pattern, rep Row 2 until piece meas 48” long.
Buttonhole Row: Ch 3, 7 dc, ch 4, sk next 4 sts, 66 dc across, turn. (74 dc, 1 ch-4 sp)
Next Row: Ch 3, 65 dc, dc in next 4 chs, 8 dc, turn. (78 sts)
Cont in stripe pattern, rep Row 2 until piece meas 62” long.
Fasten off and weave in ends.
Border
Row 1: With MC and smaller hook, sc join around post of last dc of last row, working down long edge, sc around same post, 2 sc around post of dc at end of each row.
Fasten off and weave in ends.
Rep on other long edge.
Vertical Stripes
With larger hook, lay work flat so buttonhole is in the upper left corner. Work stripe pattern from left to right, starting with any row of MC.
Row 1: Working up length of Scarf, working between first and second dc posts, loosely surface sl st, one st from edge. Leave long tail on each end.
Row 2: Change to next stripe color. Rep Row 1 between 3rd and 4th dc posts.
Cont in stripe pattern across width of Scarf, working a stripe in every other row.
Finishing
Fringe
Cut a 12” long strand of yarn corresponding in color to each vertical stripe. With each strand, fold in half, insert hook into either end of vertical stripe, put lp over hook, pull through work, wrap both ends of strand over hook, pull through lp on hook. Rep for both ends of each vertical stripe.
Button
Lay work flat so buttonhole is in the upper left corner, sew button to marked row (18” from starting ch), 20 sts from left edge. Button should be on same edge as buttonhole.