


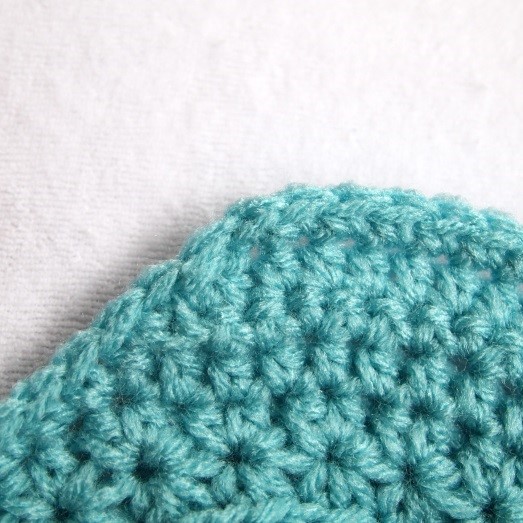
The star stitch is a magical stitch to learn this December. The pinwheel-like design resembles a snowflake, and adding this to your repertoire will give you a chance to tackle the Up North Star Stitch Cap.
To work the first Star Stitch in the round
Ch 2, draw up a loop in the 2nd ch from hook,
The star stitch is a magical stitch to learn this December. The pinwheel-like design resembles a snowflake, and adding this to your repertoire will give you a chance to tackle the Up North Star Stitch Cap.
To work the first Star Stitch in the round
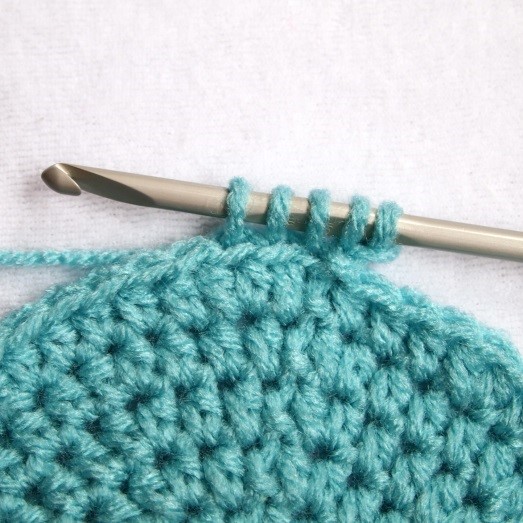
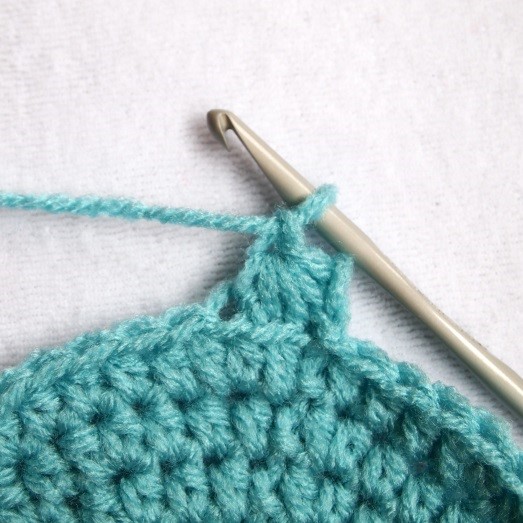
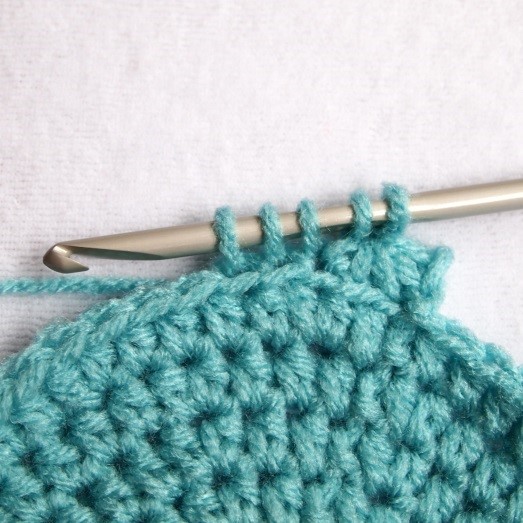
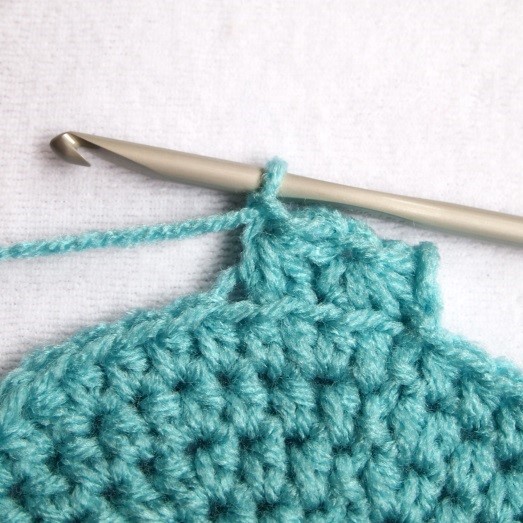
Ch 2, draw up a loop in the 2nd ch from hook, draw up a loop in the backloop of the same st as starting ch, draw up loop in the backloop of each of the next 2 sts (5 loops on hook), yo, draw through all 5 loops, ch 1 to close the Star (first Star Stitch made).
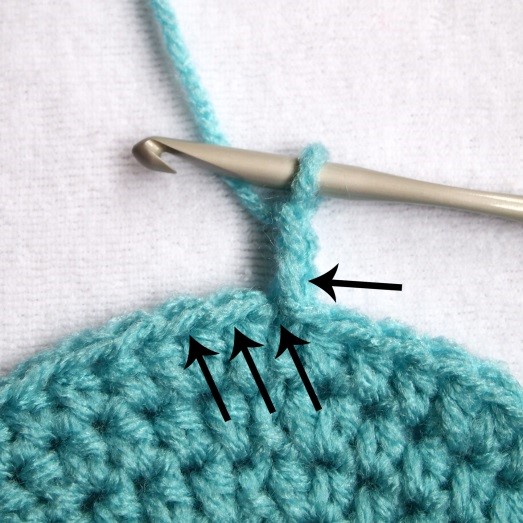
To work the remaining Star Stitches in the round
Draw up a loop in ch-1 sp, draw up a loop in the same sp that the previous Star finished, draw up a loop in the backloop of each of the next 2 sts (5 loops on hook), yo, draw through all 5 loops, ch 1 to close the Star.
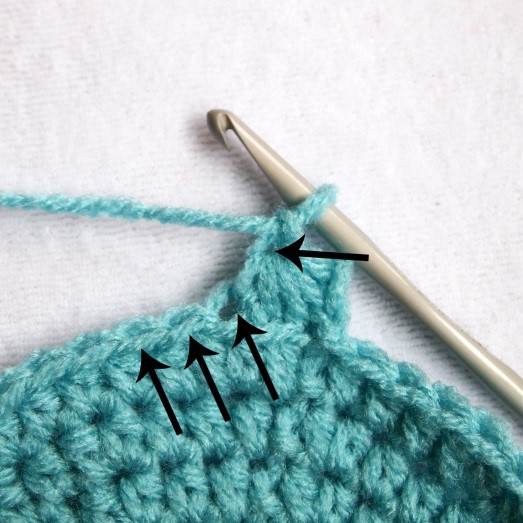
To work the last Star Stitch in the round
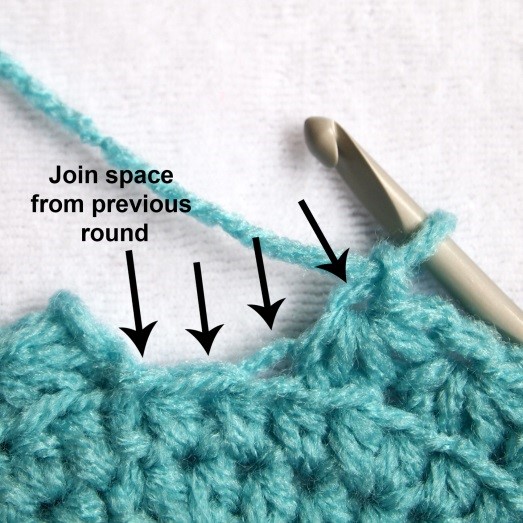
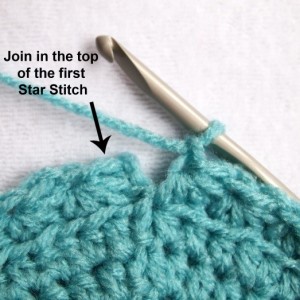
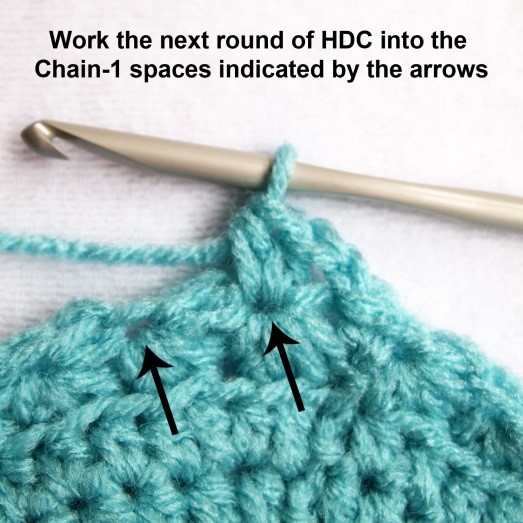
When you get to the end of the rnd it will look like you are short 1 st, but this was done on purpose. If the last Star was made the same way as the other sts you would end up with an unsightly gap in the seam. So you will make the last loop of the final Star Stitch in the join sp of the previous rnd. Sl st in the top of the first Star Stitch to join. The next rnd of hdc will be worked in the ch-1 sp only and will complete the Star Stitch.
To work the Final Round of SC after finishing the Visor
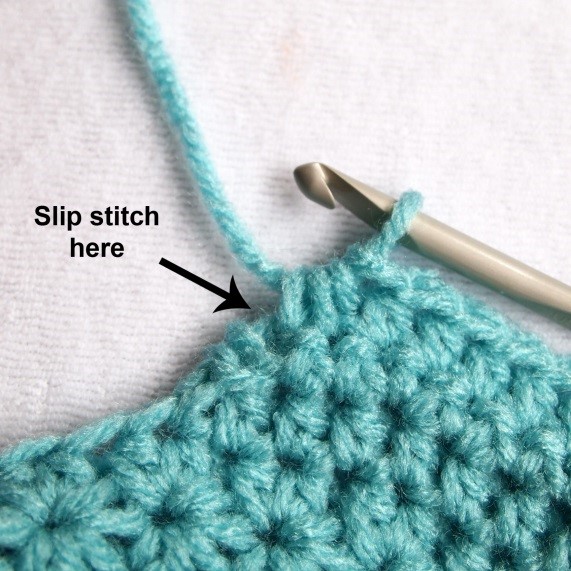
Sl st in the same sp as the last st in Row 3 of the visor instructions.
Sc in the end of the next 2 rows and continue working around the Hat, sc in each st. When you return to the visor, sc in the end of each row and in each st across the front of the visor back to where you started.
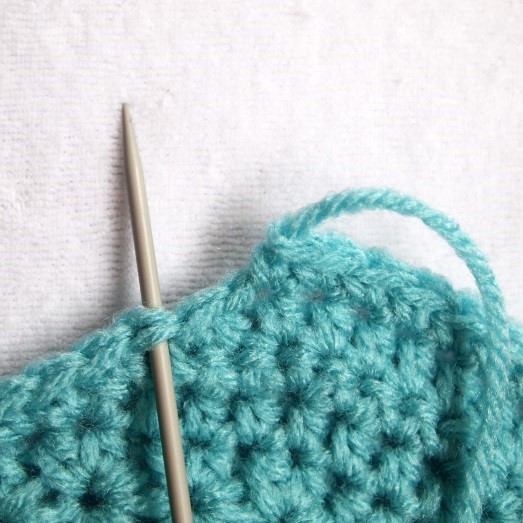
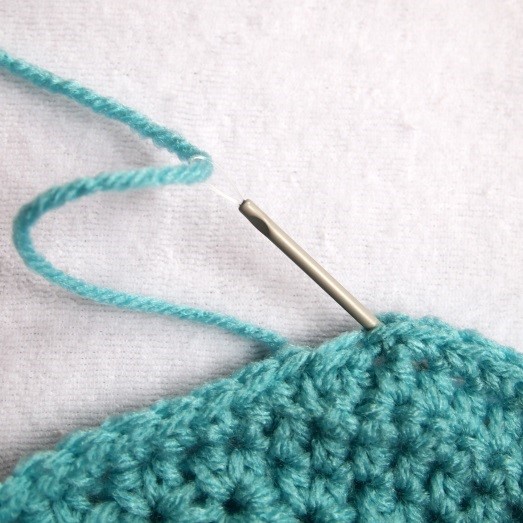
Invisible Join
Make an invisible join by weaving the yarn tail under the 2nd st to the left and back through the middle of the last st (see images below). Gently tighten the tail so it resembles the other sts. Weave in your ends.

Can this stitch be used from the beginning chain? If so how do I determine the number of chain stitches to work from? Or can it only be worked into a work already in process? What size hook and yarn works best for this stitch?
It would be great if you could also show left handed instructions.
need for left handed