


Finishing is something that most crocheters don’t take much time to think about, but it can really make or break a project. One important aspect that every crochet project includes is loose ends. There is nothing worse than spending hours on a project only to rush through the finishing and have ends sticking out.
 Finishing is something that most crocheters don’t take much time to think about, but it can really make or break a project. One important aspect that every crochet project includes is loose ends. There is nothing worse than spending hours on a project only to rush through the finishing and have ends sticking out. I’ll never forget the first scarf I made in more than one color. It was a striped scarf in super bulky yarn and I simply tied the two colors together at every color change, tucked them in, and snipped them off. You can imagine how embarassed I was later when I saw my friend wearing it and there were about twenty ends sticking out! After that I set out to find the best technique for weaving in ends and tried out several before finding the one that I regularly use.
After finding that you can’t just cut the ends off and hope they go away, the next thing I tried was crocheting over the ends. It sounds great! You just hold the yarn tails on top of the row you’re working and crochet over them. I did this for a while until I found that they slip out easily. So I tried whipstitching the ends into the stitches, but this bothers me because it adds too much bulk to the area and wasn’t good for many types of projects.
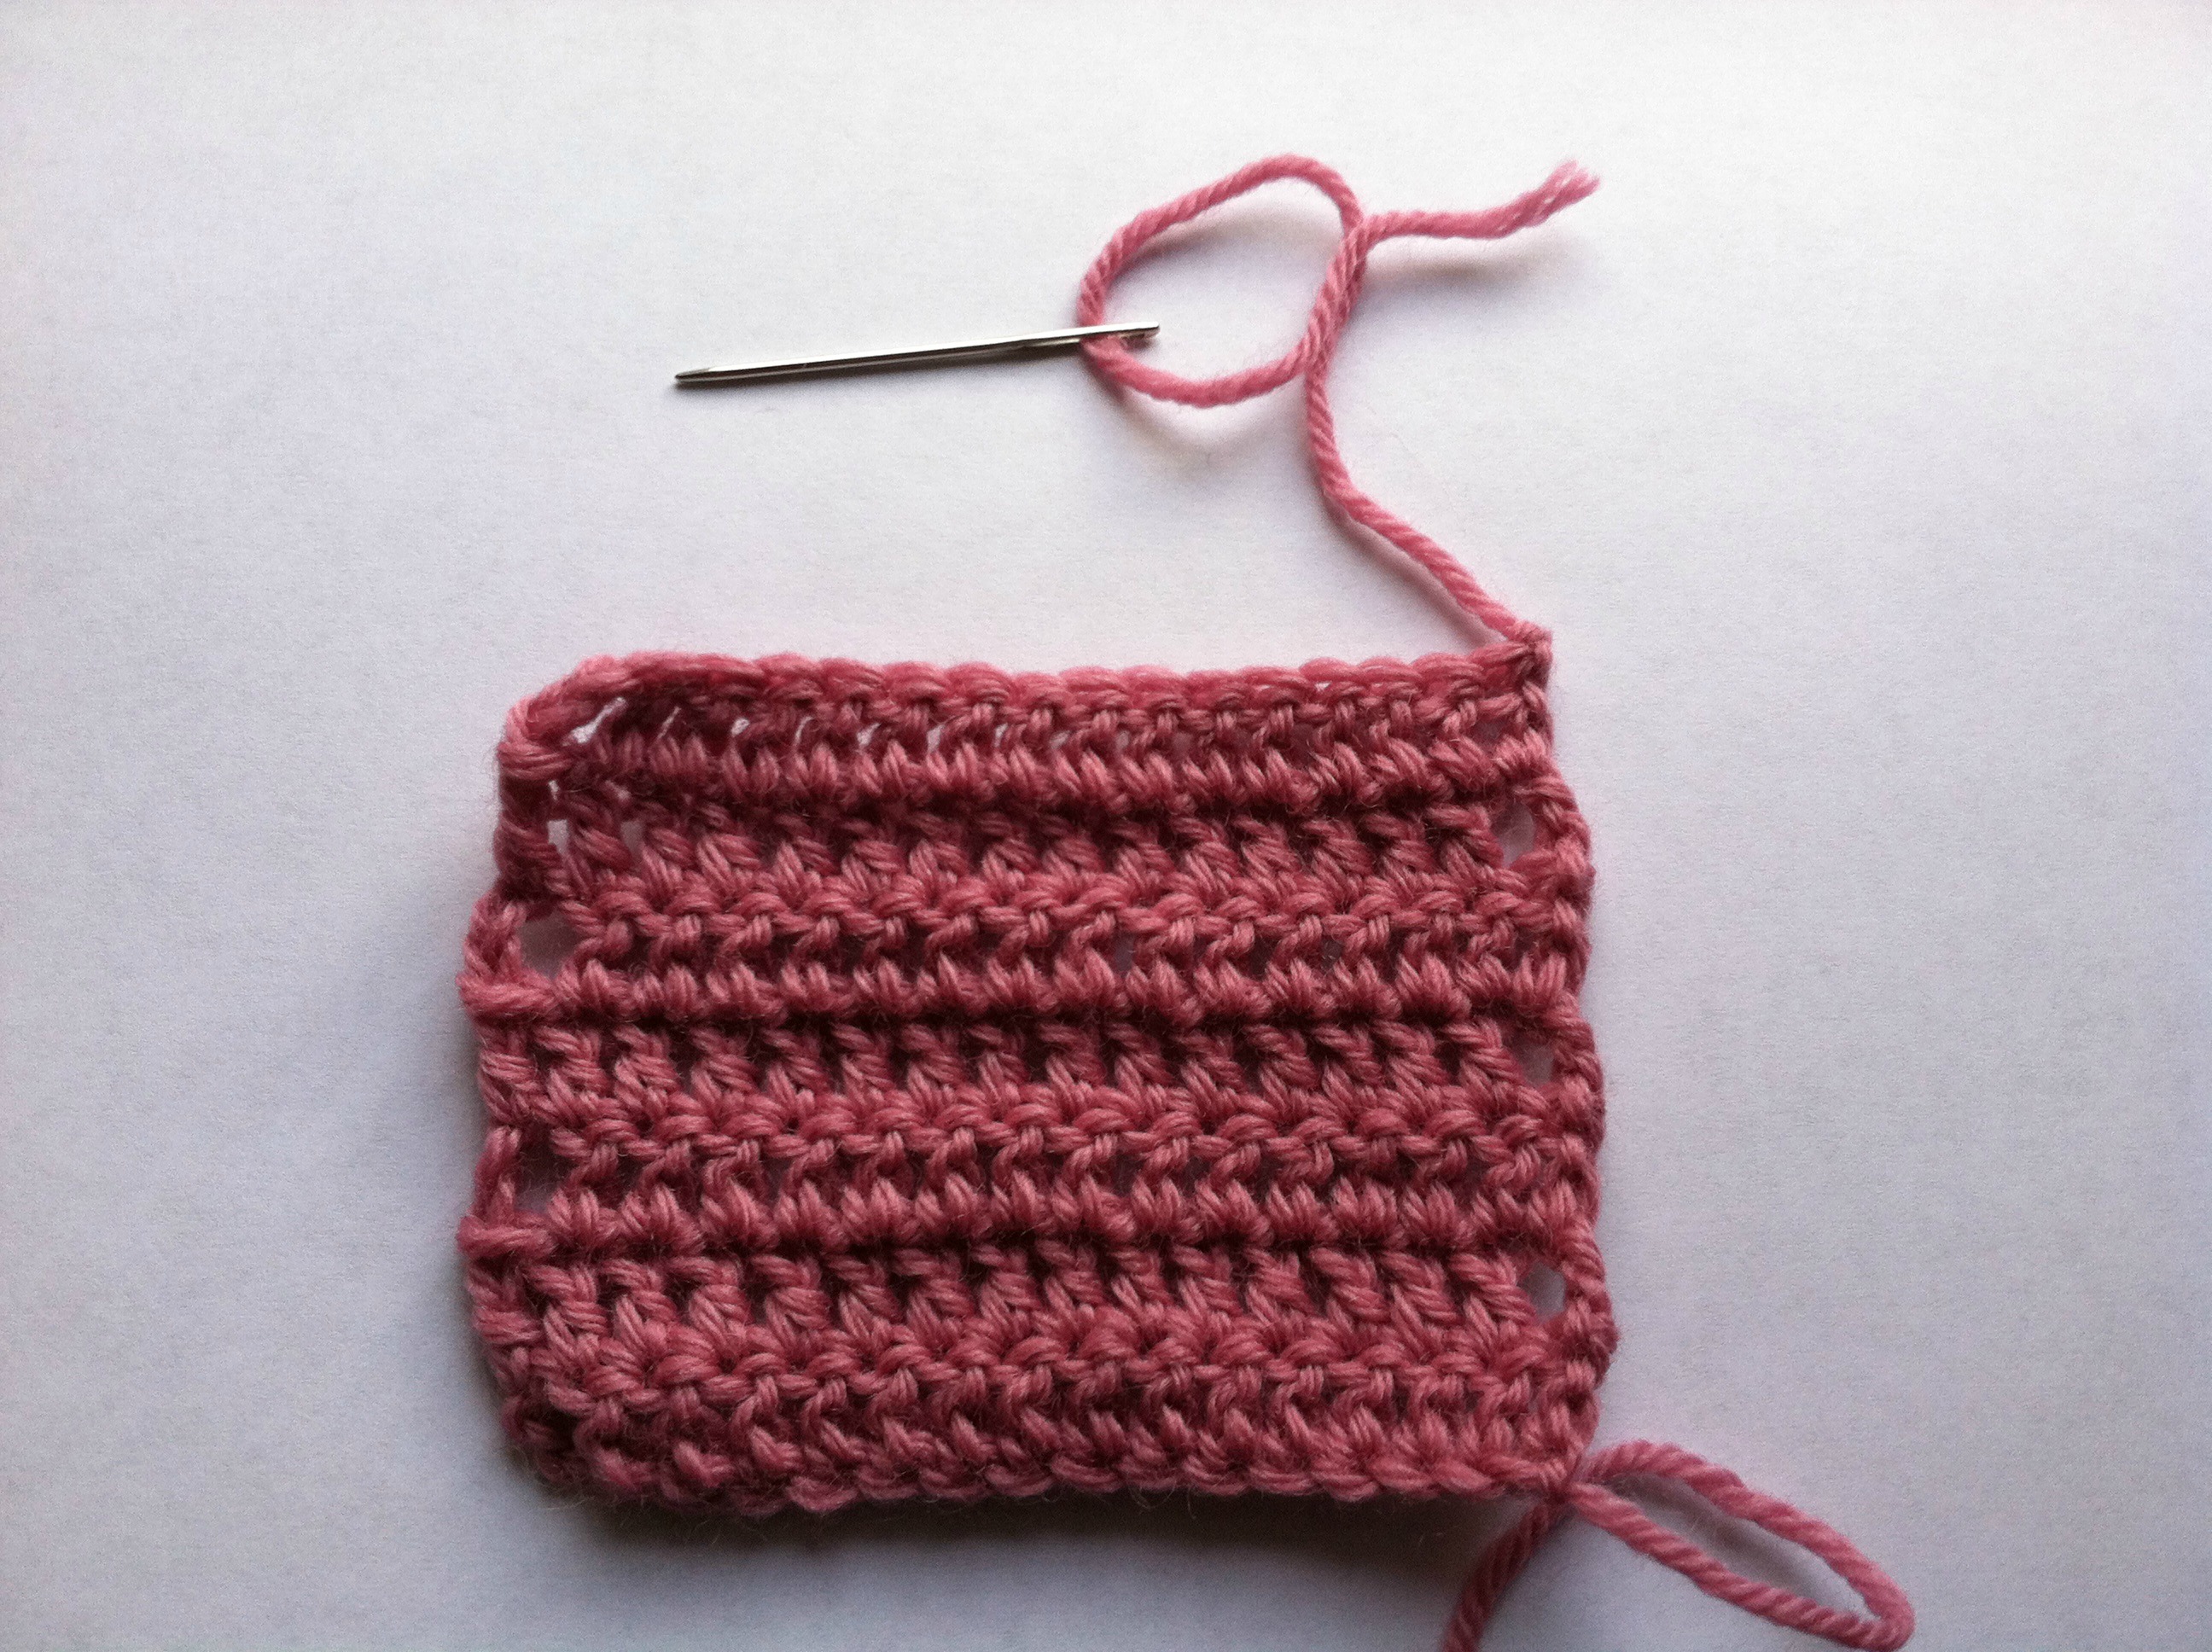
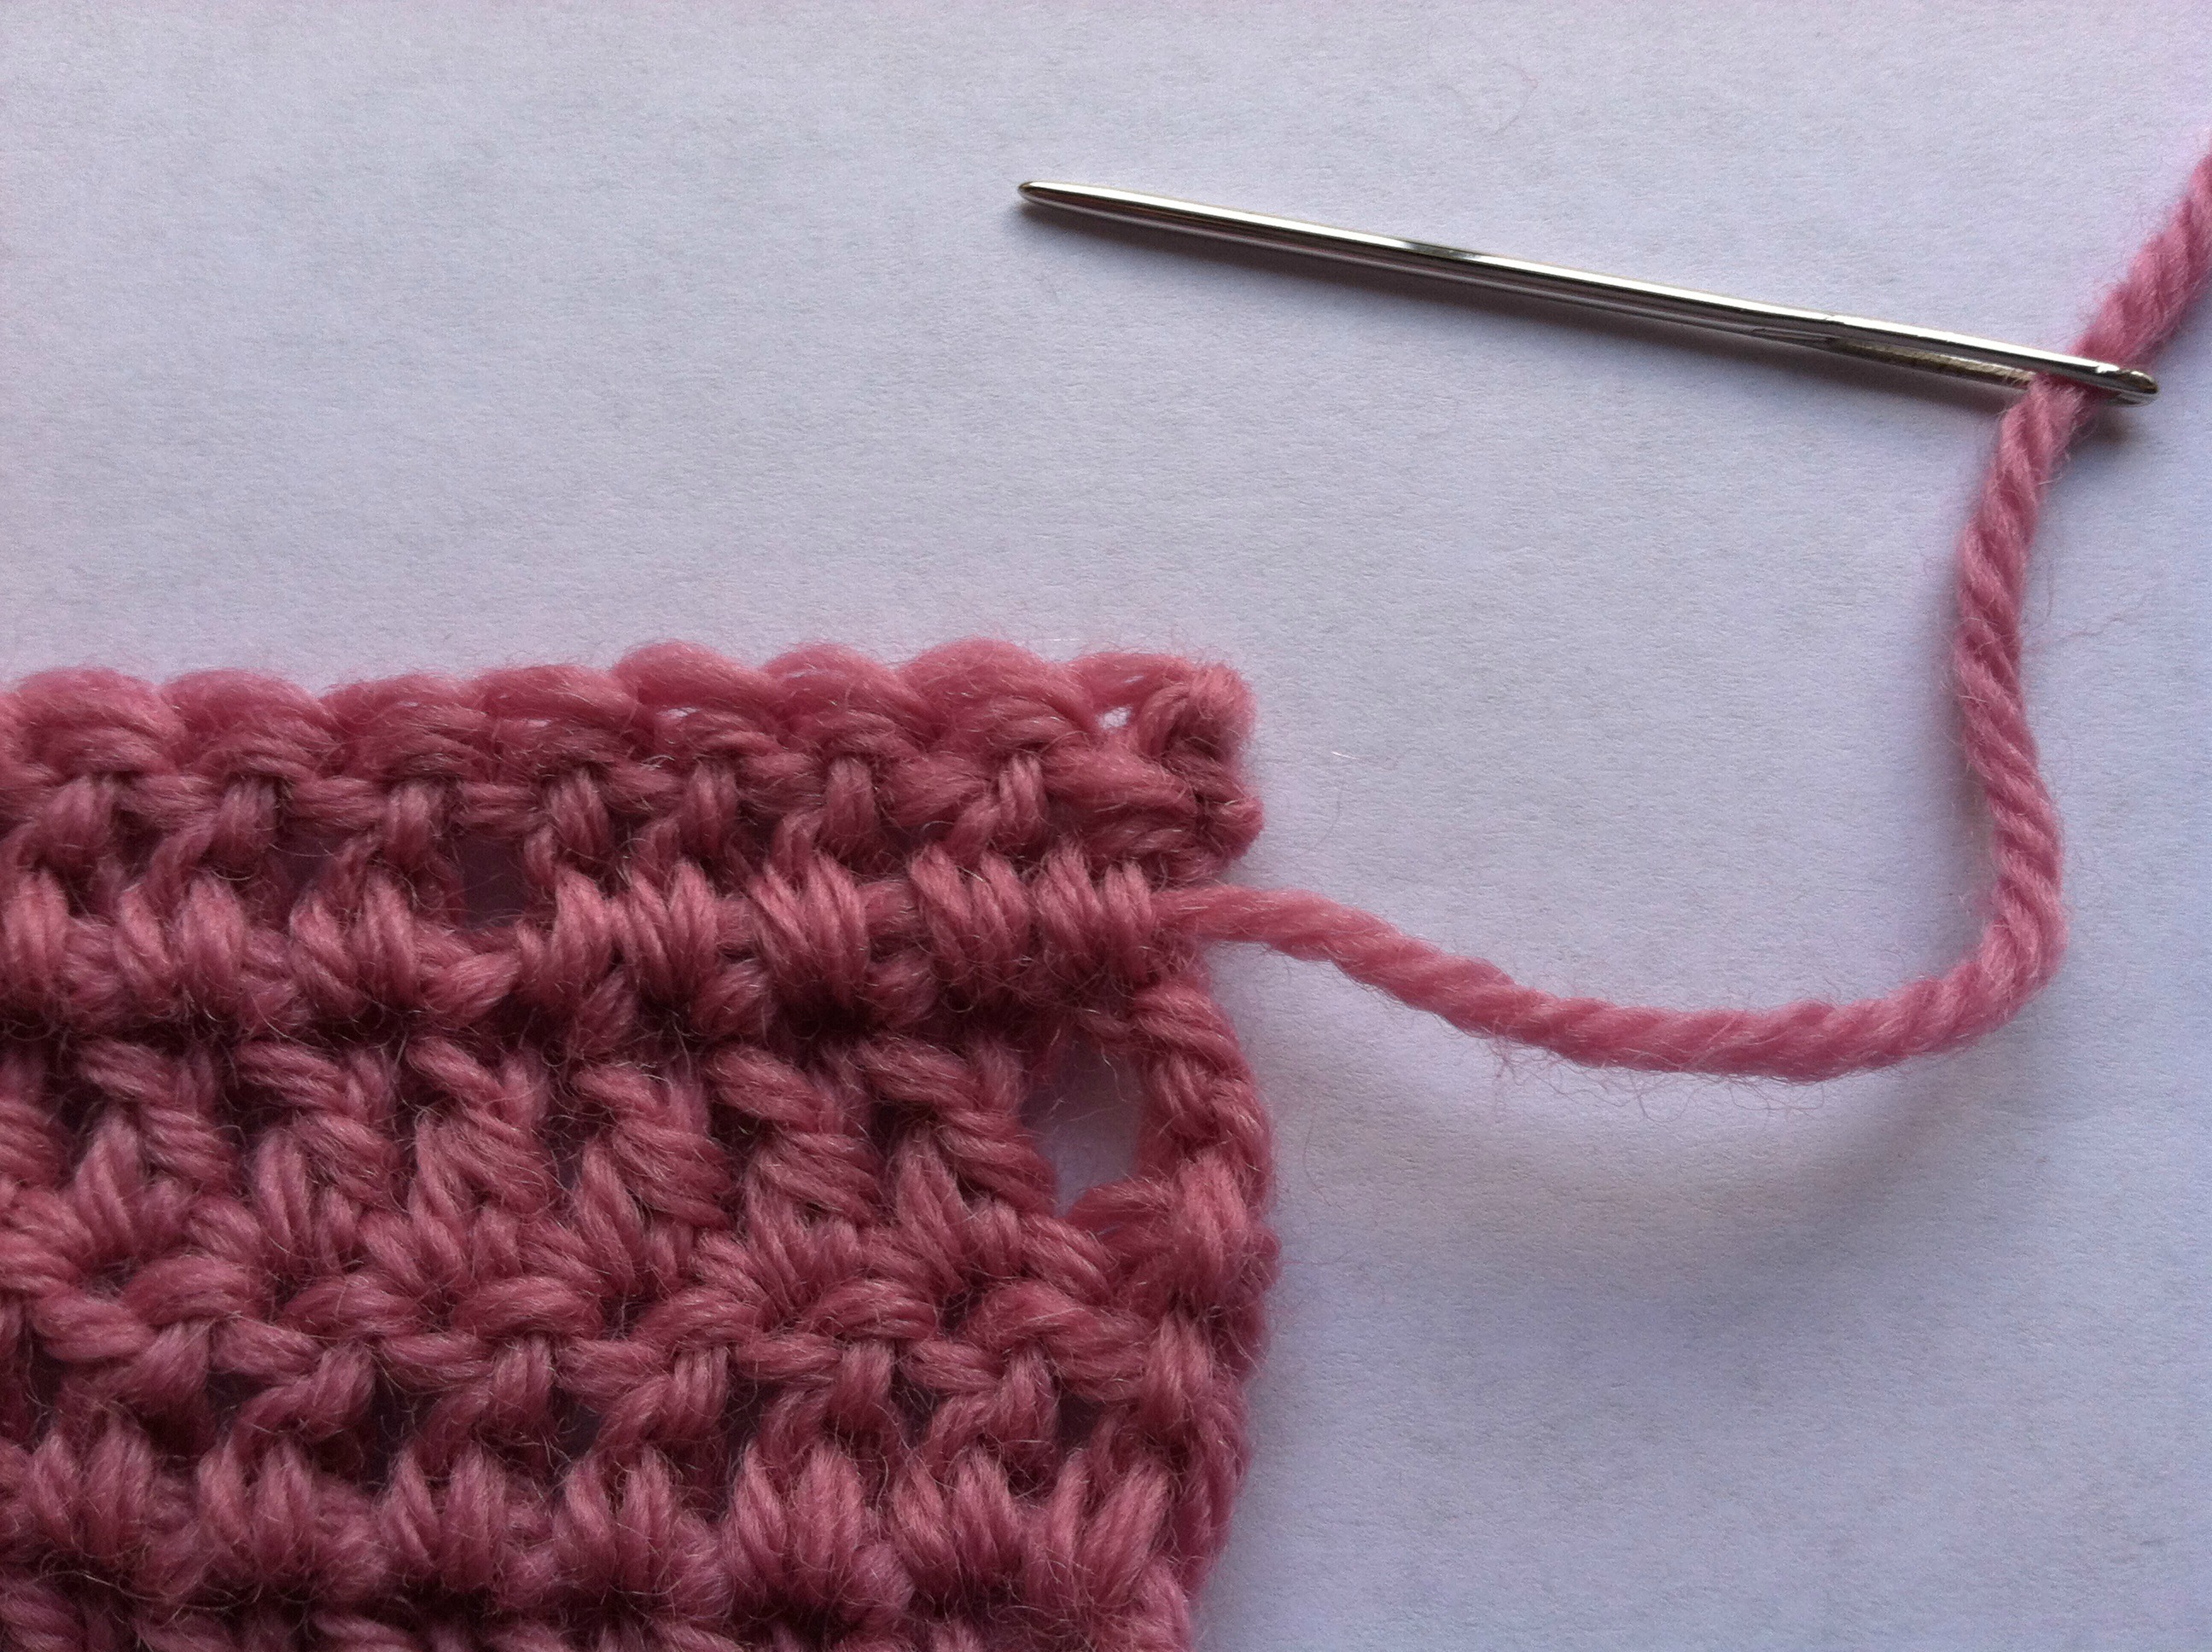
To properly weave in ends, you will need a yarn needle. I prefer to use a metal one as I find that it slides more smoothly through the stitches in most any type of yarn. The plastic ones work, too, but I don’t find them as easy to get through the stitches. Every project will require a little different approach, but the basics are the same. Typically I will try to always leave my yarn tails at the end of a row, but sometimes I am working with a very limited supply of yarn and must work to the middle of a row. The only thing this really affects is whether you weave in before or after blocking.
Tips
- If the yarn is left at the end of a row, block the pieces before weaving in the ends. If you are seaming any pieces it will be easier to weave the ends into the seam.
- If the yarn is left in the middle of a row, weave in the ends before you block. This really helps to set the ends if they happen to be in the middle of your work.
- Be very, very careful not to cut your work! This can happen to the best of us.
- Always weave in ends on the wrong side of the work. If there is no right or wrong side, just weave them in as invisibly as possible.
- Don’t pull too tightly. This will cause your work to look uneven. Try to keep the tension even with the rest of the crocheted piece.
My Go-To Technique
After nearly ten years of crocheting, this is the method I prefer for almost every end. Like I said before, if there is a seam I will wait to weave in the ends until the project has been seamed and weave the ends into the seam. This prevents any bulk from being added to the project and the ends are sure to hide there.
Step One:
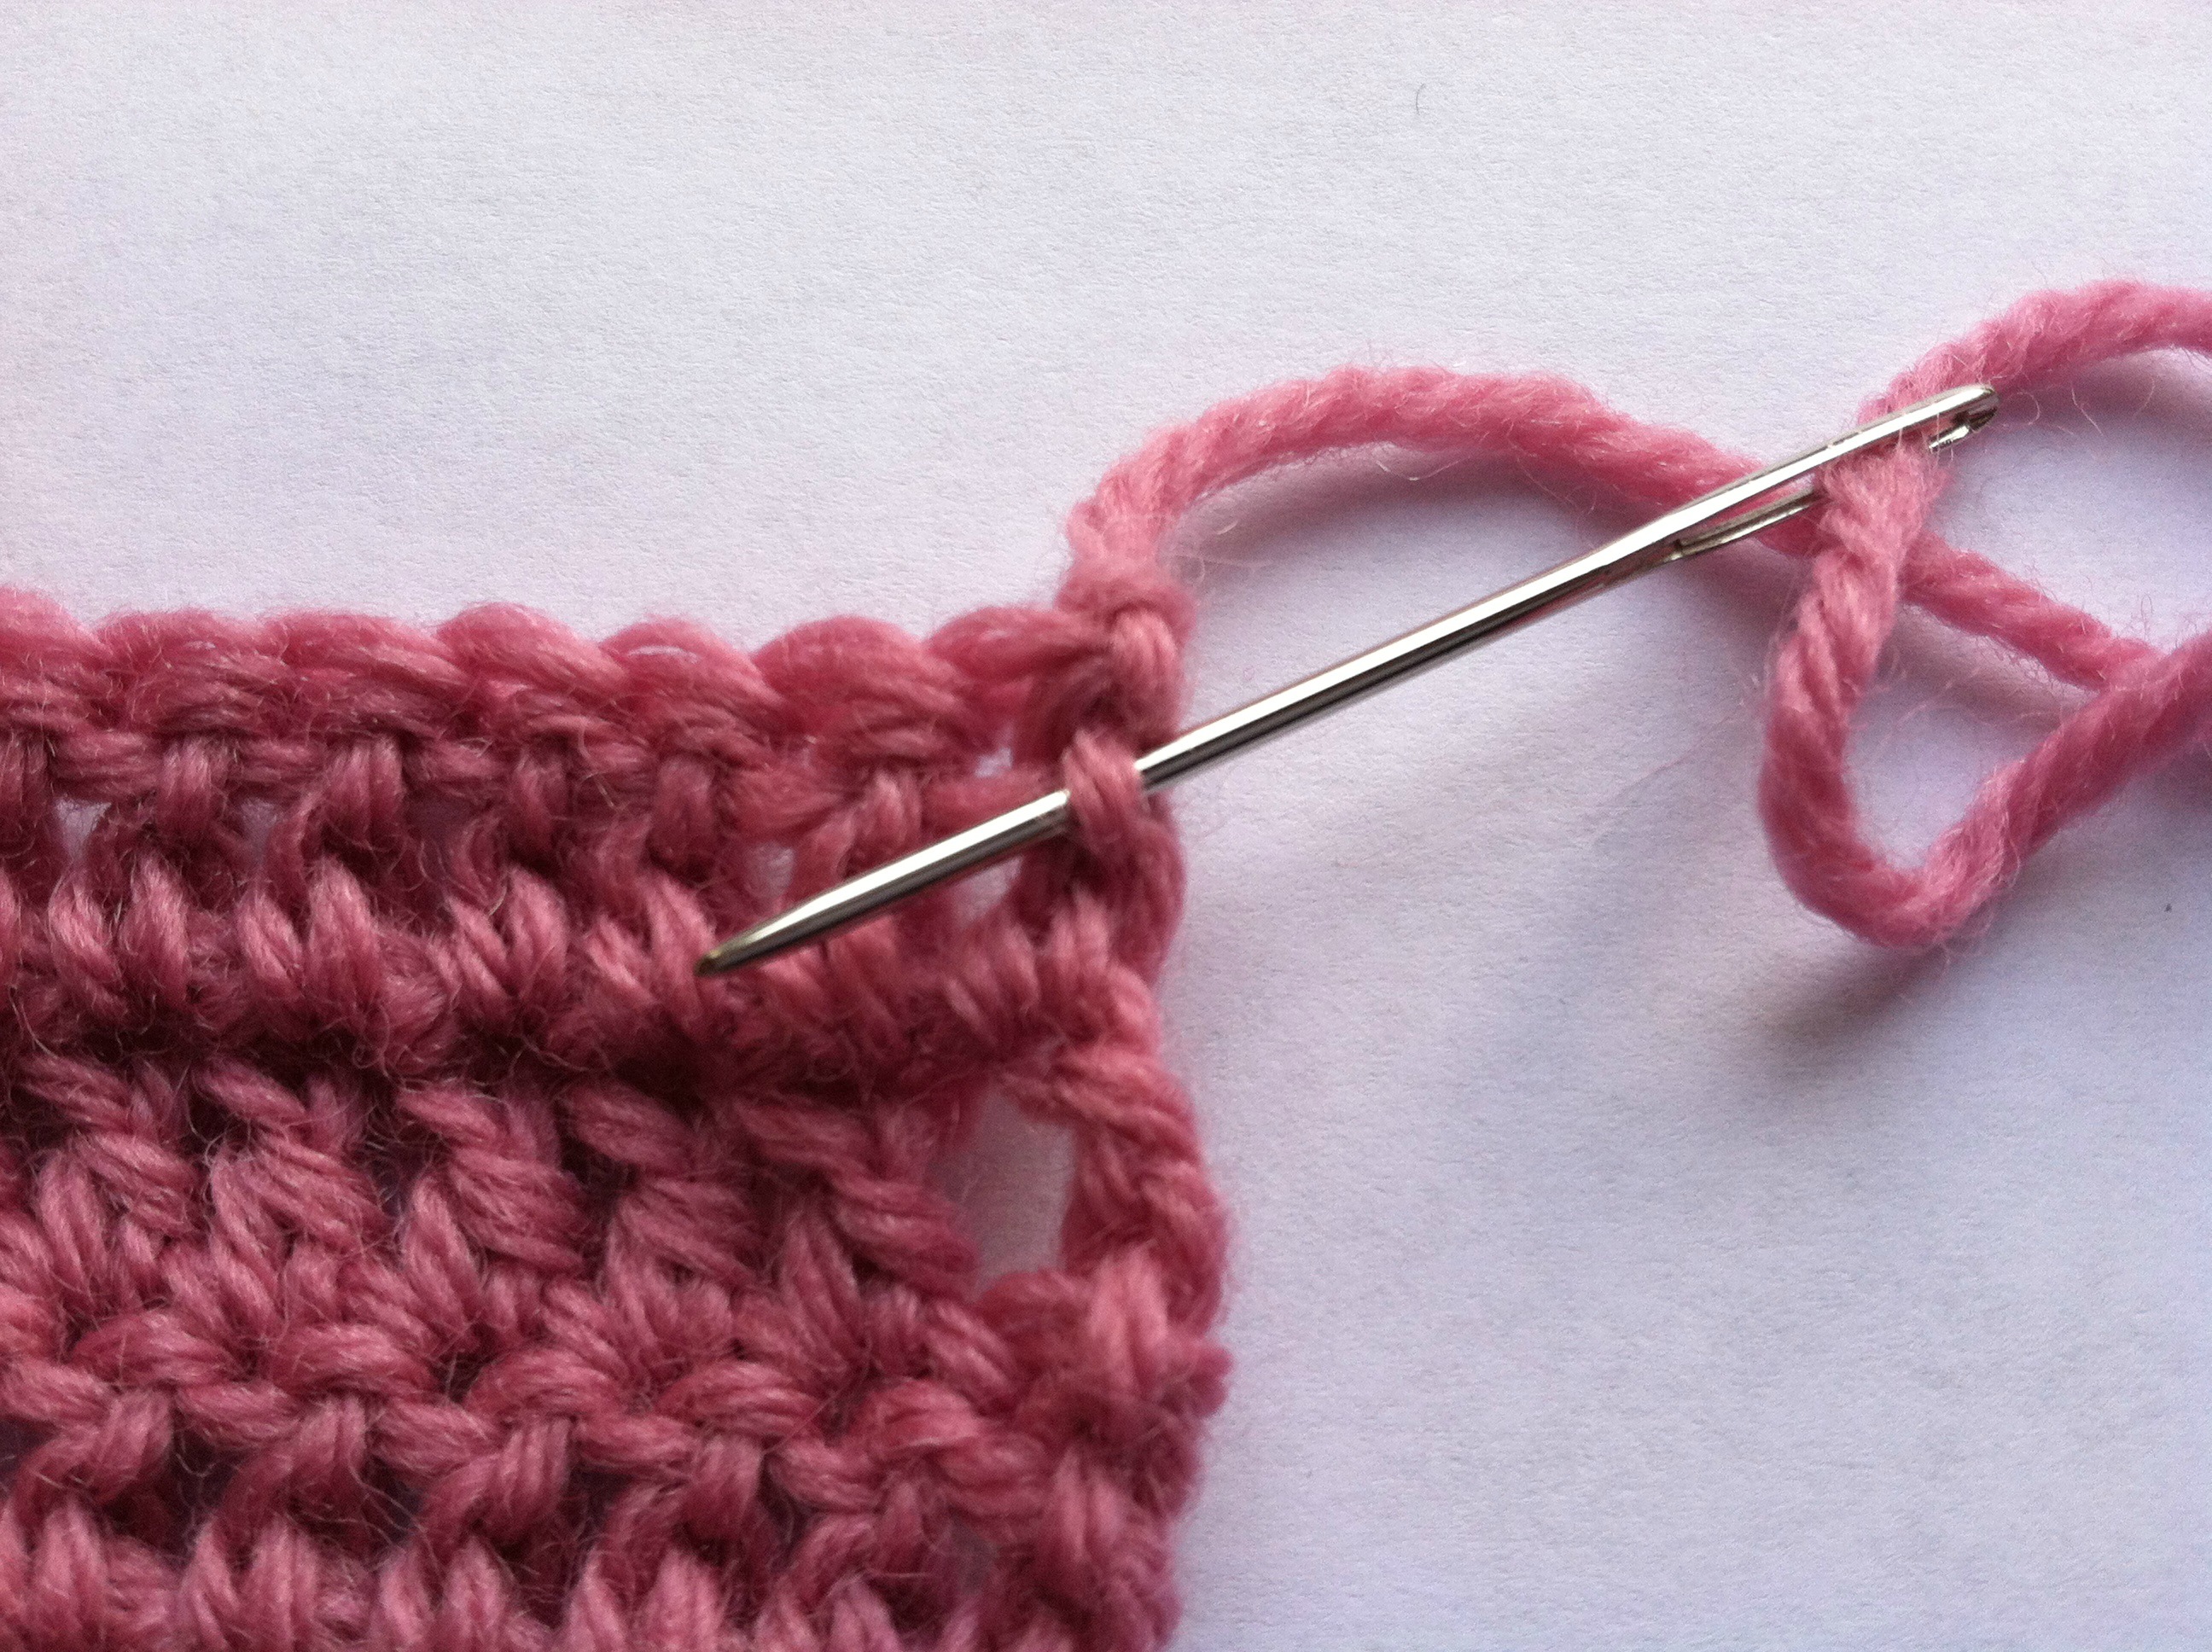
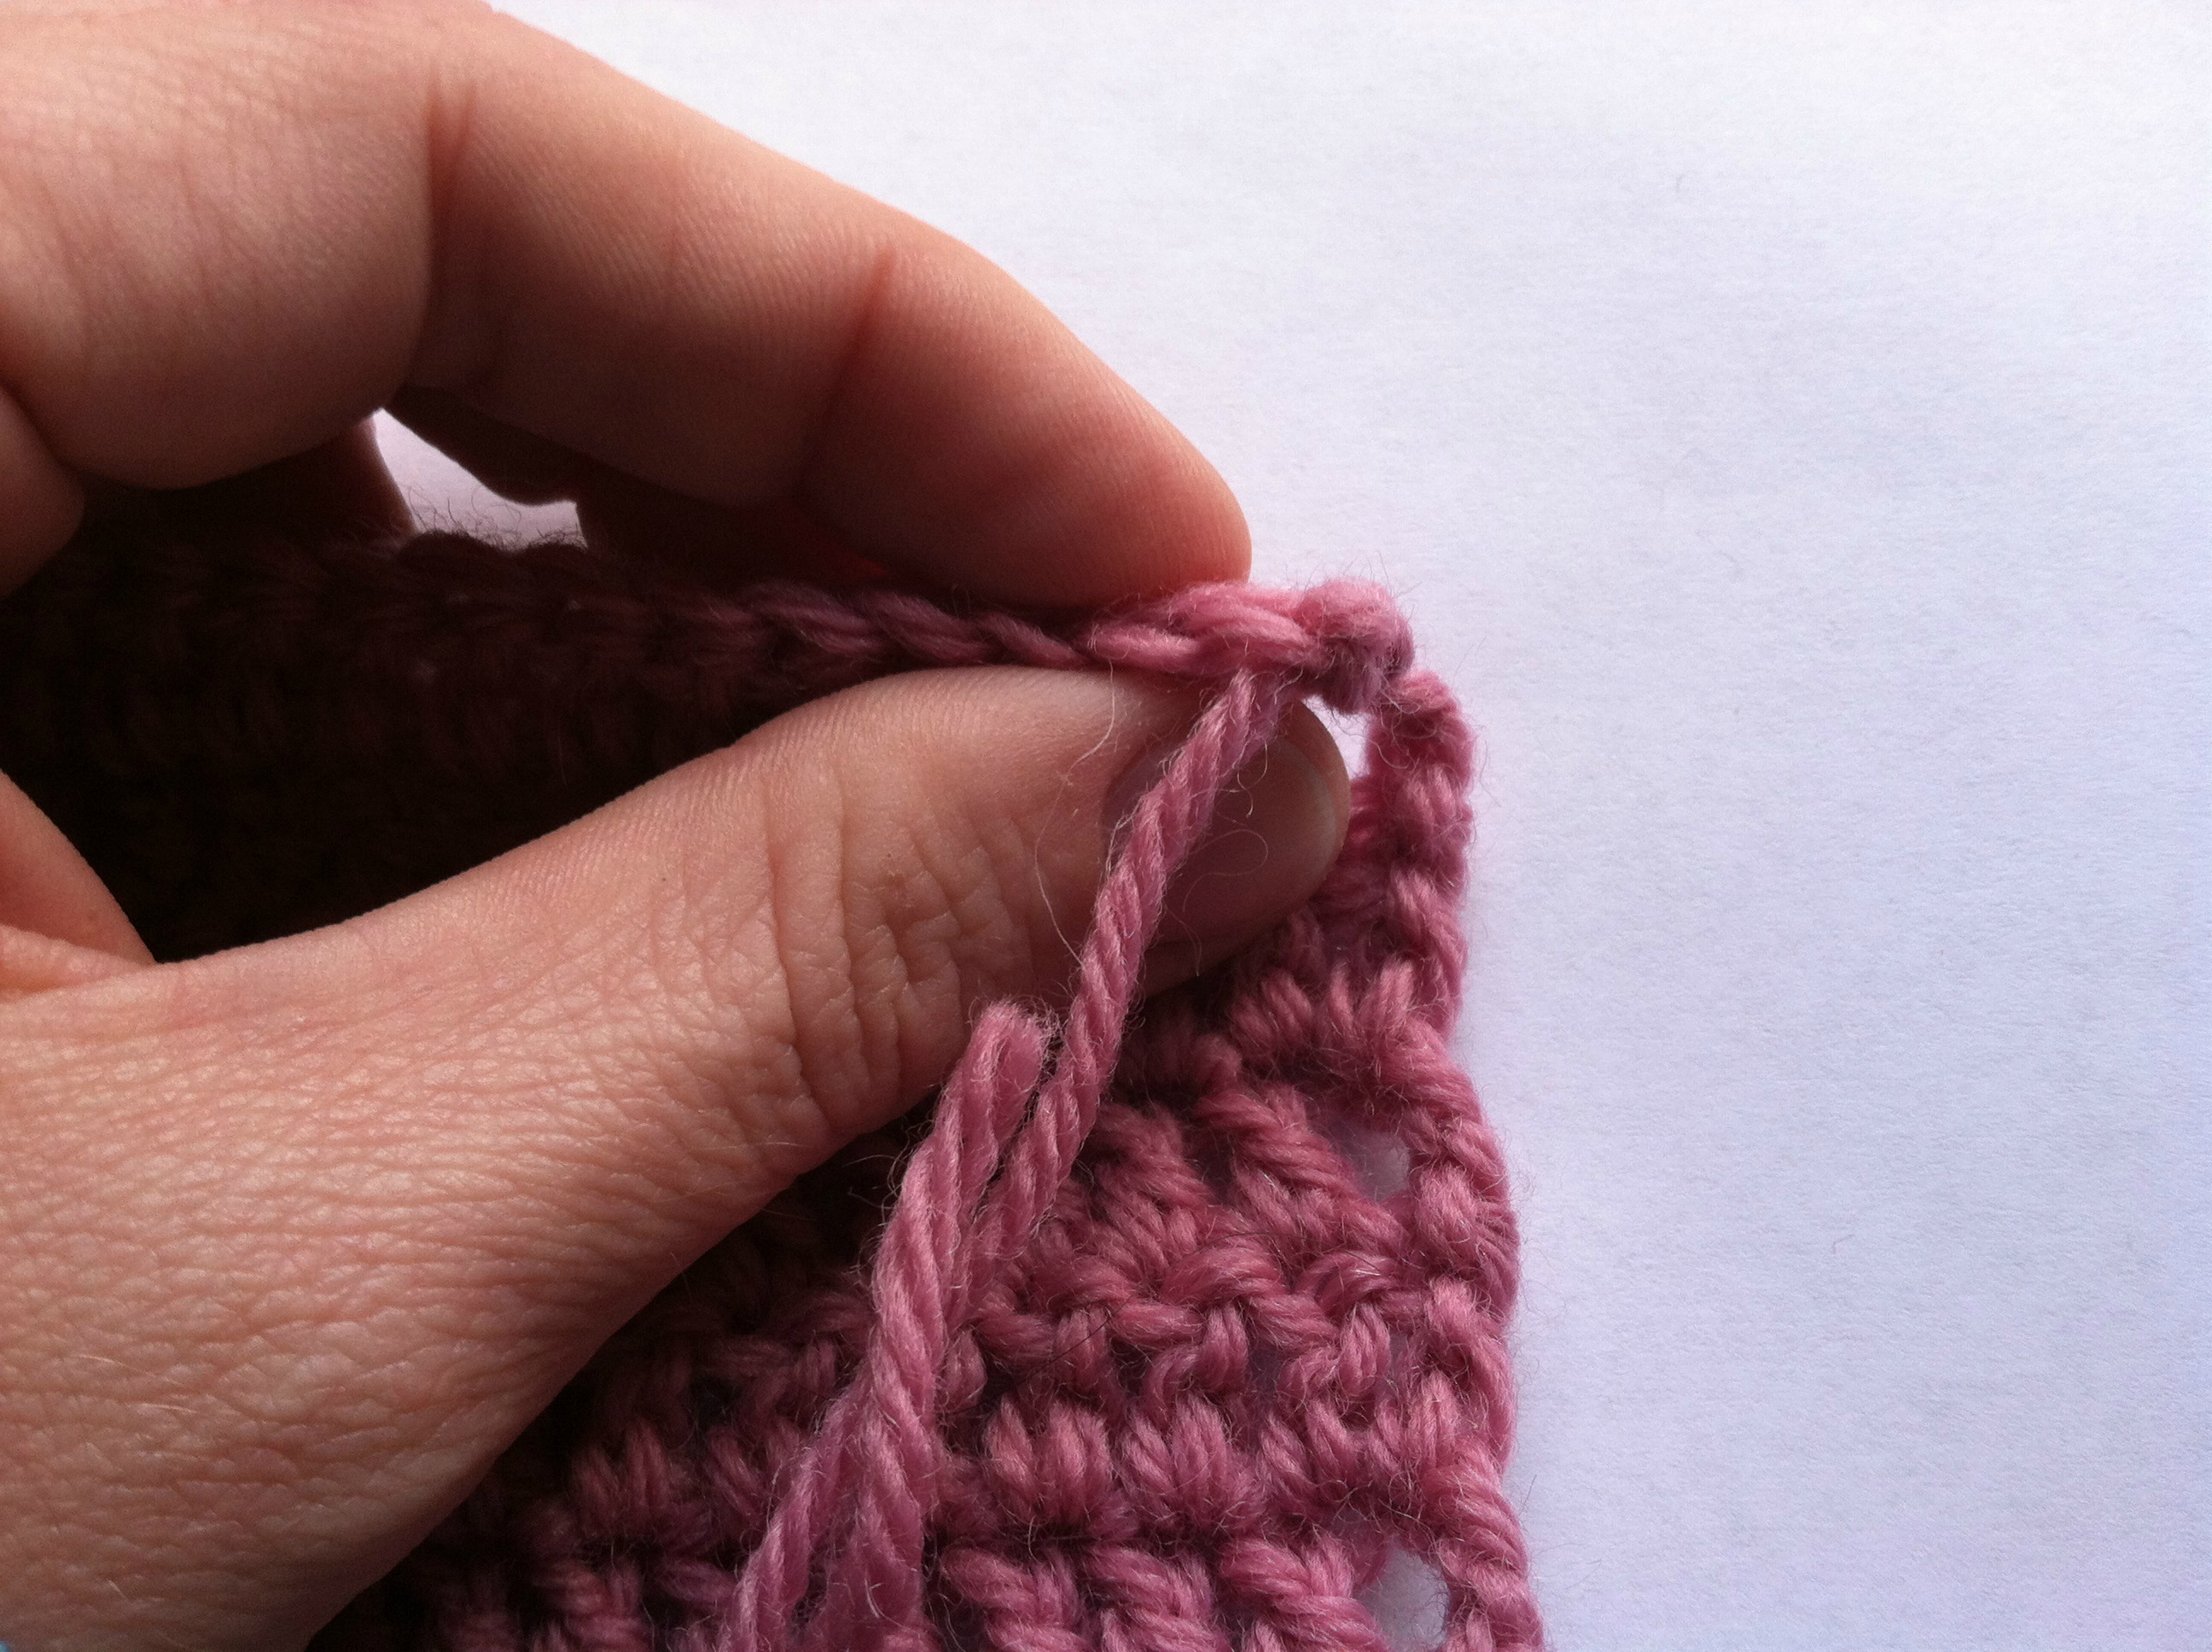
Insert yarn needle through the vertical bar on the side of the last stitch and pull the yarn all the way through.
Step Two:
Go back into the top of the same stitch, make sure it is right from where the yarn end came from. Pull the yarn all the way through.
Step Three:
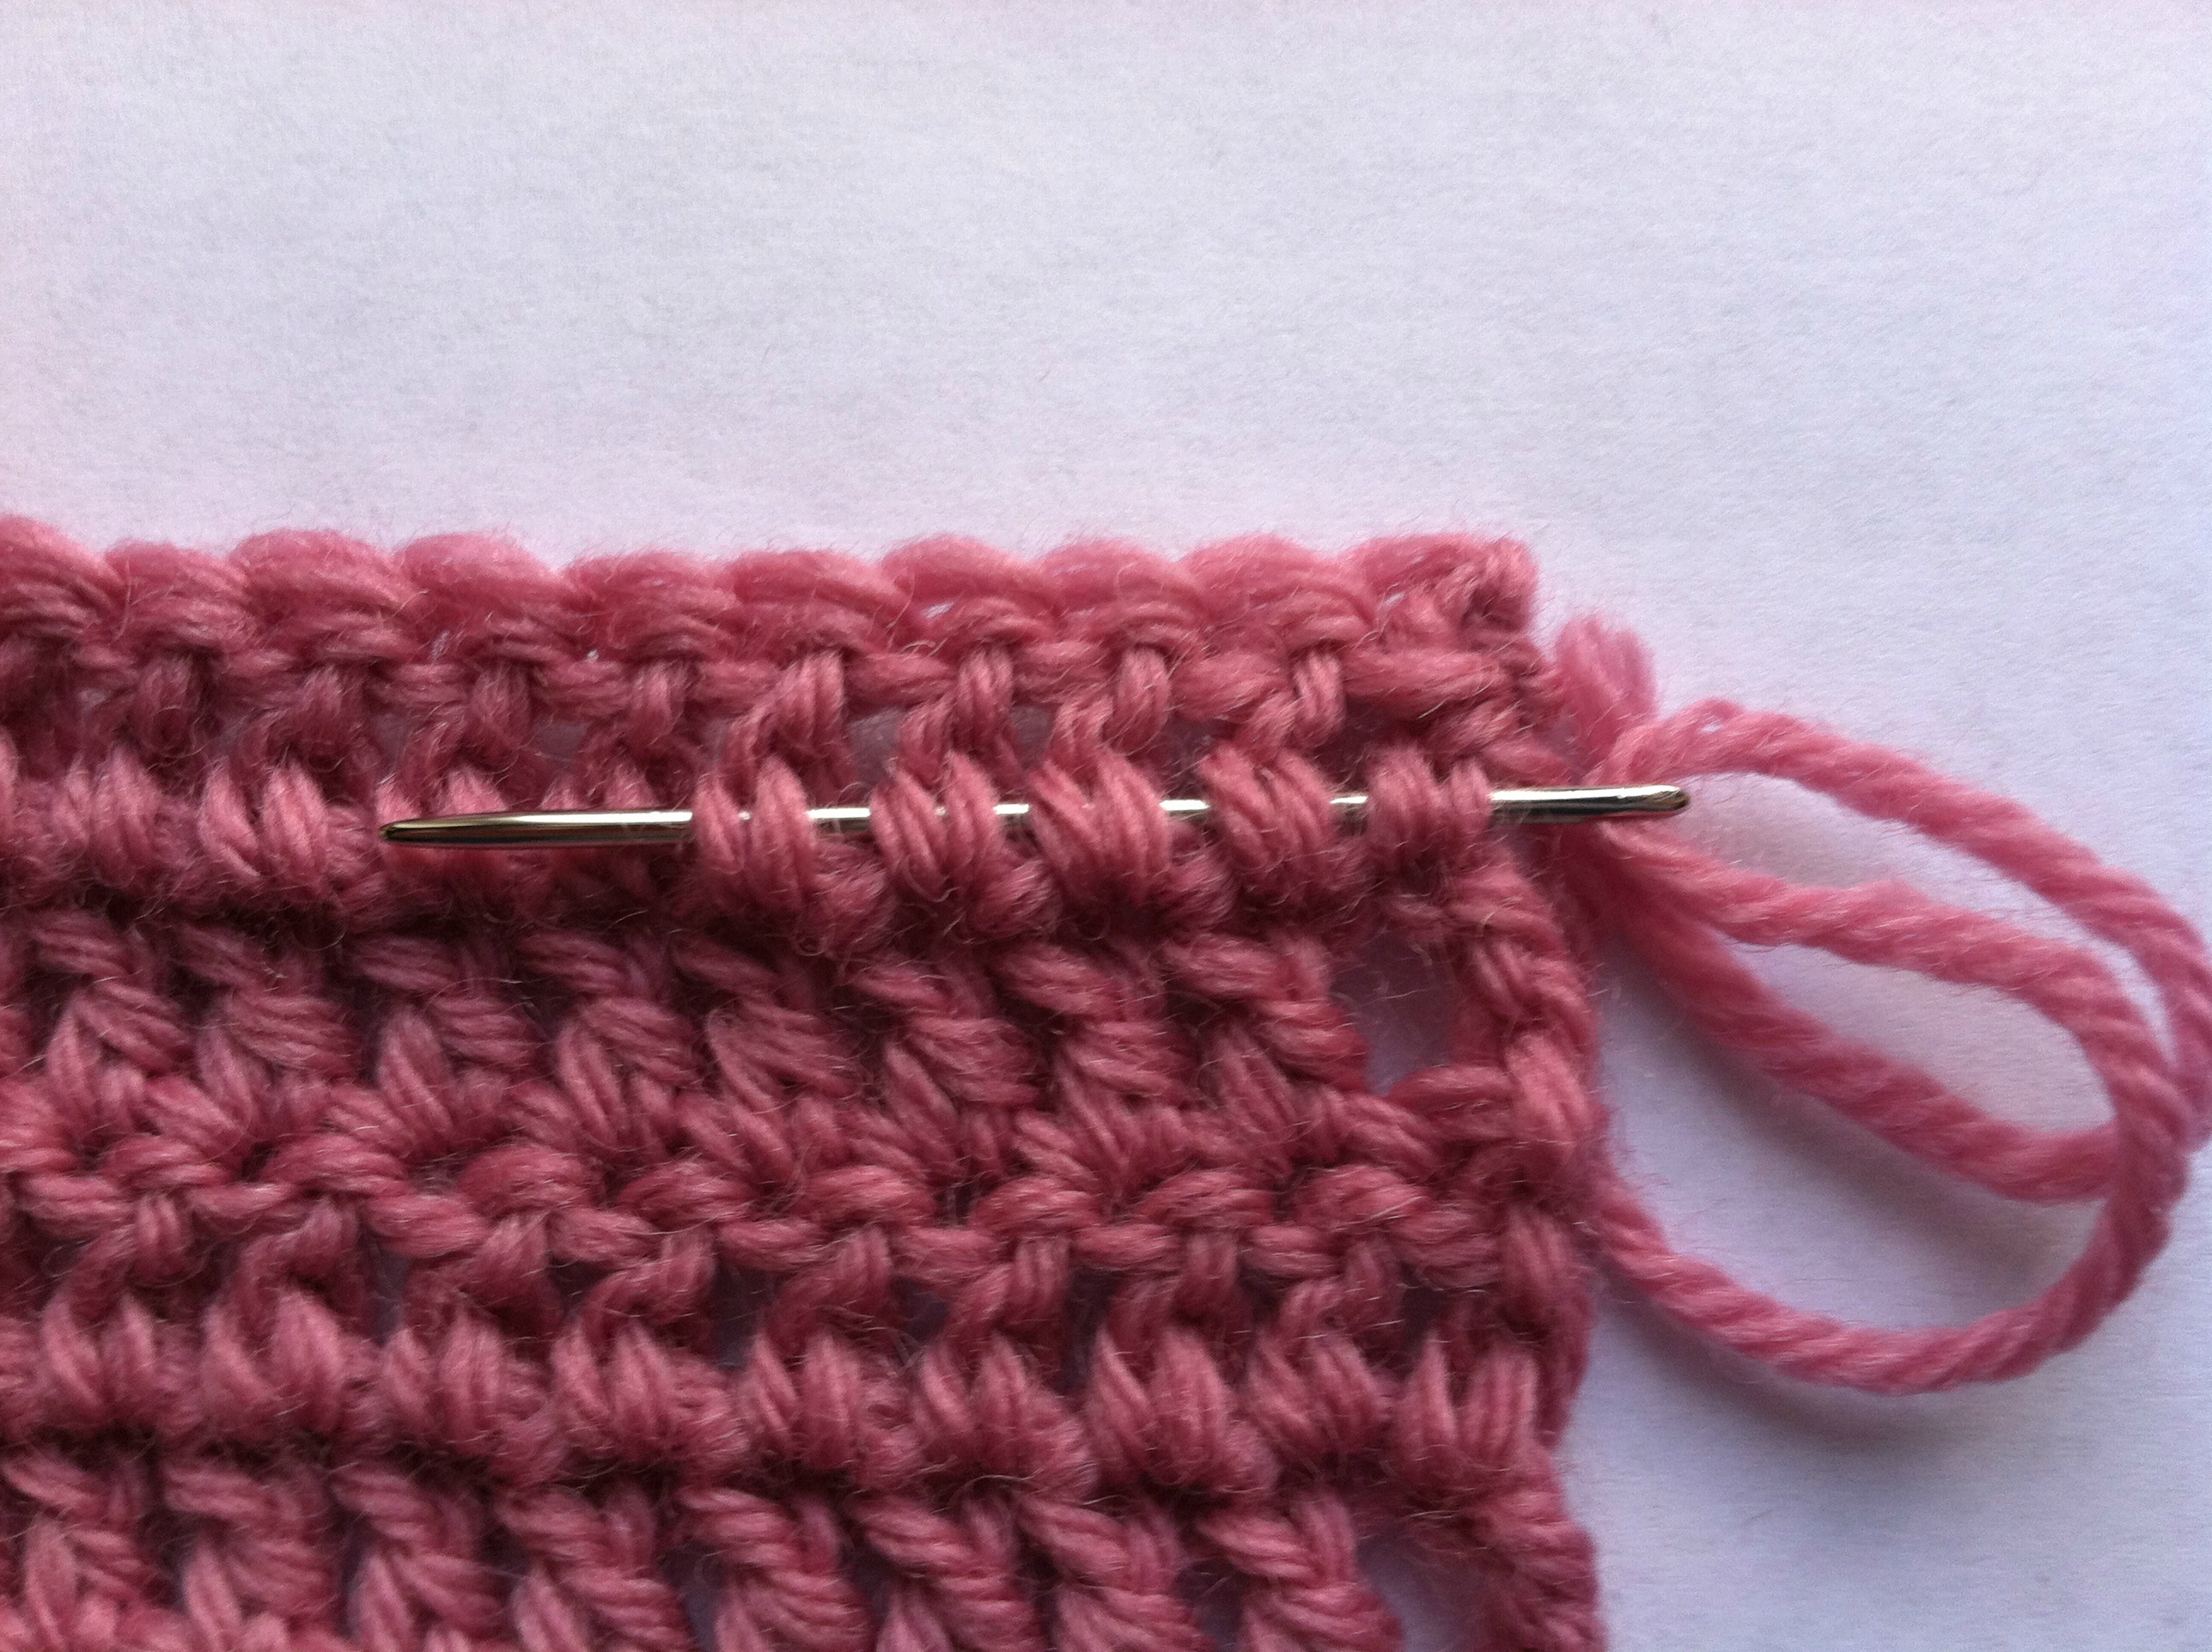
On taller stitches (I skip this step on single crochet), go through the middle of the stitch to get to the bottom of the row. Pull yarn all the way through.
Step Four:
Insert needle through the bottoms of stitches. You can see these show up as inverted-V shapes. Run through 4-6 stitches, making sure to pull the yarn all the way through.
Step Five:
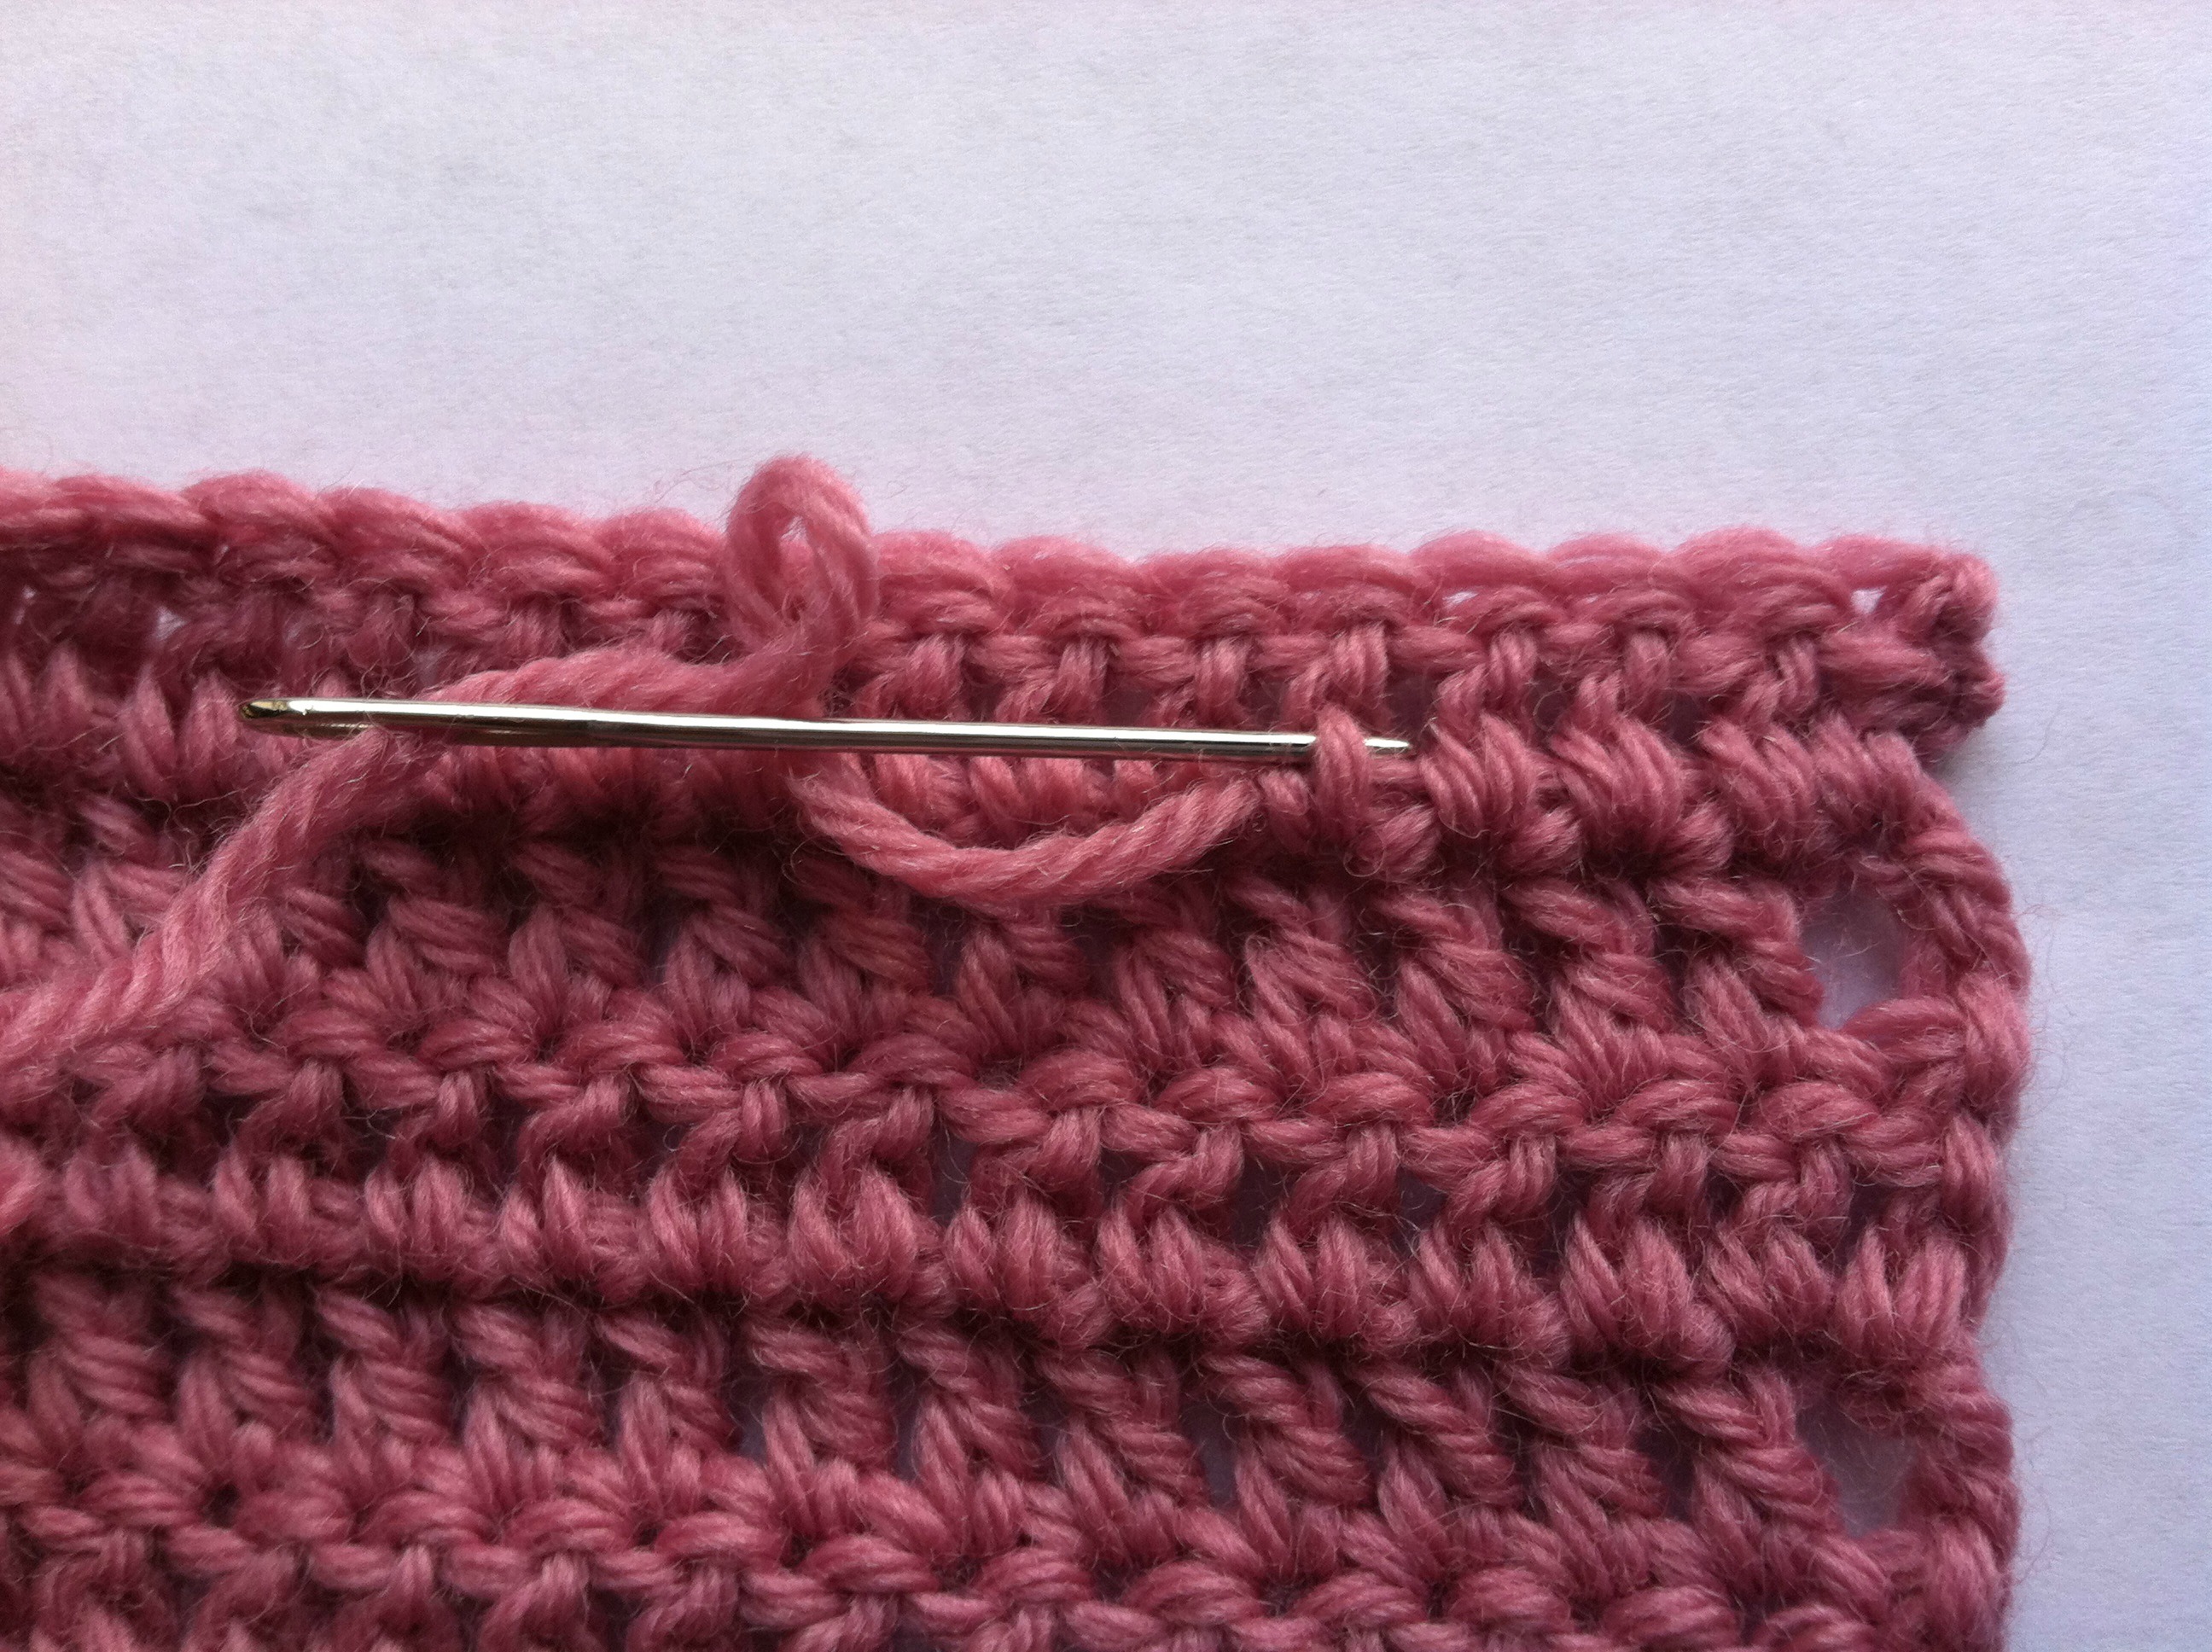
Turn, skip the first half of the last stitch (inverted-V) you went through, then weave the yarn through the same stitches or even a little further and pull yarn through.

Step Six:
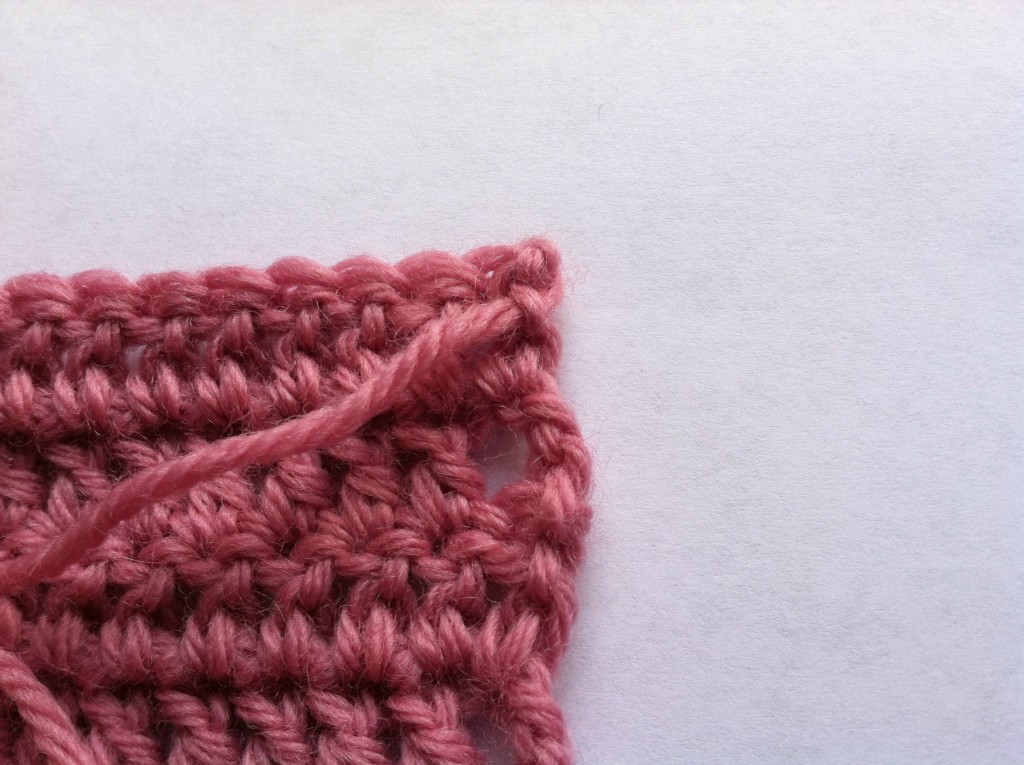
Pull yarn a little tight and cut the end. Carefully ease the yarn back into the stitches and make sure the tension is even.
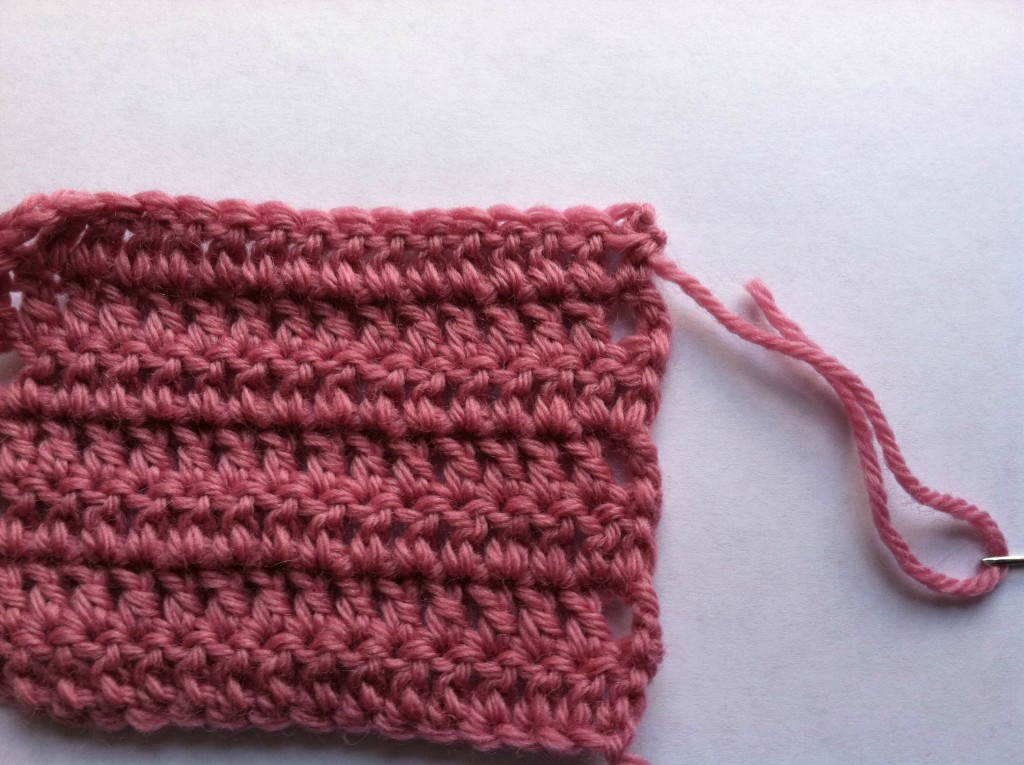
You’re done! This technique works well for all kinds of stitches and stitch patterns. If the stitch pattern doesn’t have clearly defined rows like the pictures above, try to find some of the inverted-V’s to weave through. I typically try to find at least three if I can. Some stitch patterns are tricky, but if you follow these steps as closely as possible your ends will remain hidden.
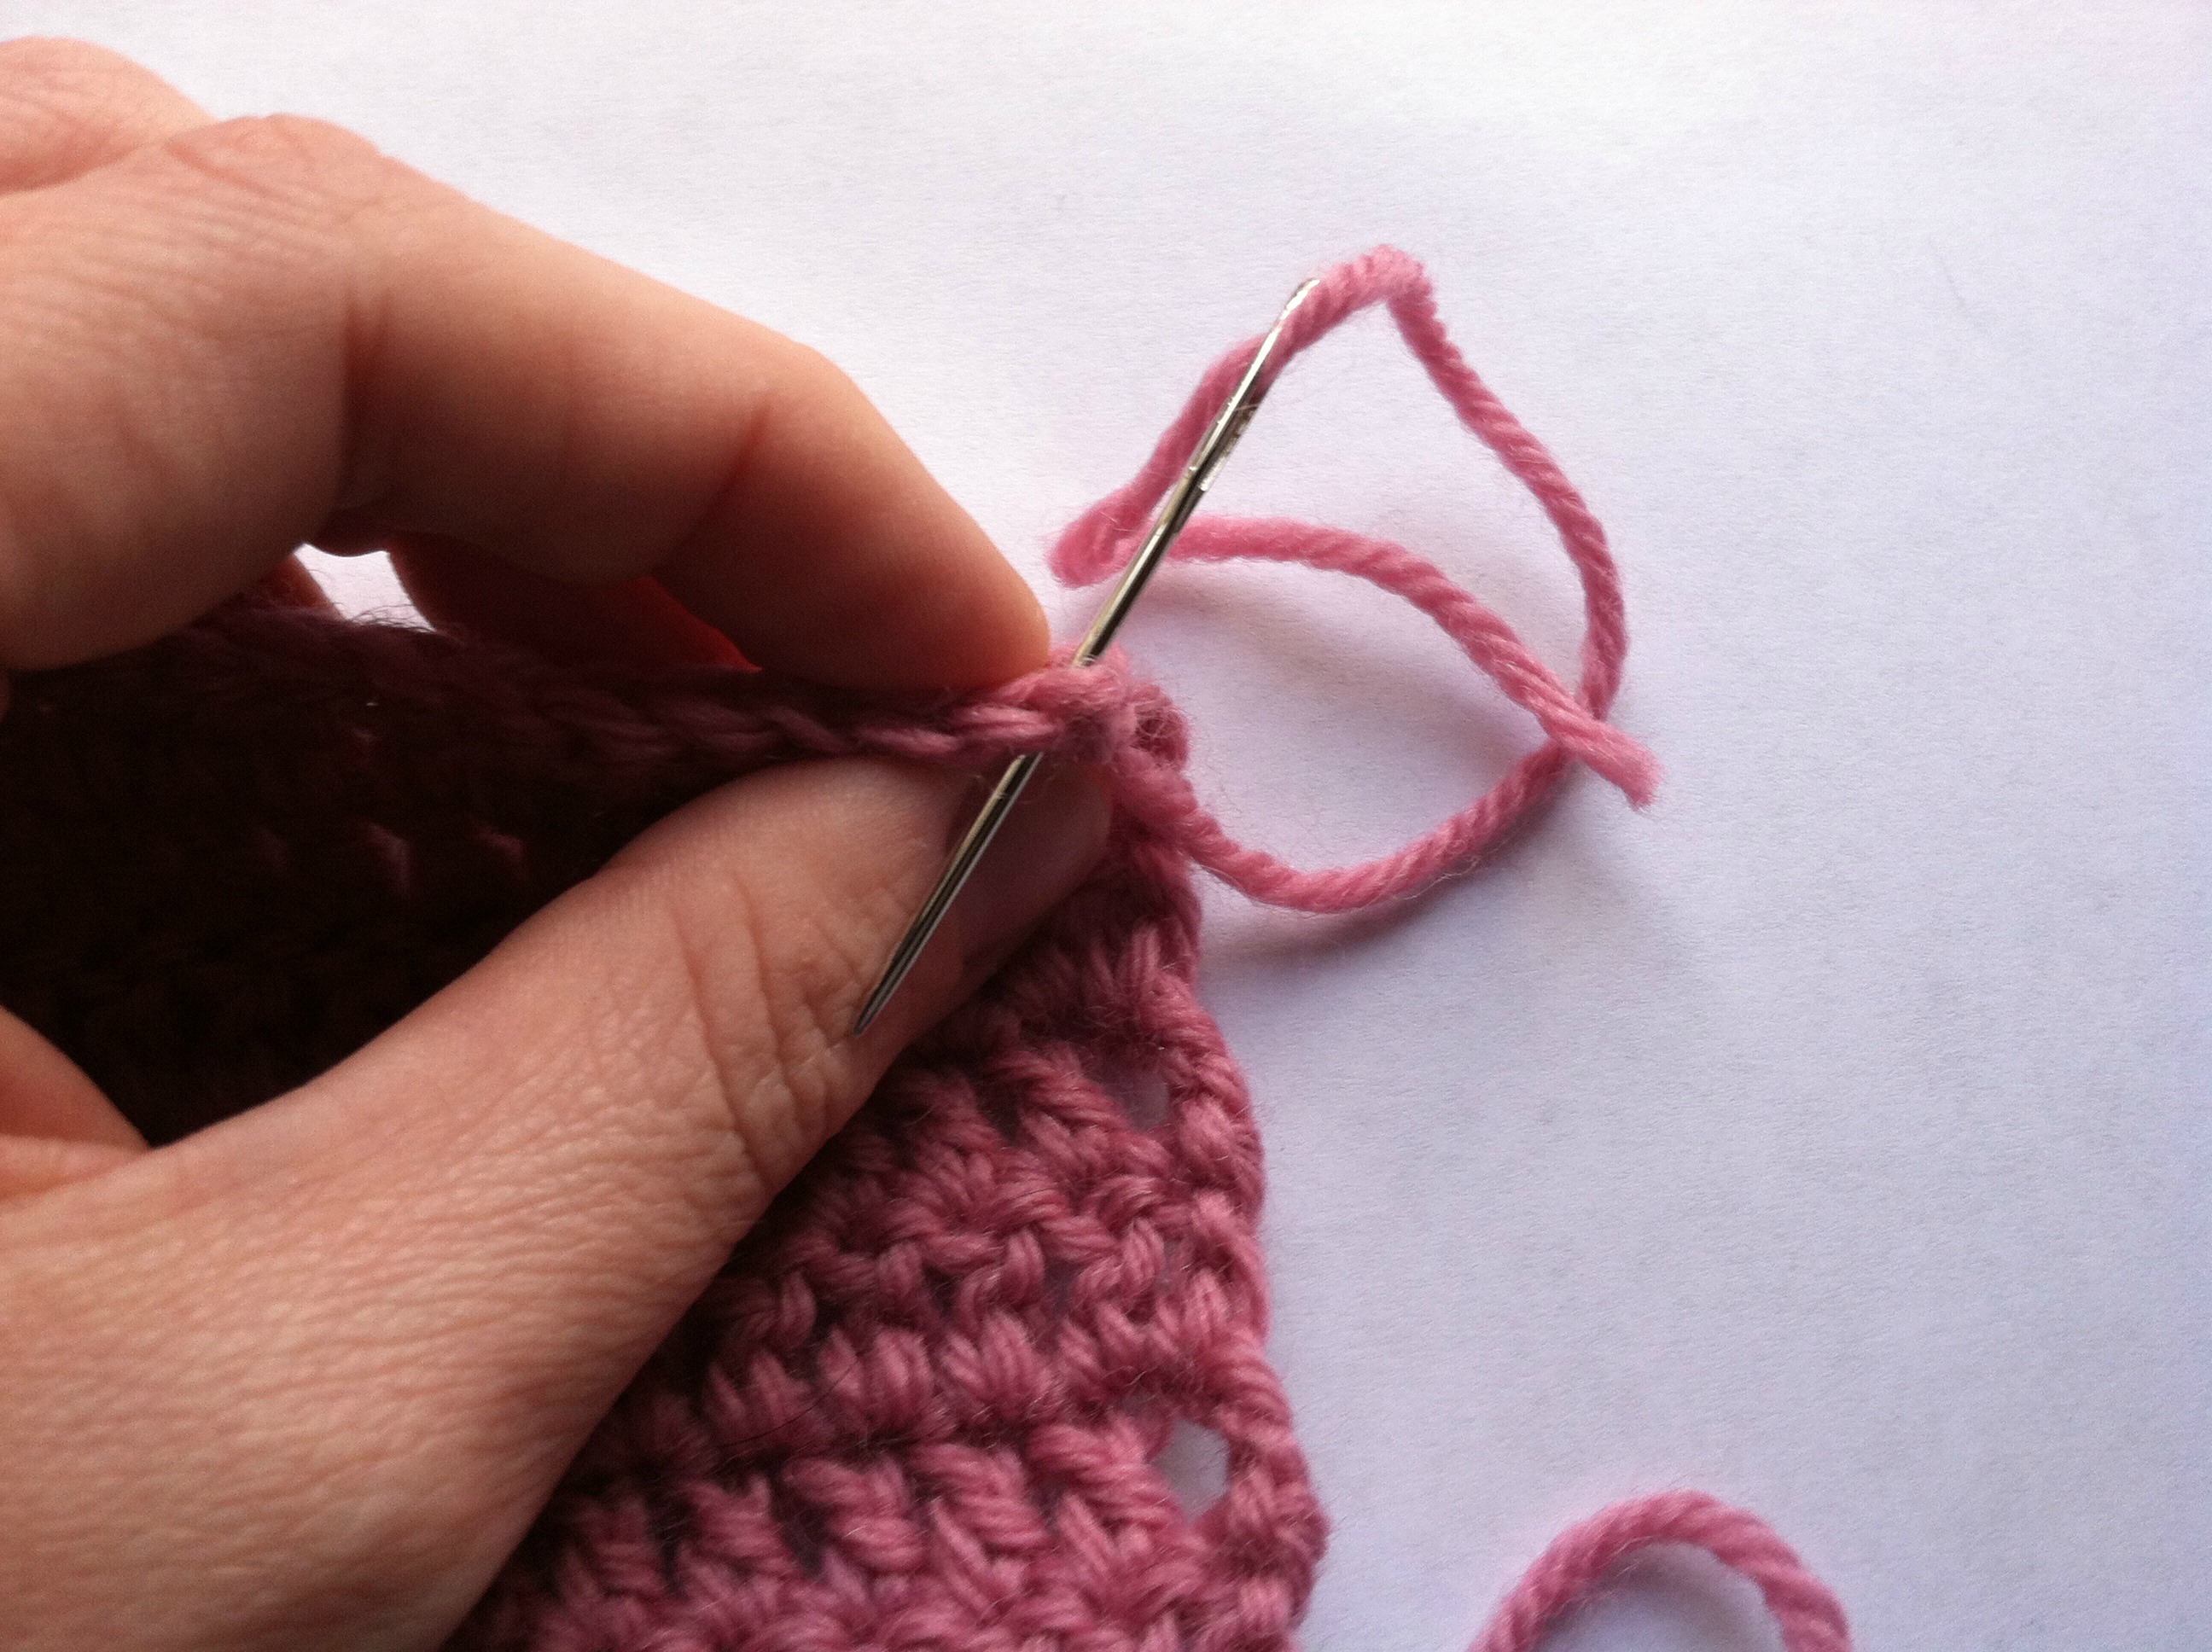
I have been asked the question: What do you do if your end is too short to weave in? Try to leave a longer yarn tail next time, but don’t worry! Run your needle through the stitches you want to weave the yarn through, then thread the yarn through the eye of the needle and draw it through. This has happened to me many times, even though I try to be good about leaving long ends. Sometimes it has happened after I have to take apart some of the work and have already trimmed the end. It always works!
Weaving in ends can get pretty tedious, especially on large or complicated projects, but the time and effort you put into doing it right will really pay off. Happy crocheting!
Thank you very much! Have been crocheting for many years and always sweat over “The Ends”!! This seems foolproof!!
Thank you much! Never new what to do with the first stitch! Love that!
I never have problem weaving in ends going in one direction and go back in reverse or I crochet into pattern when possible.
If I may, I would like to offer a word of encouragement to help with the tedious chore of weaving in the ends when a project is completed. It’s simple really. Weave in ends as you go along making the project! For example, when a color change happens do a row or two or three, then take a wee break from that to go back and weave in ends for a bit. Not only does it get this chore done, but it gives your mind a short rest from concentrating on working on the pattern. Try it…… it works! It makes completing the project COMPLETELY, woven-in ends and all, that much sweeter……. and a sure-thing! Cheers!!
Thank you so much. This is an issue for which I have been struggling to find answers!
Thanks for these great tips!
If only I could get myself to do the last part. I have so many beautiful creations I can’t begin to use or wear or gift because I can’t stand this last part!
I agree, I hate sewing so putting pieces together, working in ends, attaching buttons left a lot of beautiful projects sitting in time out until my wonderful hubby made a pact with me. He would fund my next yarn purchase if I finished up at least 2 projects sitting in time out. 5 years later all projects are mostly complete and he is complaining he’s going bankrupt LOL. If you don’t have someone who can encourage you in this way, do it for yourself. Make a pact with yourself to not start a new project until you bite the bullet and finish 2 projects in the time out pile. Or reward yourself with a trip to the LYS even if that is Walmart, Hobby Lobby, Joann’s or Michaels for a yarn petting session or to chose a new projects to start.
Thanks very much. I have never seen or do this before. I will try it with my next project
Thanks that is one of the problems I had finishing a project.
Thank you for sharing your pattern .